
By Annie S.
The Morgrave Expeditions chapter of Eberron: Forge of the Artificer sees adventuring parties dispatched into crumbling giant ruins, subterranean shadow cities, and unmappable wildernesses in Xen’drik, a vast continent of enough buried secrets to keep Morgrave University funded for centuries.
This guide covers all the locations mentioned in the Morgrave Expedition chapter, matched with battlemaps and illustrated scenes to bring them to life. We kept our focus on Xen’drik, since that’s where most of the action takes place—though if your adventurers are itching to explore a different corner of Eberron, our guide to the mist-ravaged Mournlands can be found right here.
⚠️ Spoilers Abound! If your party is heading into Xen’drik—stop here, send this to your DM, and come back when you’ve survived the expedition.
1. Stormreach — Drow War Port (Ocean Day)
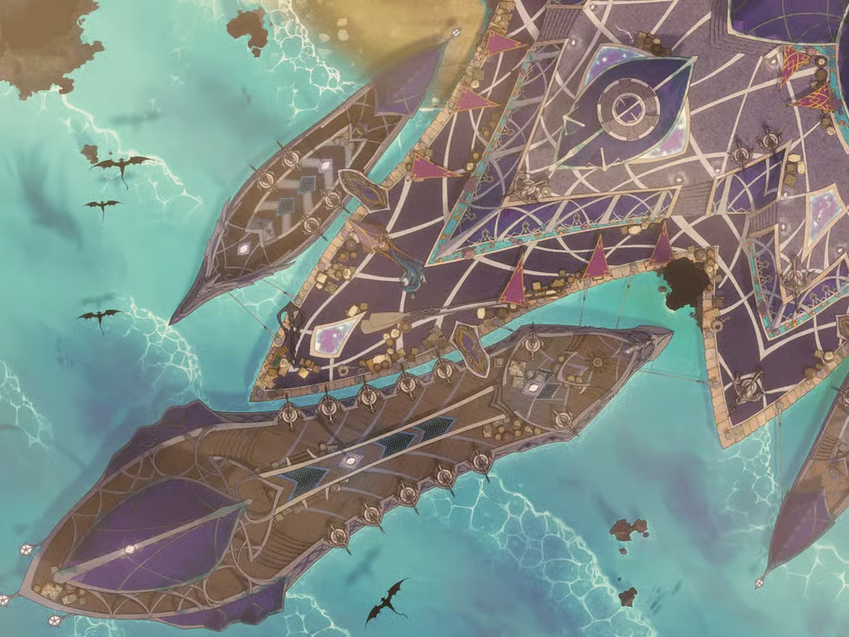
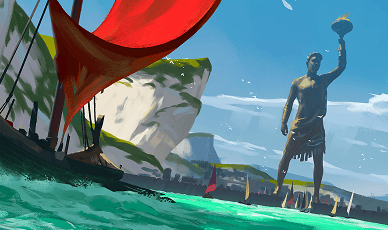
Stormreach is where every Morgrave expedition into Xen’drik begins—a port city built directly onto the ruins of an ancient giant settlement. Home to dragonmarked houses, smugglers, scholars, and pirates, this port is the closest thing to a welcome mat that Xen’drik offers.
This ocean variant of the Drow War Port map is a great fit, with its angular rooftops that give the city a non-human feel, and dragons circling the harbour, which are a nice reminder that this is somewhere with its own ecosystem and rules.
2. Bazek Mohl, City of Shadows — Underground Dwarven City (Shadow Stronghold)
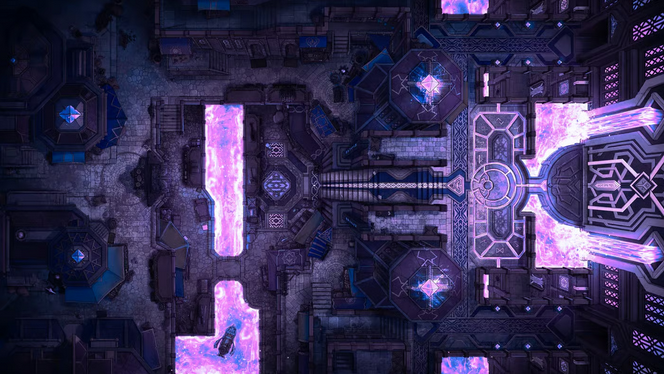
Bazek Mohl is described as an underground giant city linked to Mabar, the plane of eternal night, and a possible origin point for the Mark of Shadow itself—exactly the sort of lead Morgrave sends people to follow up on.
The shadow stronghold version of this Underground Dwarven City map captures the city nearly exactly as the book implies, with geometric stone buildings rising from total darkness, lit only by faintly glowing rivers and veins of energy.
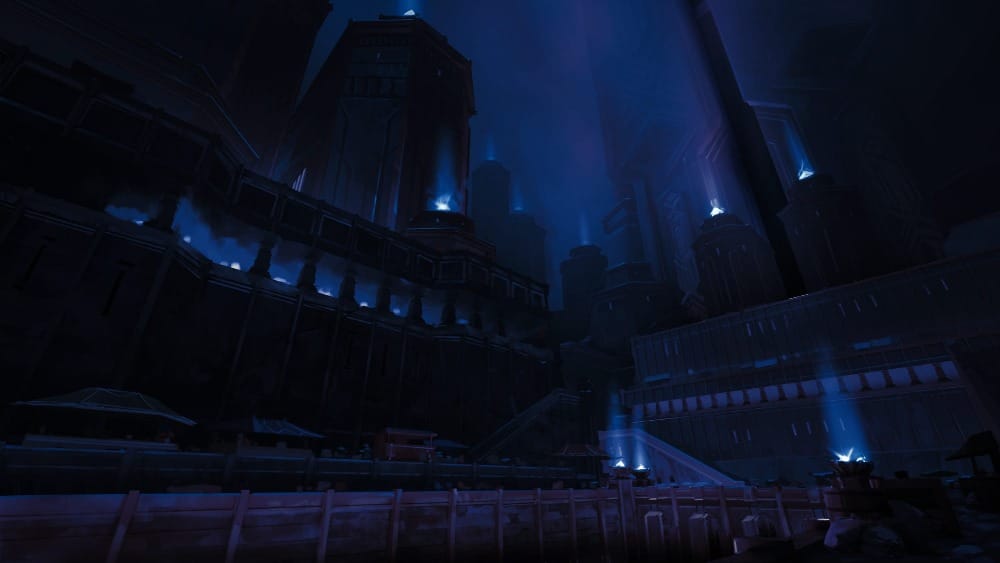
This map comes with an illustrated scene that captures just how vast and lightless the City of Shadows truly is.
3. Mel-Aqat — Hellfire Prison (Astral)
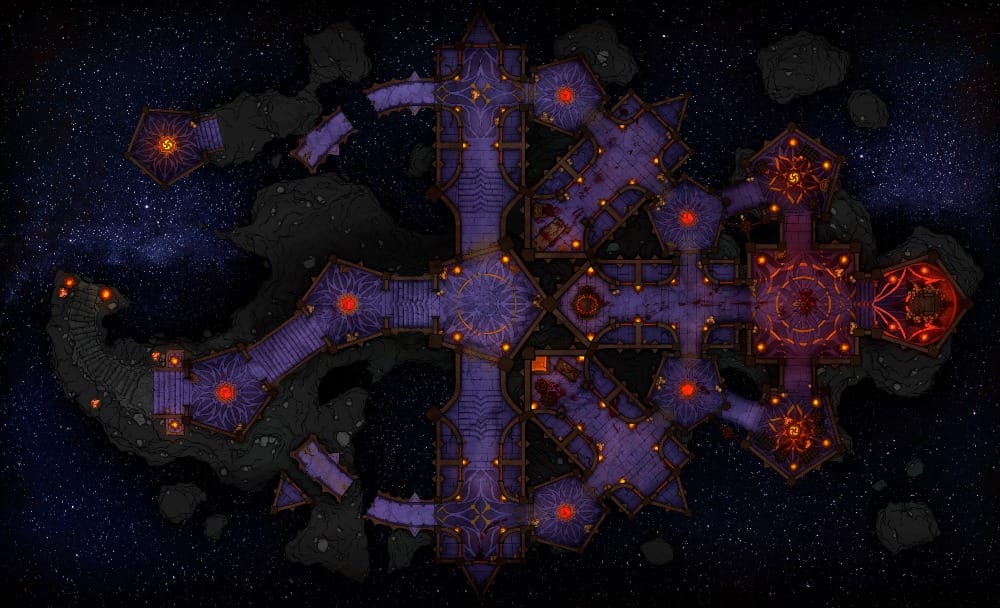
Dismissed as a legend for most of recorded history until a Morgrave expedition found it a few years ago, Mel-Aqat is the prison of a fiendish overlord—though the presence of celestial forces suggests the original builders left nothing to chance.
The astral variation of this Hellfire Prison map definitely earns its spot here—with its ornate hallways and ritual circles lit with deep hellfire, it looks exactly like somewhere built to hold something that does not want to stay.
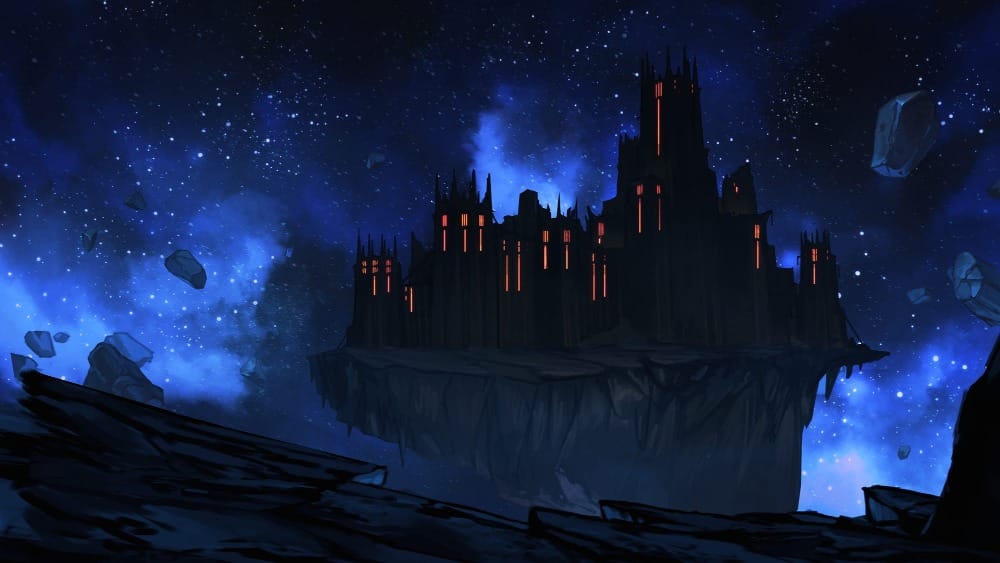
The illustrated scene of this map provides an exterior view of the jagged black fortress hanging in an endless astral dark—a great establishing shot to show your table exactly what they’re in for.
4. Obsidian City — Hanging Gardens (Lava)
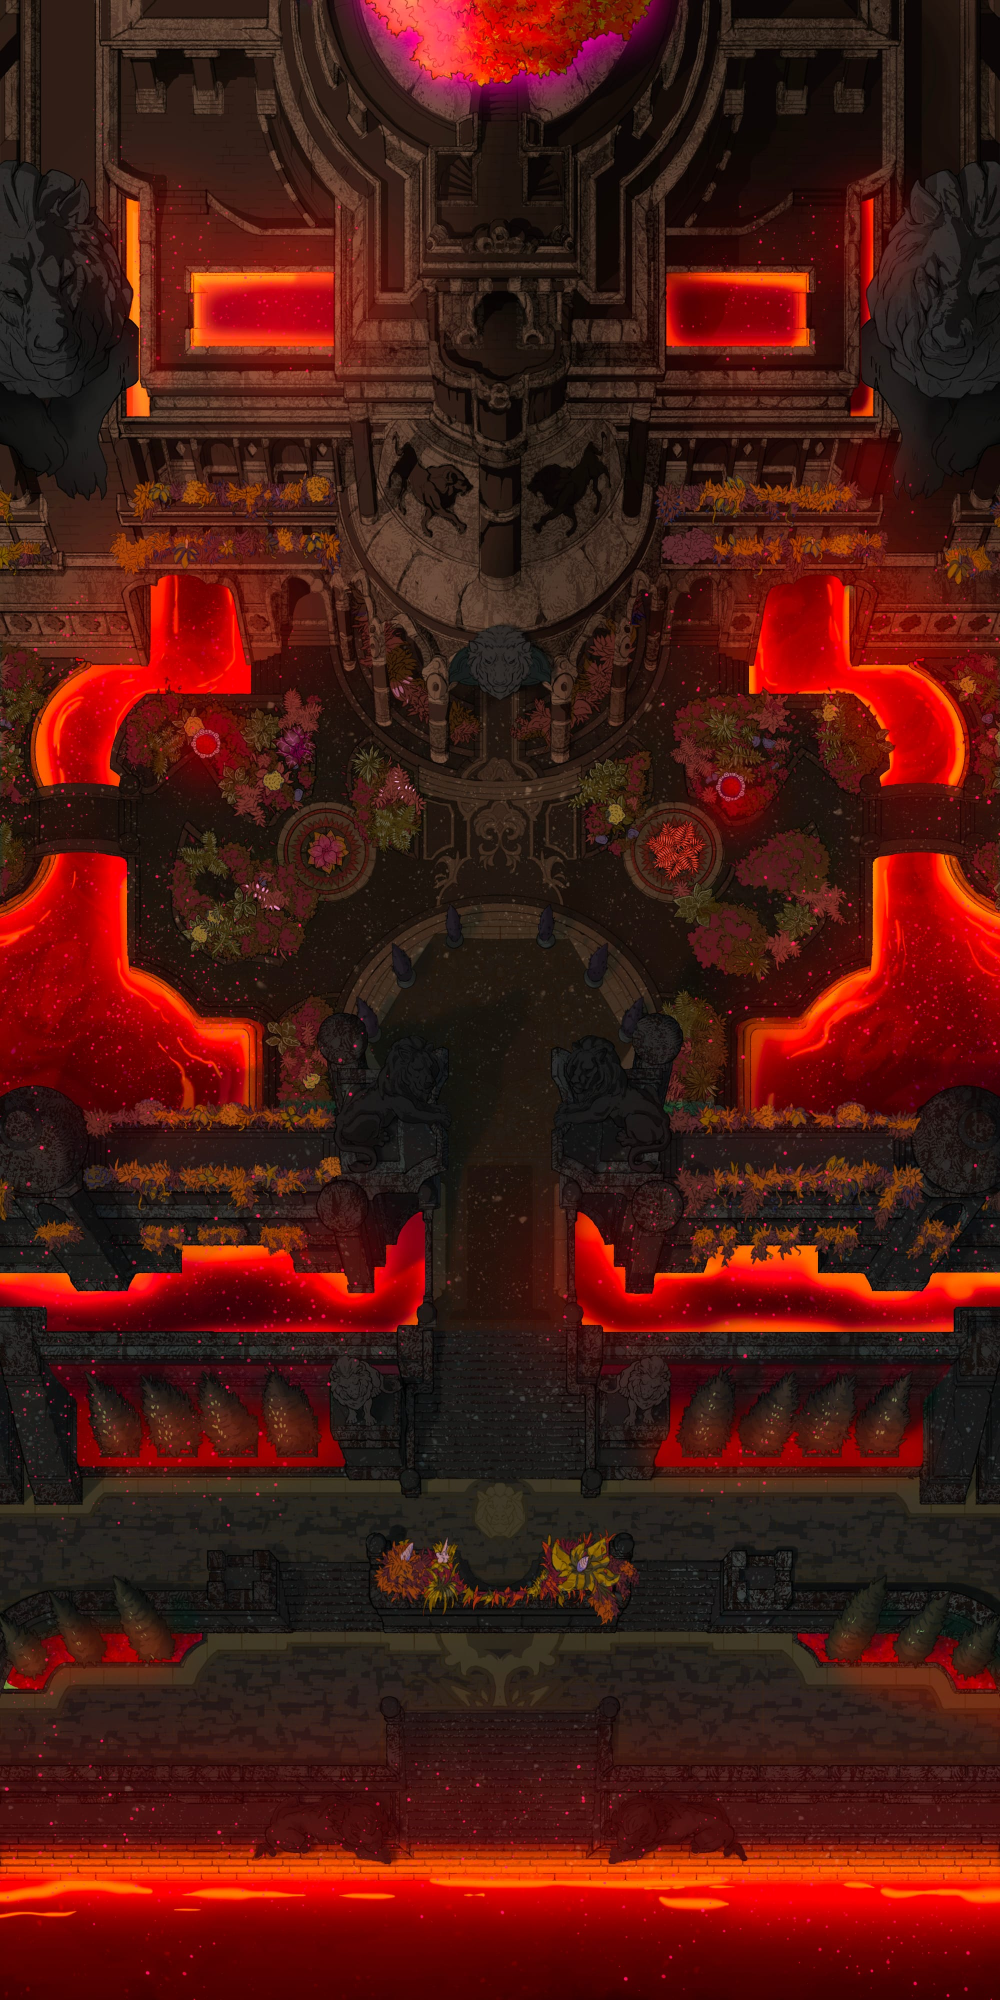
The Obsidian City is a ruined giant city now occupied by the Sulatar drow—firebinders who practice elemental magic and believe they are destined to cleanse the world in flame. It’s one of the more dangerous expedition targets in the chapter—it’s clear that the Sulatar aren’t rolling out the welcome mats for visitors.
The lava variant of these Hanging Gardens is an excellent map for depicting both the city’s original and current inhabitants—with ornate black stonework speaking to the giants who built it, while lava channels cutting through the platforms make the Sulatar’s fiery presence known.
5. Pyramid of Ebon Flame — Shadowlands Pyramid (Corruption)
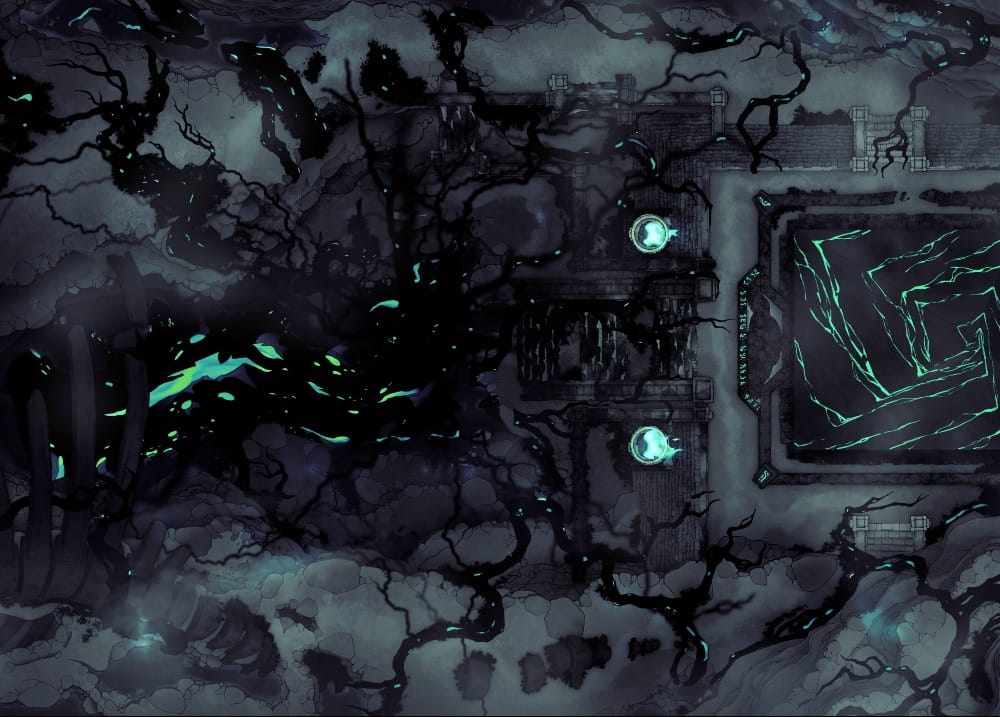
The Pyramid of Ebon Flame is described as a black glass monolith built by the giant necromancer-king, Addis-Ro, to mark points of descent into the darkness of Khyber. Scholars are still debating what the passage on the other side leads to—which, unfortunately for the party, suggests that no one who has gone to find out has come back to file a report.
This corruption variant of the Shadowlands Pyramid is hard to beat as a map for this location. Glowing green veins that thread through obsidian and creeping black tendrils cracking the stone leaves no ambiguity about the kind of necromantic work that went on here.
6. Crab Temple — Jungle Temple Entrance
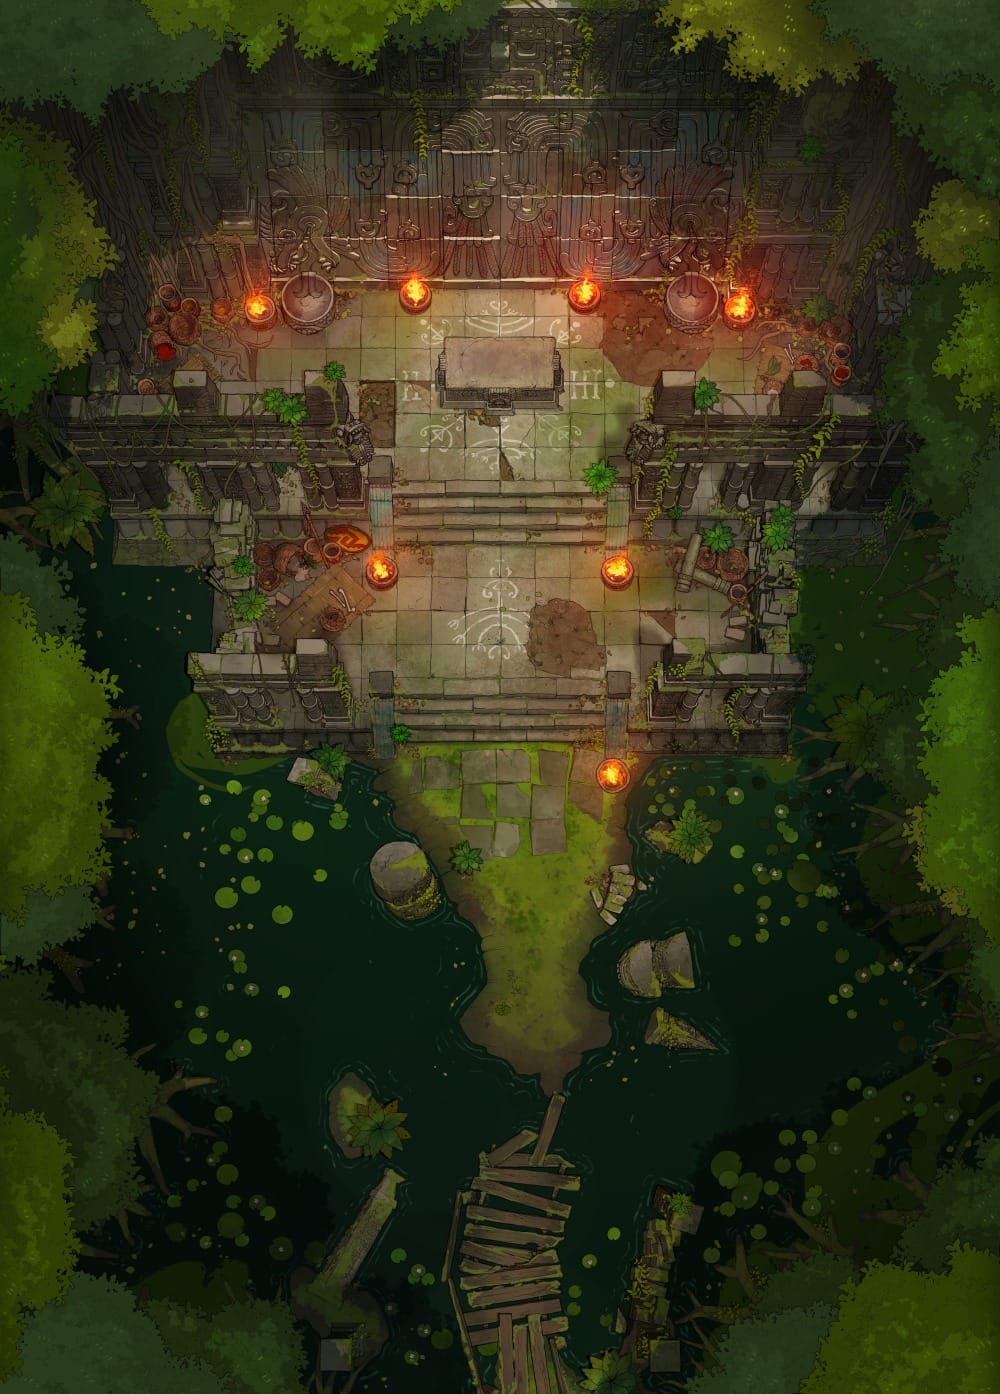
The Crab Temple is the focus of the sample adventure in the Morgrave Expeditions chapter—a partially flooded drow ruin on a jungle lake near Stormreach, named for the large crab shell lodged in the neck of its headless entrance statue.
With its sprawling stone ruins, tightly-sealed door, and mysterious stone altar, this Jungle Temple Entrance is sure to put the players in the mood to explore right away—though they’d better be careful! While upper levels are a rather bog-standard dungeon crawl, the lower levels are occupied by kuo-toa who are not enthusiastic about company.
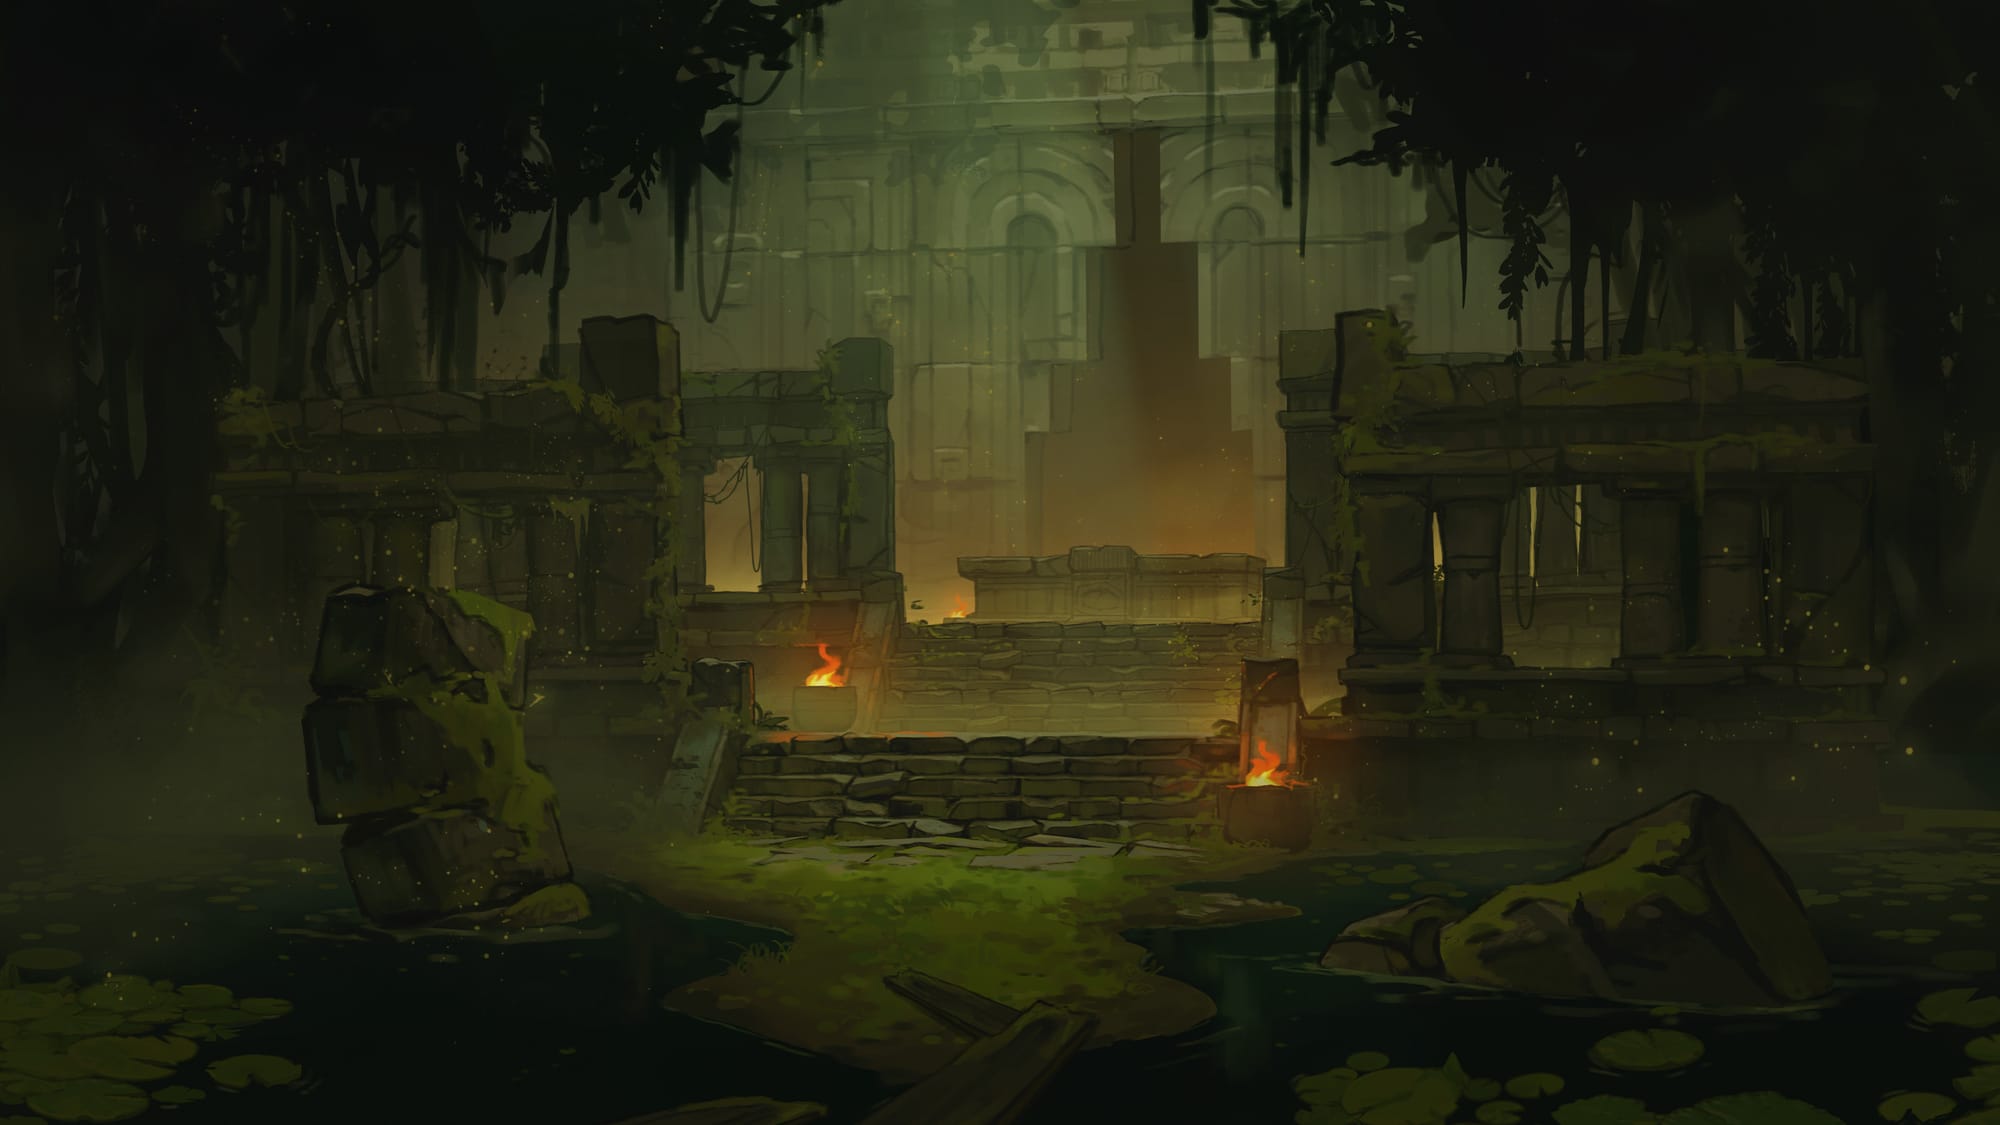
This map also comes with an animated scene that does an incredible job of setting the atmosphere as the party emerges from the treeline and gets their first look at the ruins.
7. Throne Gate Ruins — Ancient Tech Treasury
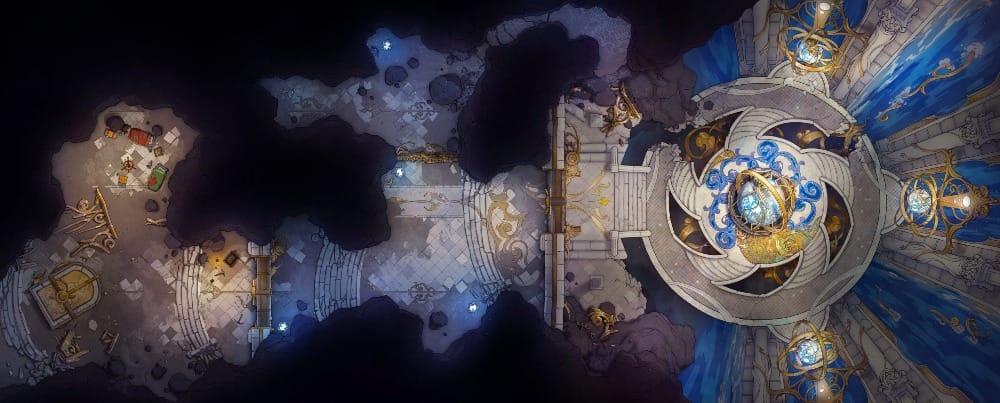
The Throne Gate Ruins served as both a temple and arcane laboratory for the ancient giant empires that once thrived in Xen’drik—and as one of the closest ruins to Stormreach, they’re a natural first expedition target for Morgrave parties.
This Ancient Tech Treasury is perfect for a giant arcane research site, with scattered debris and notes in the tunnels surrounding a large ornate armillary sphere that’s clearly doing something important.
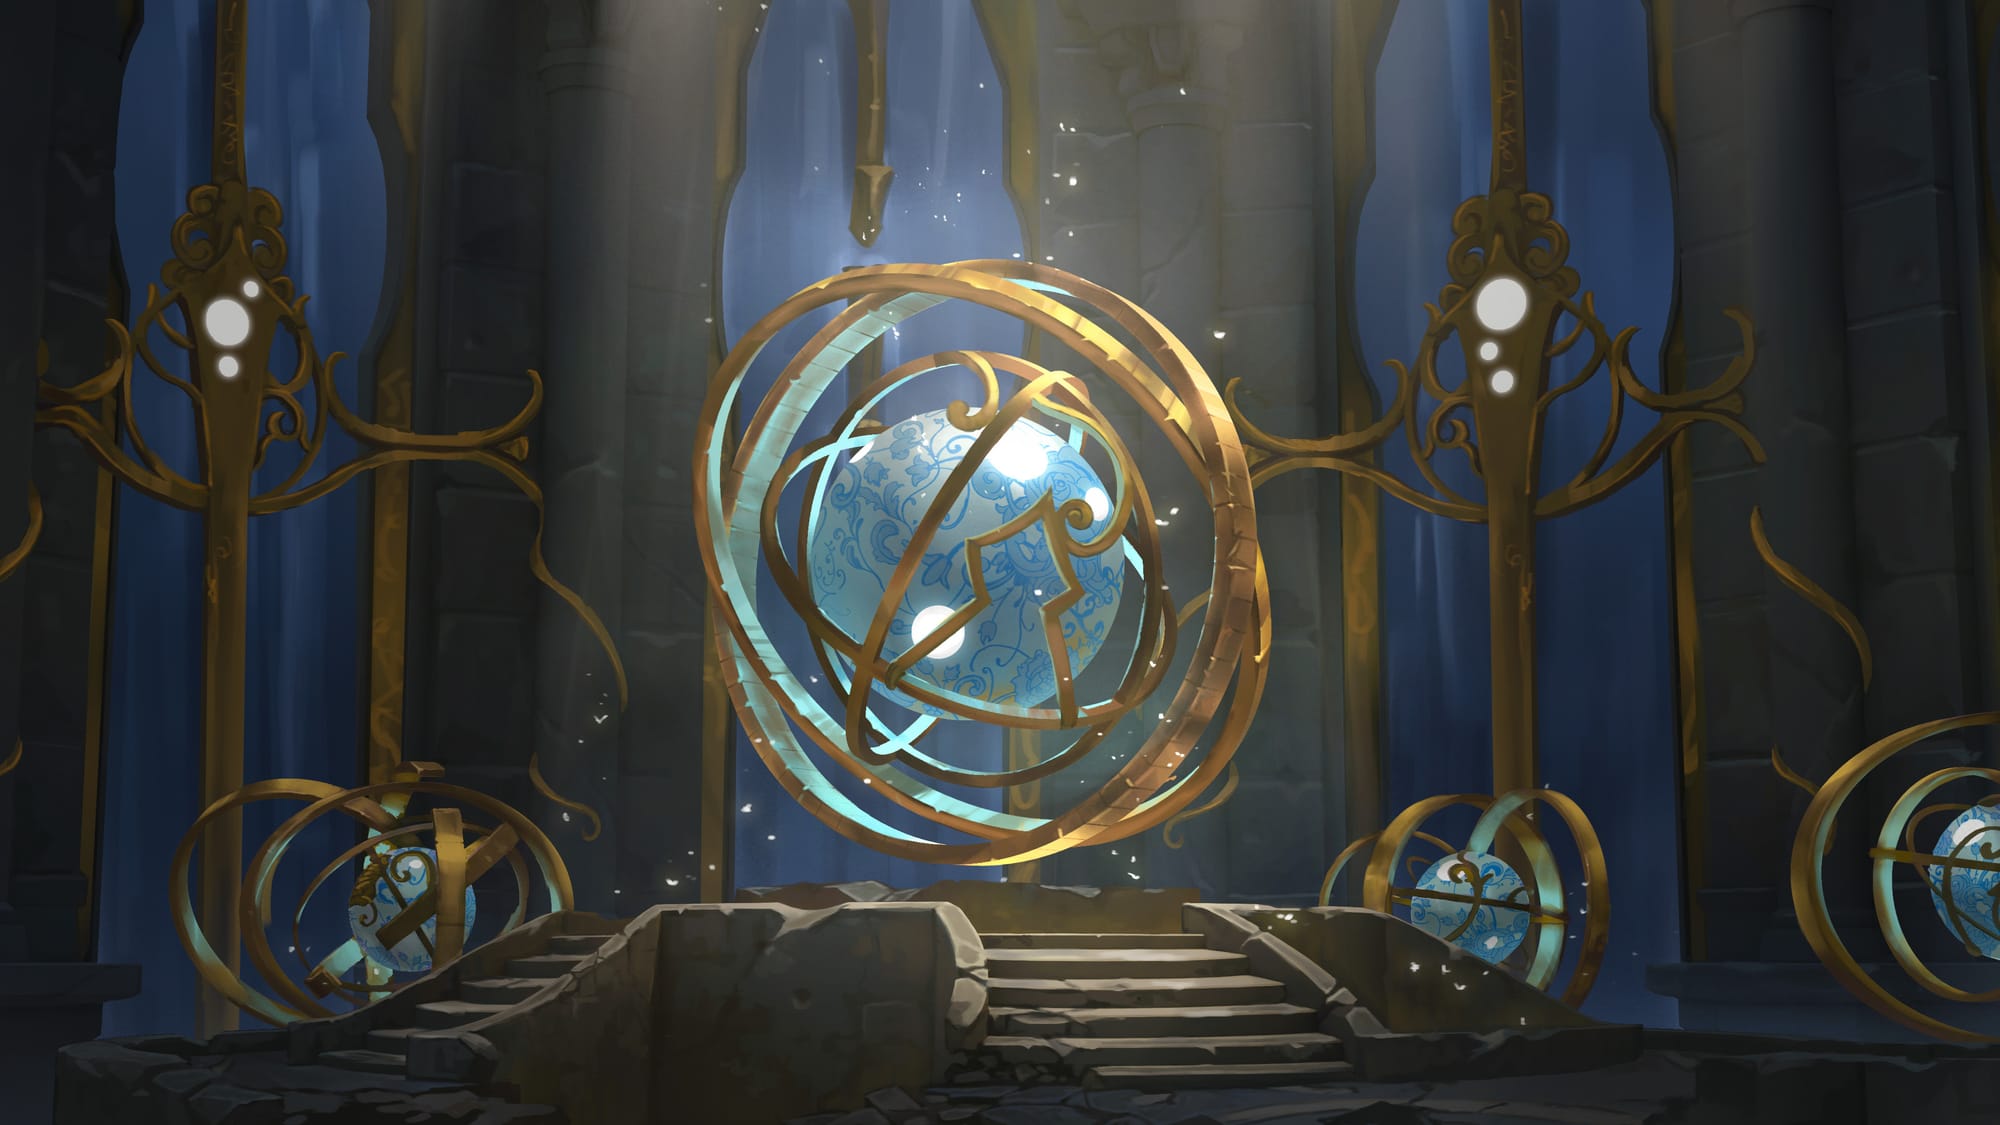
This map also comes with an illustrated animated scene to showcase the grandeur and mystery of the chamber as the party makes their way into the ruins.
8. Ring of Storms — Giant Ancient Sundial (Rain)
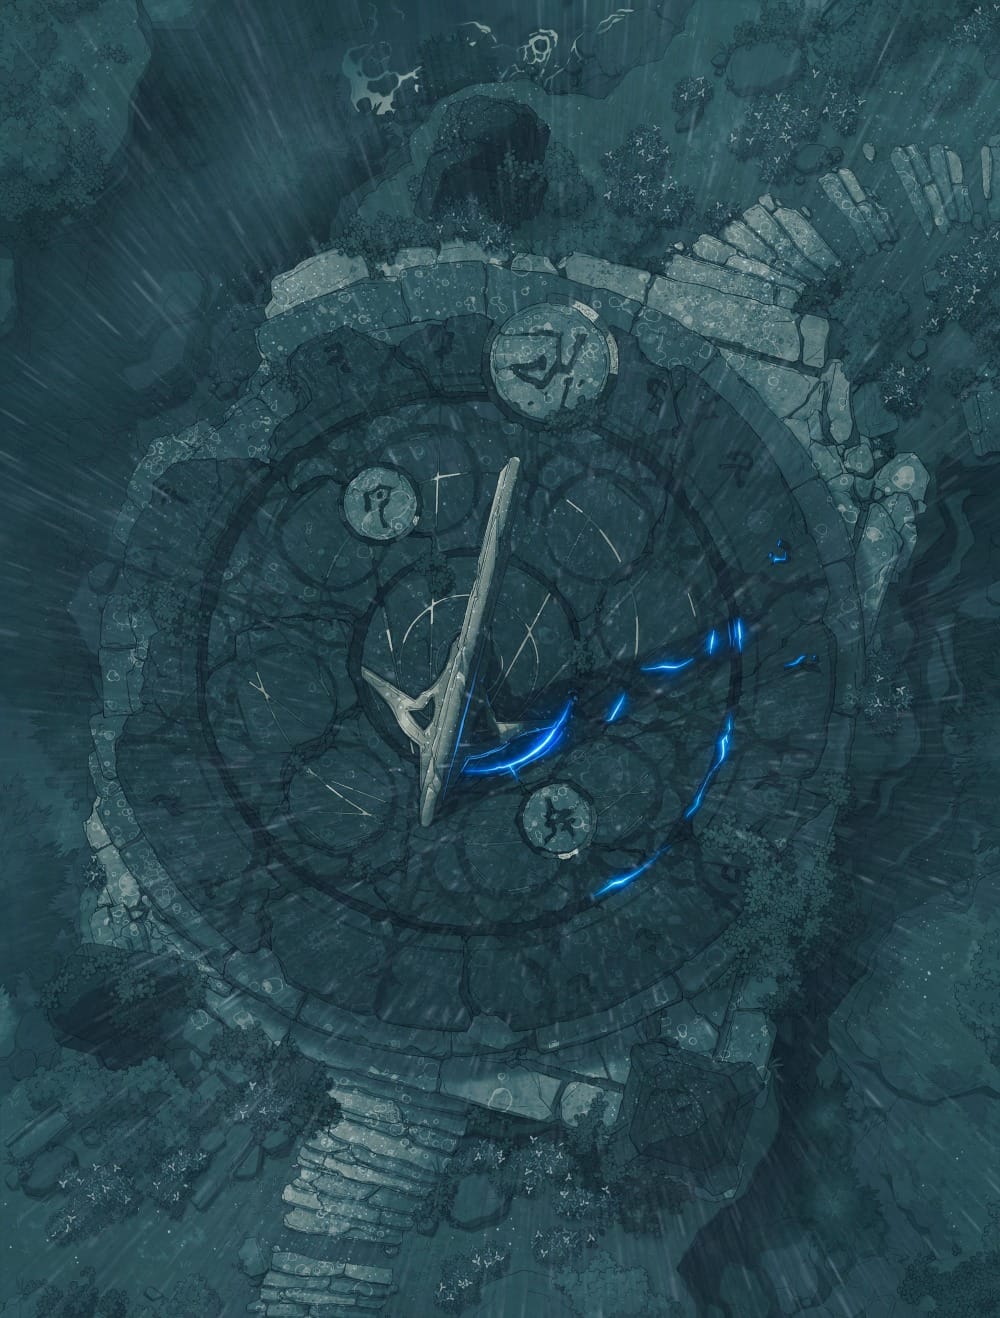
The Ring of Storms gets a brief but evocative entry in the book—a mountainous refuge for a sect of powerful drow spellcasters during the Age of Giants, only to be destroyed when an enormous dragonshard fell from the Ring of Siberys.
The rainy variant of this Giant Ancient Sundial map is a striking choice for capturing the melancholy of a place obliterated at the height of its power, and the veins of blue energy seeping through the stone hint at the impact the dragonshard had on the land.
9. Tharkgun Dark — Castle Battlements (Massacre)
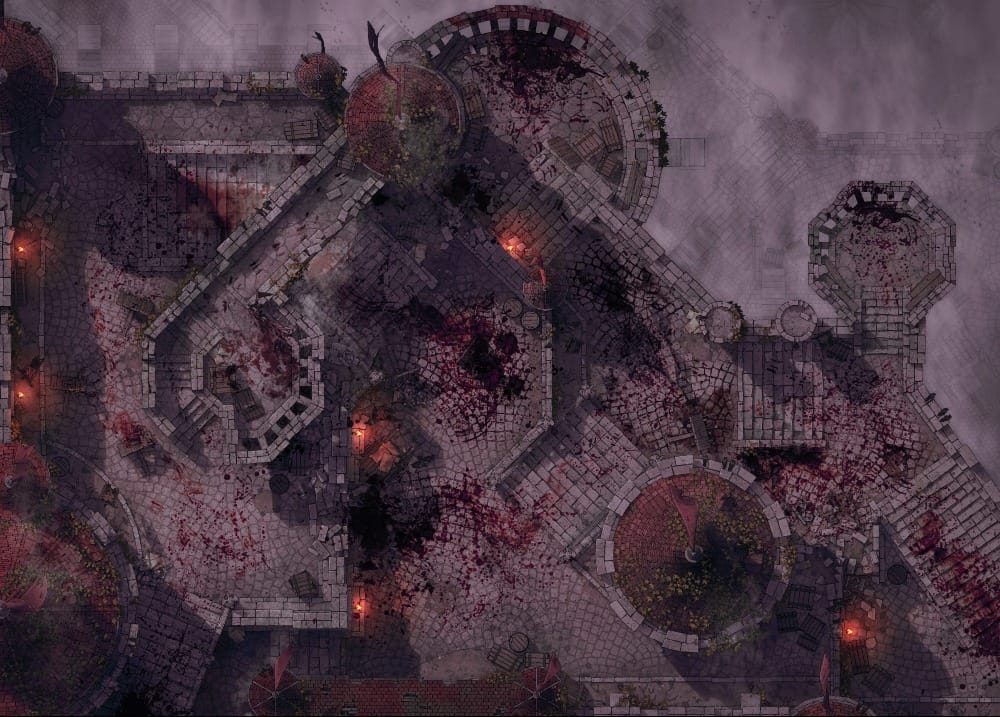
Tharkgun Dhak is a giant-built fortress carved into a cliffside in the Fangs of Argarak, and a notable entrance to the dark realms of Khyber. That it is now infested with ogres and aberrations suggests that the fortress changed hands at some point… and not through negotiation.
Between blood-soaked cobblestones and the torches barely cutting through the rolling fog, the massacre variant of this Castle Battlements map paints the vivid picture of the brutal conflicts that have taken place here.
10. Last Chance Village — Jungle Village
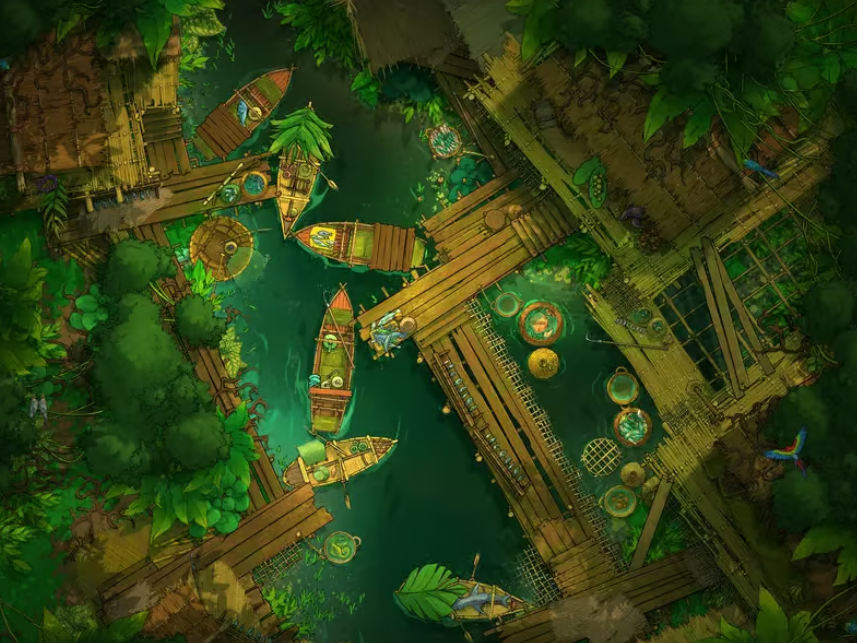
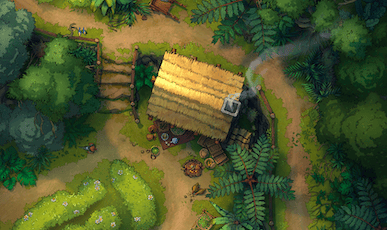
Last Chance Village appears in the Crab Temple adventure as the final stop on the coastal route from Stormreach—a small farming settlement that’s cozy enough, though its name is not at all subtle about what’s coming next for bright-eyed explorers.
This Jungle Village map sells the picture of a peaceful, lived-in settlement, perfectly capturing the warmth that makes the wilderness around it seem all the more intimidating.
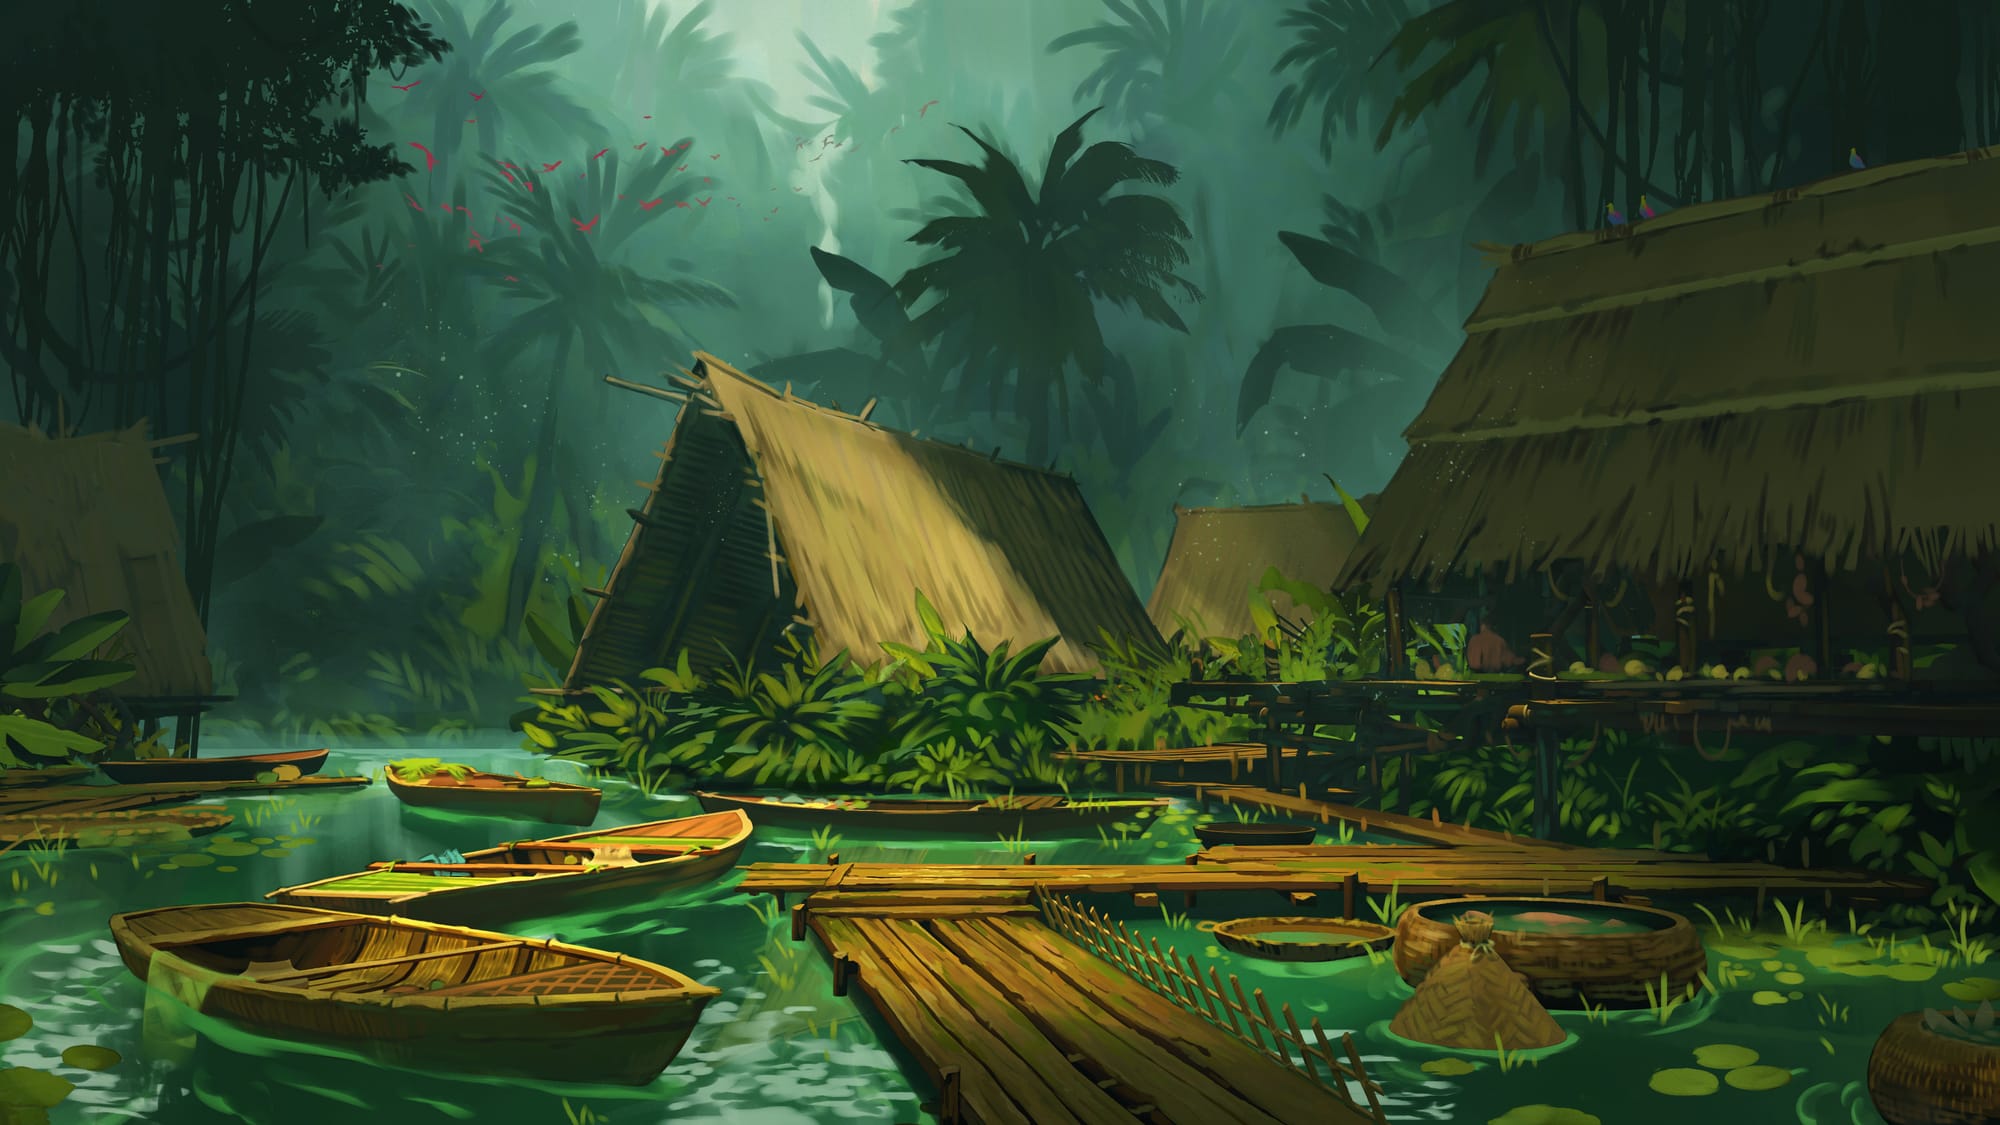
This illustrated animated scene captures the village at its most peaceful in the morning mist—truly a good final breath for your party before the jungle takes over.
Still Looking for The Perfect Fit?
Czepeku’s Fantasy Maps library includes over 8,000 battlemaps spanning all sorts of jungles, ruins, underground cities, and everything in between—all tagged by setting, theme, and environment to make searching quick and easy.
Browse the full collection here and find the right map to bring your next Eberron session to life!
👉 How to Find the Czepeku Map You Need
Start Your Adventure With a FREE Asset Pack!
Keep up to date with the latest from Czepeku, sign up to our mailing list now and receive an introductory goodie bag of fantasy and sci-fi maps, scene, and tokens.