
Written by Annie S.
Arcana Unleashed: Deadfall is a high-level magical spy thriller D&D adventure that sends the party from the crowded canals of Eltabbar into the depths of Thaymount for a level 20 showdown with the legendary necromancer, Szass Tam himself. Starting at level 11, the characters become agents of Operation Deadfall and spend the campaign undermining Szass Tam’s network, gathering allies, and trying to stop a ritual that could unleash an army of demonic undead across the land.
Deadfall already includes plenty of maps for its major encounters, but a campaign this big and a setting this rich leave plenty of room to explore beyond them. We’ve picked out ten battlemaps to help flesh out some of its most memorable locations, whether you want more space for roleplay, a larger headquarters for your operatives, extra encounters during travel, or a suitably spectacular battlemap for the final fight.
⚠️ Adventurers, turn back! If you’re about to play Deadfall, this article is full of spoilers best left in your GM’s hands. Send them the link instead, back away slowly, and pretend you saw nothing about demon-powered necromancy.
1. Eltabbar’s Canal Bazaar — Floating Market
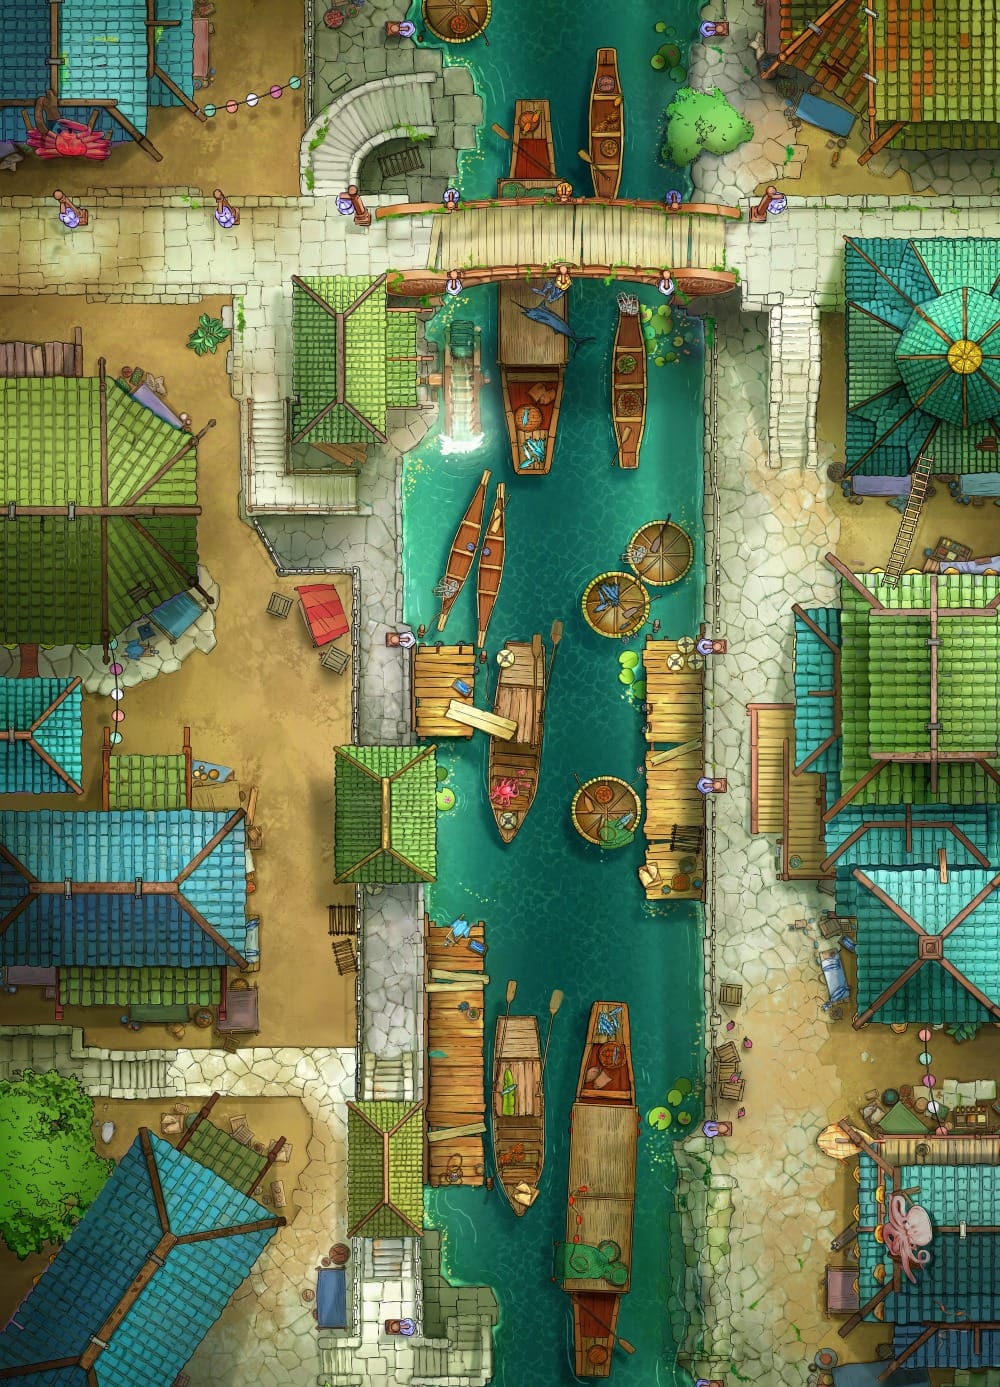
Deadfall opens in Eltabbar’s Bazaar Ward, Thay’s largest open-air marketplace spanning over several canals and packed with market stalls. The campaign begins on one of its famous Market First Days, just before a death tyrant and its undead horde turn an afternoon of shopping into the party’s first taste of Szass Tam’s growing threat.
This Floating Market is a great place to expand beyond the adventure’s encounter map, with boats and stalls giving the Bazaar Ward the busy atmosphere described in the book and leaving plenty of room for a fun shopping session before the trouble starts.
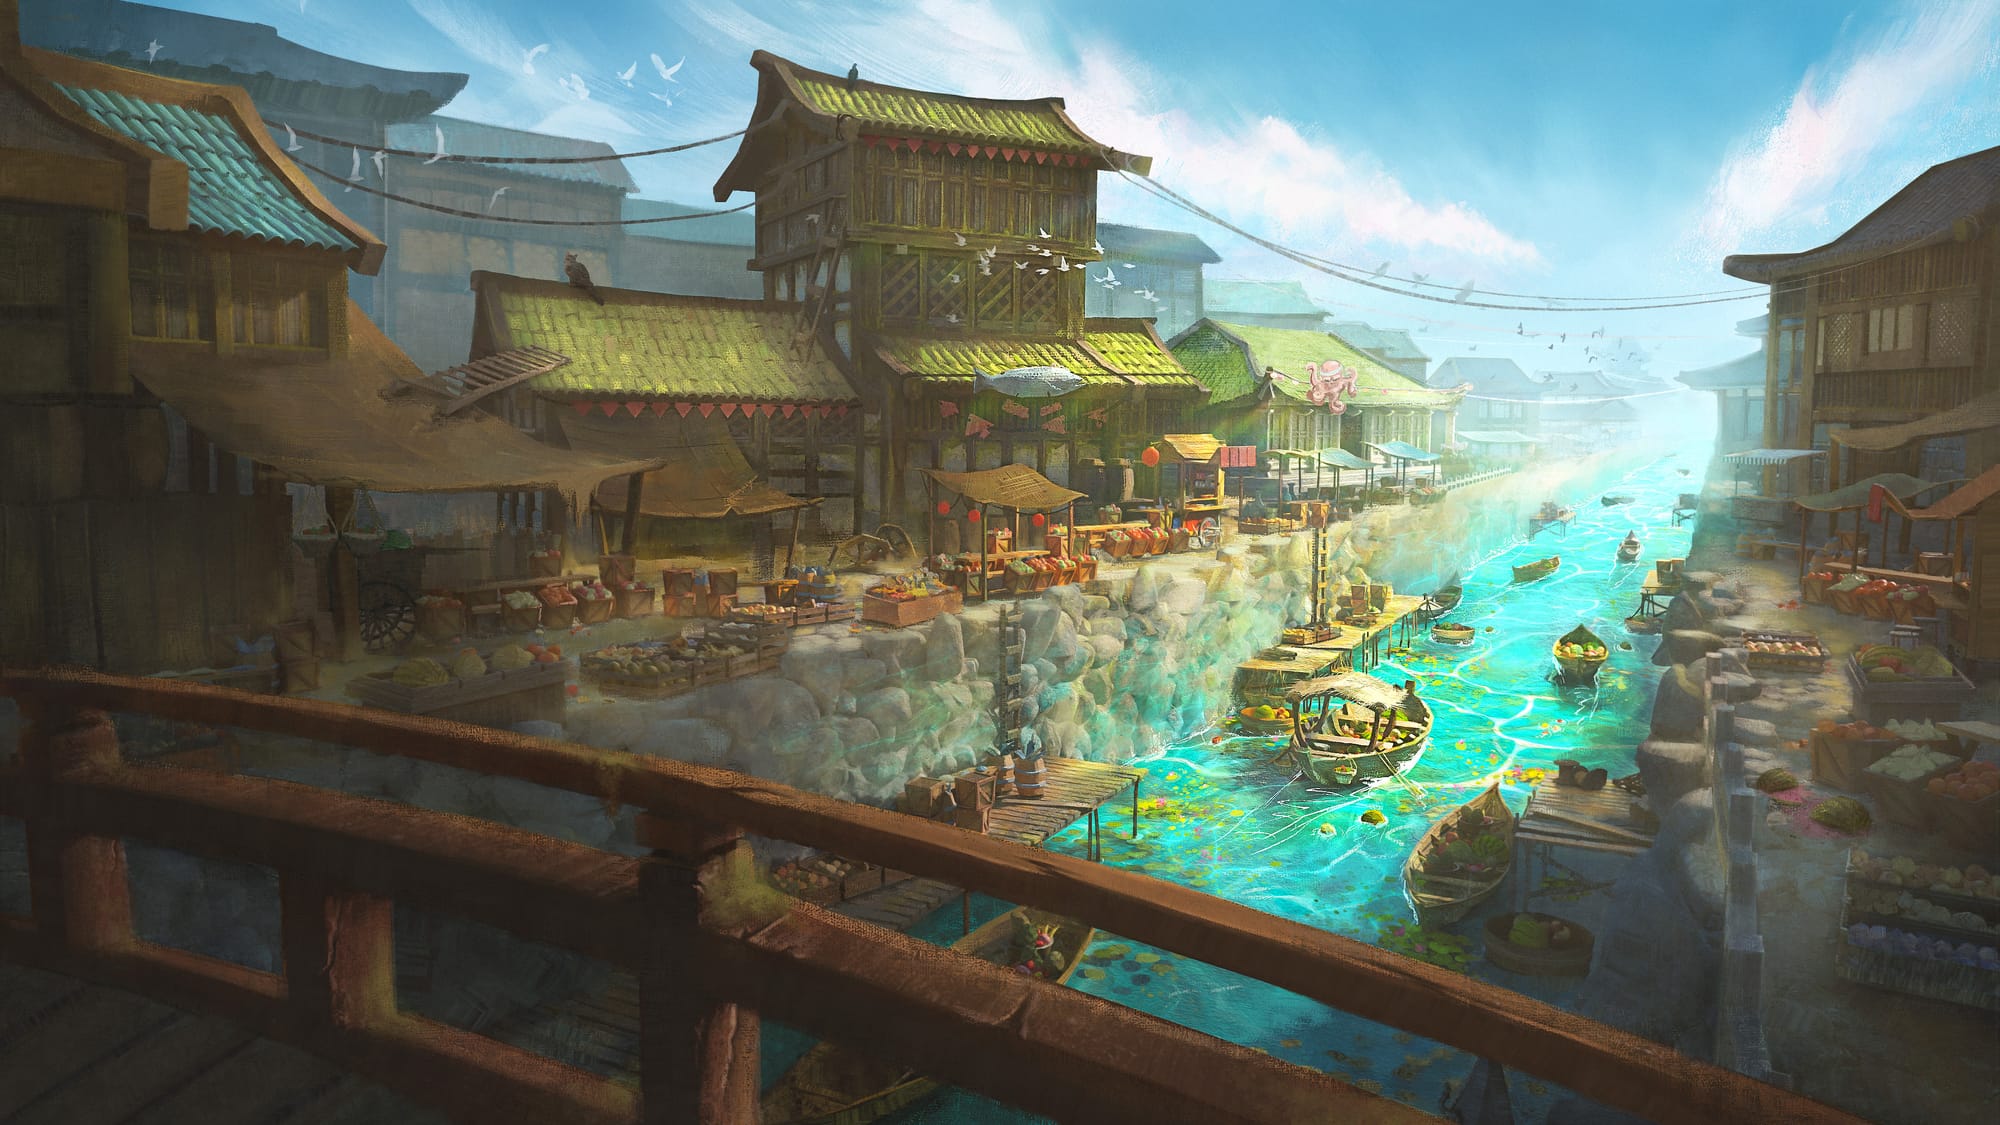
The map also comes with an animated illustration overlooking the canal, perfect for giving players their first look at Eltabbar before the initiative dice start rolling.
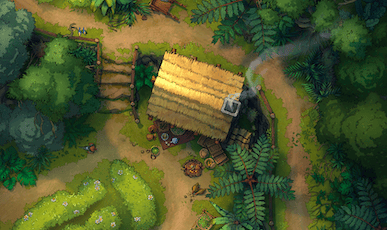
2. Wrynn’s Bespoke Vestments — Honey Store (No Honey Shop)
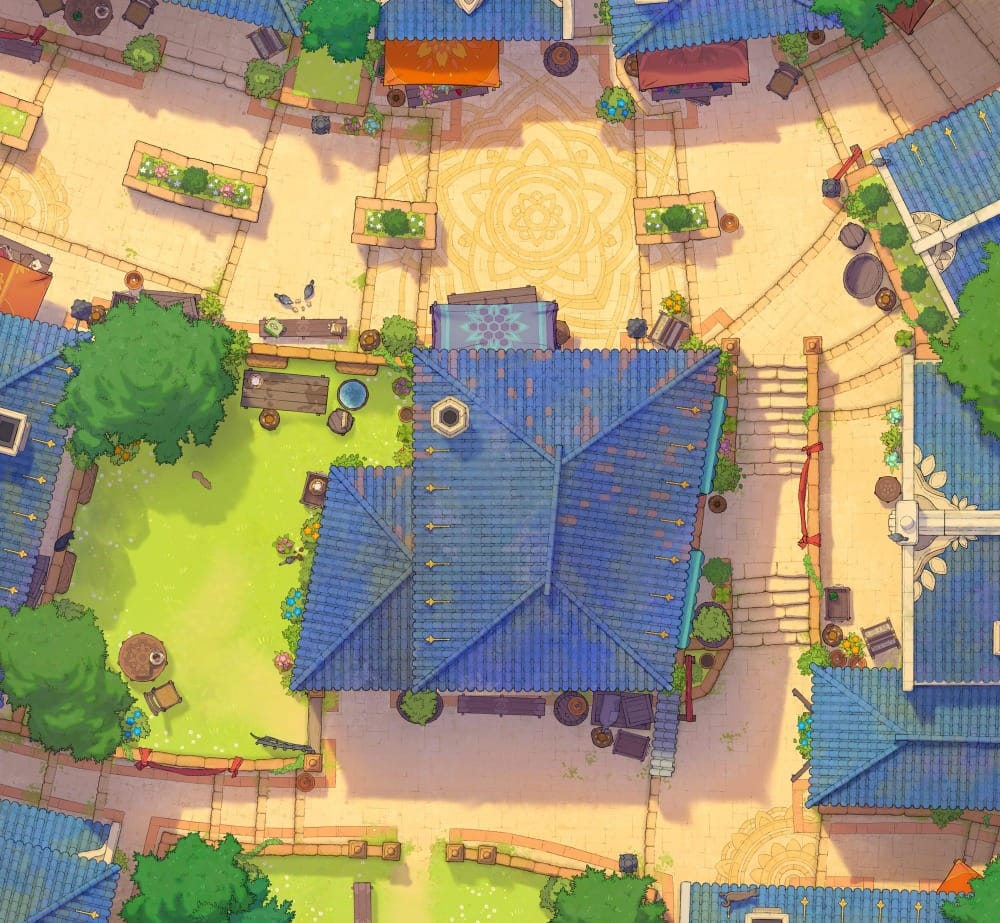
After the attack on the bazaar, the party is drawn into the plot of Deadfall through a visit to Wrynn’s Bespoke Vestments—owned by respectable tailor Wynston Wrynn—who is also Zulkir Xelnene Thrul’s spymaster. Behind the warm storefront lies the secret office where Thrul recruits the characters into Operation Deadfall.
While the shop itself may not see as much table time as Thrul’s demiplane, giving Wrynn’s storefront a battlemap—like this Honey Shop—can help it become a familiar home base between missions. That familiarity will pay off later, when Szass Tam discovers Operation Deadfall and sends his agents after Wrynn.
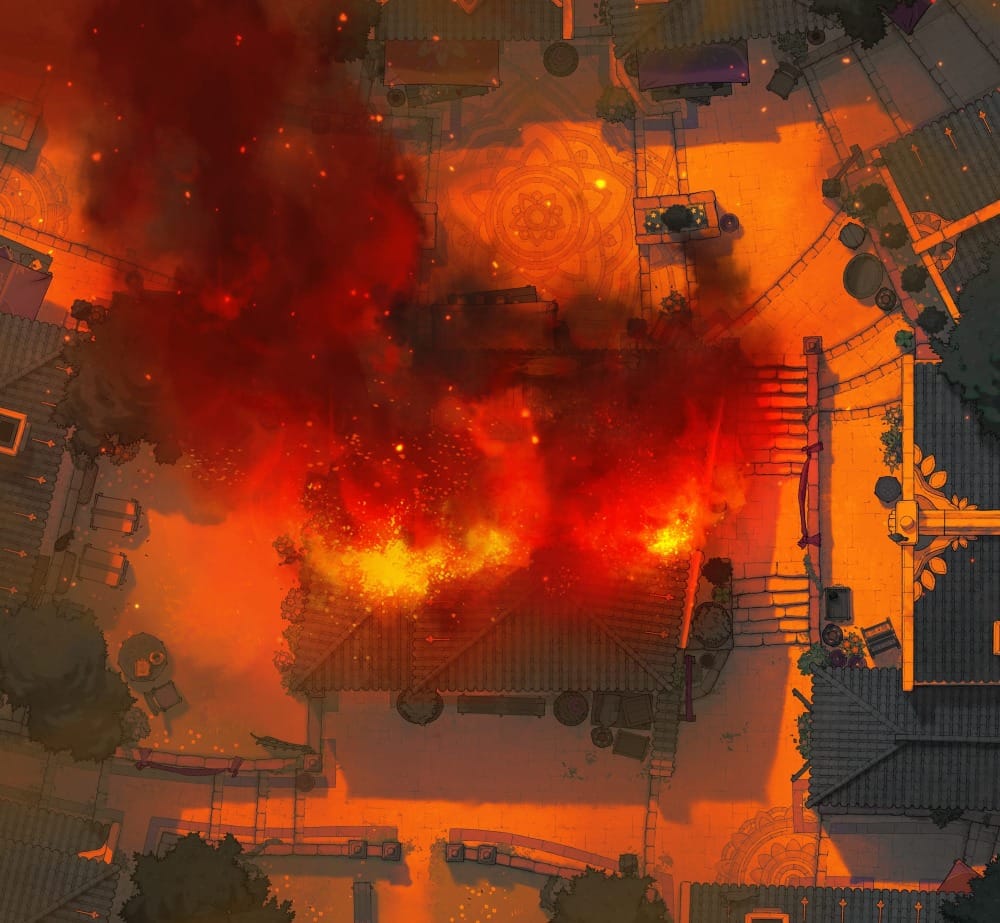
If you really want to hit your players where it hurts, the map also comes with massacre and fire variants to remind them what’s at stake if Szass Tam claims victory.
3. Zulkir Thrul’s Demiplane — War Room Interior (War Map)
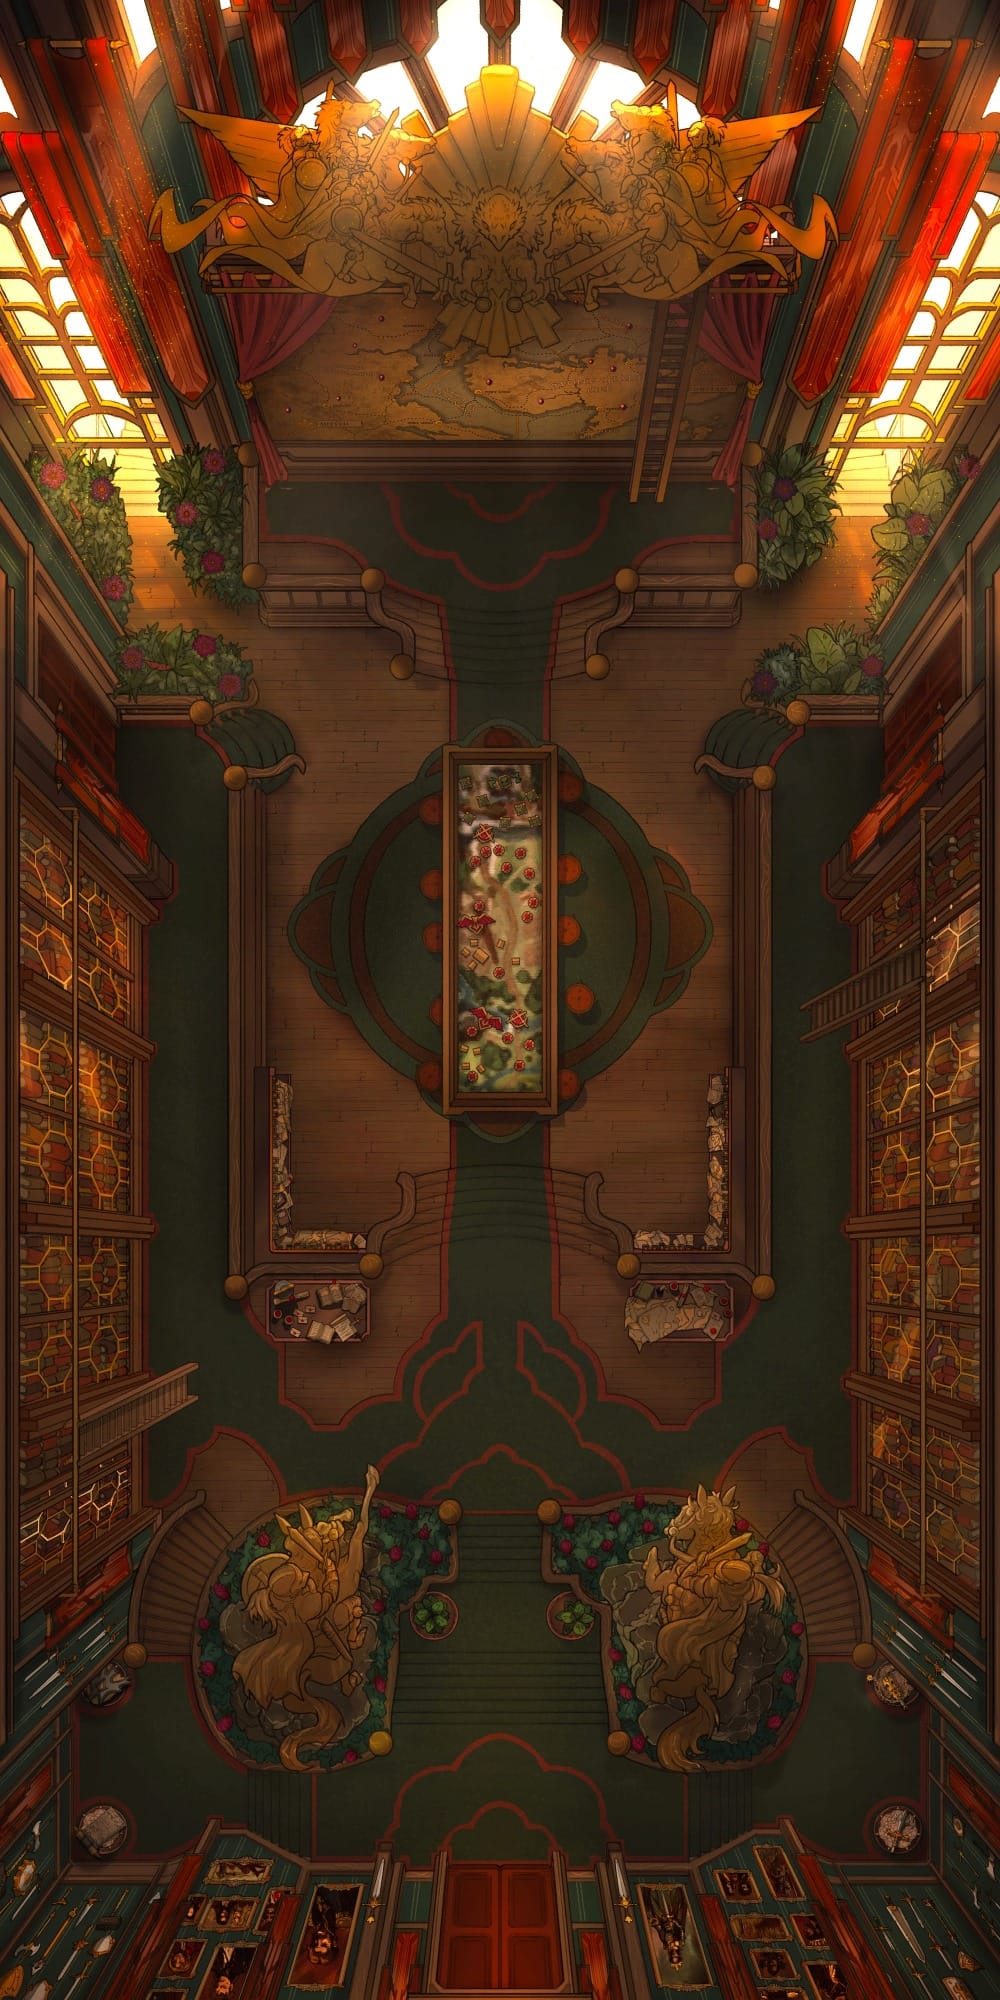
Zulkir Thrul’s demiplane serves as Operation Deadfall’s secret headquarters, hidden behind a magical doorway in Wrynn’s back office. The book depicts it as a beautifully furnished private office where Thrul briefs the party on their missions.
This War Room Interior fits the role of a strategic base nicely, with its maps, bookshelves, and central table giving Thrul a suitably impressive place to brief the party. The richer decor also helps reinforce her status and power as a zulkir, without straying too far from the office described in the book.
4. Two Plateaus Shipping Company — Hippogriff Postal Centre
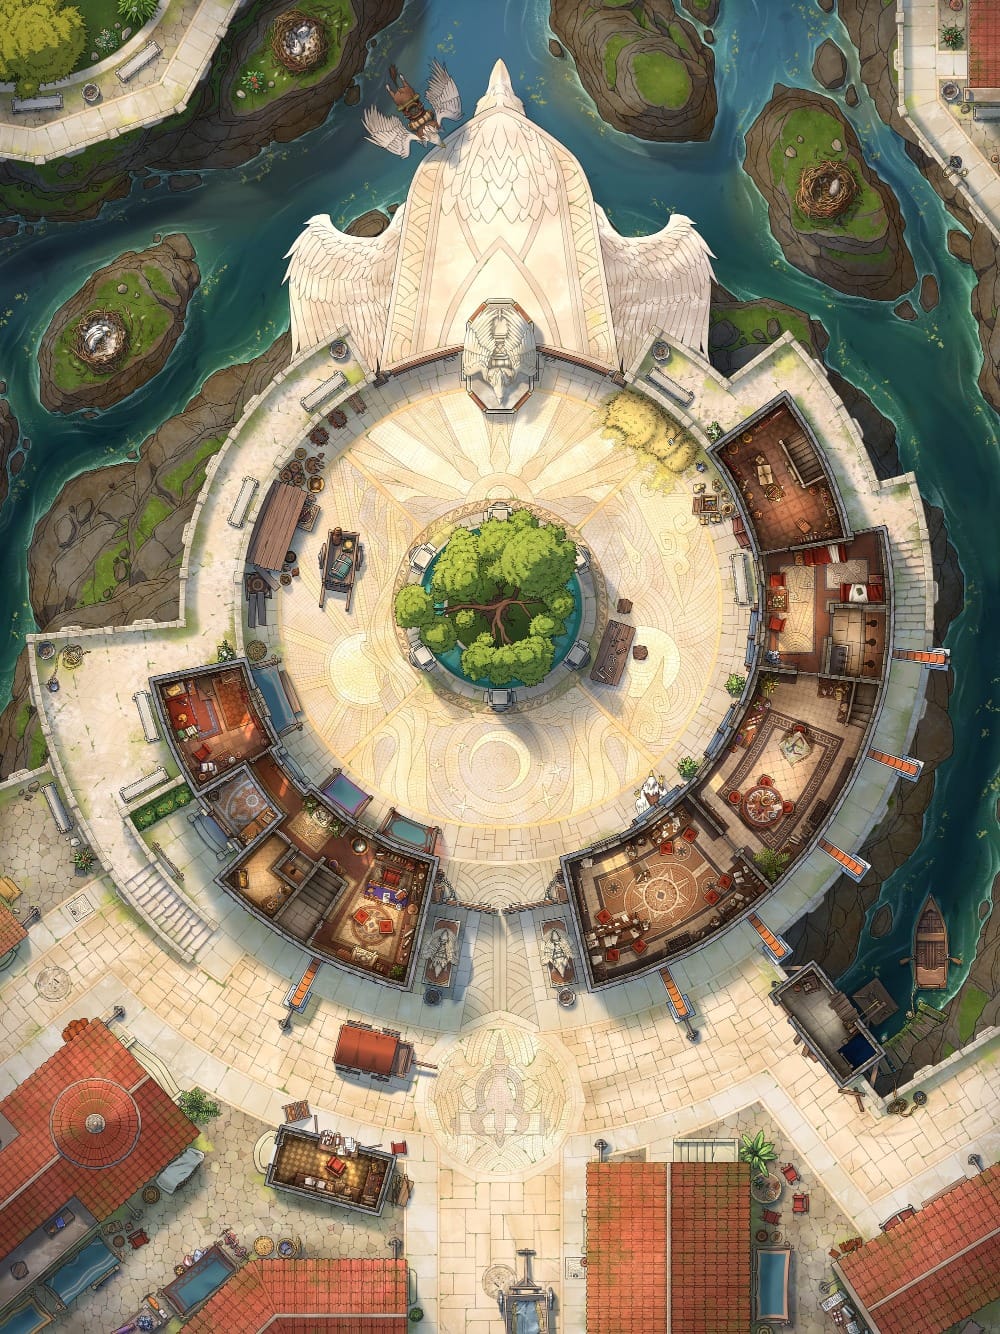
One of the party’s first major infiltrations in Eltabbar takes them to the Two Plateaus Shipping Company, which moves valuable magic items for some of Thay’s most powerful Red Wizards. Its owner, Iskan Iskari, is secretly passing information to Szass Tam while skimming from shipments, giving the party a chance to search his headquarters for evidence and turn his double-dealing against him.
This Hippogriff Postal Centre works well as a stand-in battlemap for the company, with plenty of offices, workrooms, and storage spaces for the party to poke through while trying not to attract attention. The open courtyard might also give guards and employees lines of sight across the complex, making room-to-room sneaking little more nerve-wracking.
5. Tax Station Number 18 — Island Toll Castle
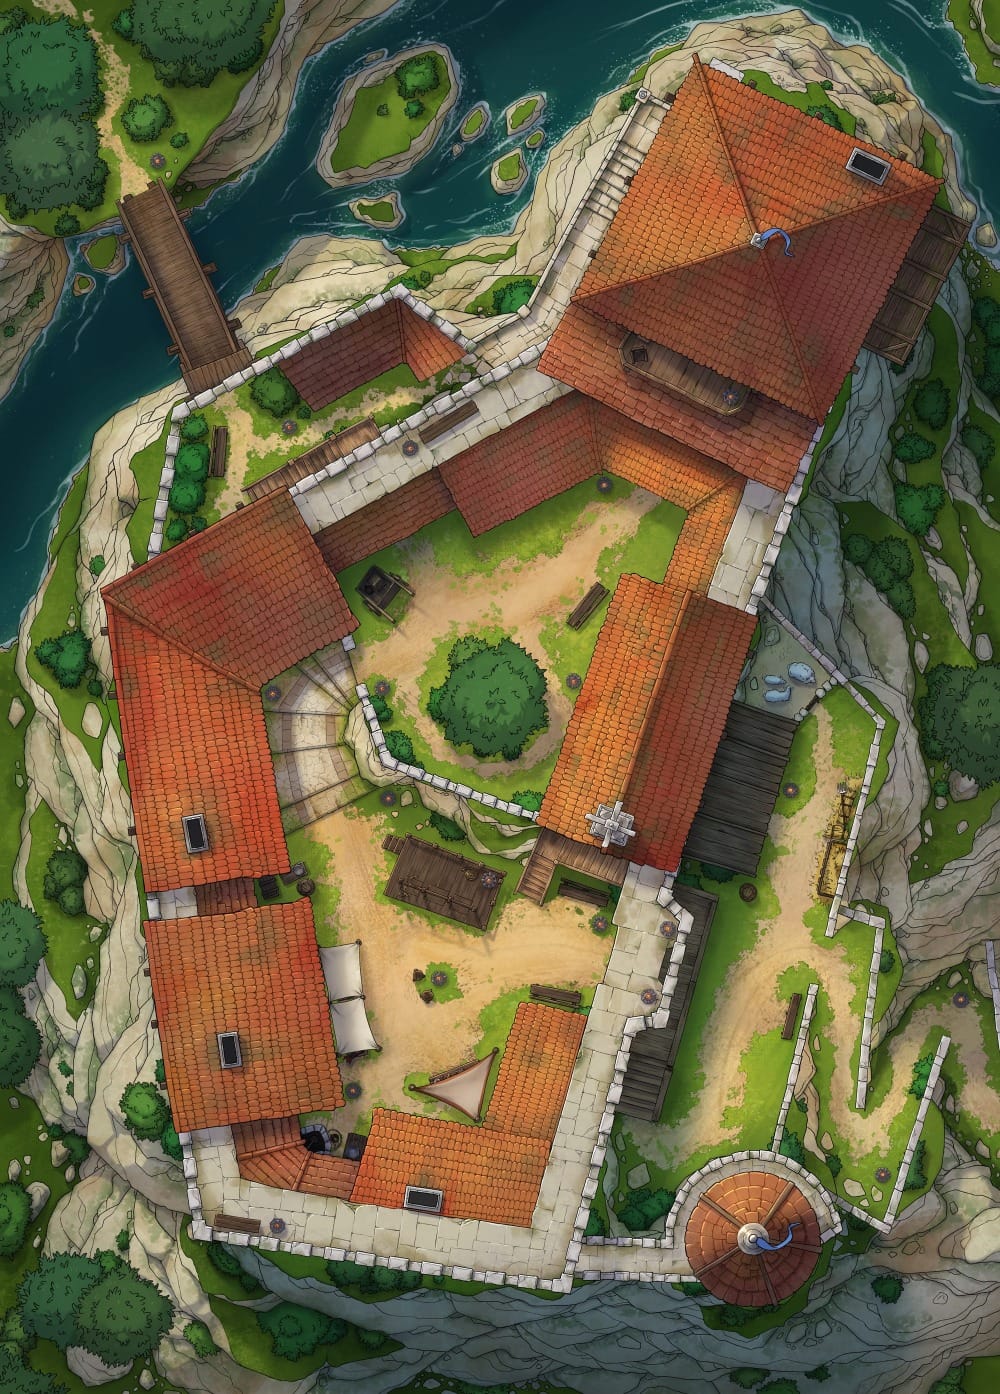
Tax stations are a common sight throughout Thay, and Tax Station Number 18 is one such outpost—once used to tax miners travelling towards the Sunrise Mountains, before falling into disrepair and being taken over by Fallon Nor’s militia. Today, the old keep has become a makeshift garrison for soldiers defending the countryside from roaming fiends and undead.
The Island Toll Castle is a good stand-in for mapping this fortified outpost, and it can easily be reused for other tax stations that the party passes through during their travels through Thay. For this particular encounter, its three fully furnished floors of battlements and rooms give the militia and party plenty of ground to defend during the demonic assault.
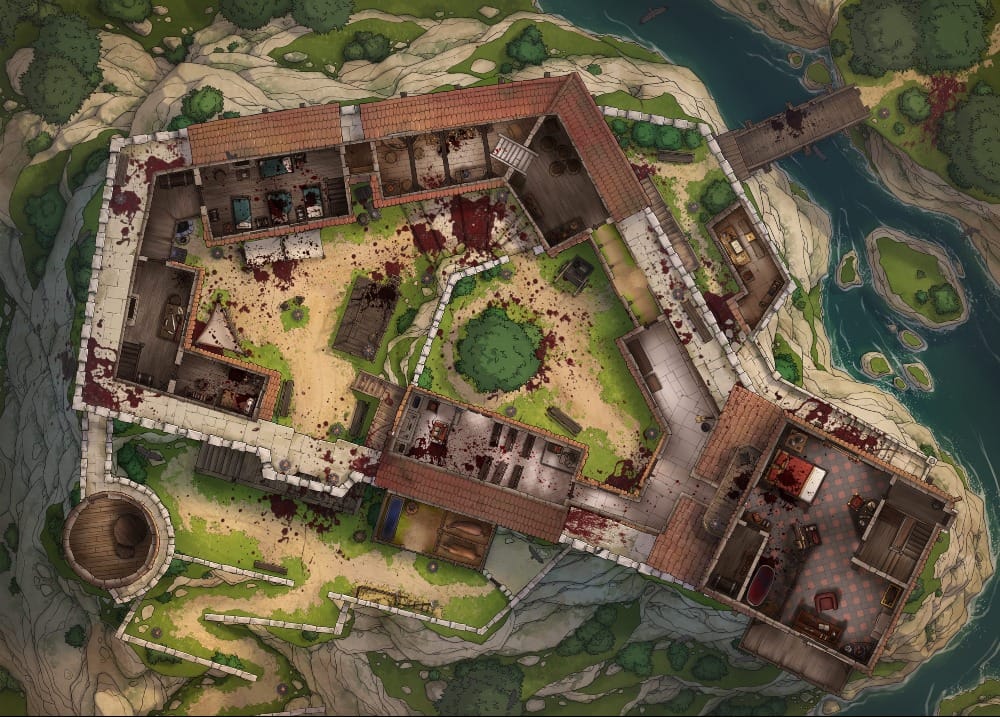
And if the party fails to stop the attack in time, the map’s massacre versions give you a grim way to show the consequences across all three floors.
6. Ala Harbor — Trading Port
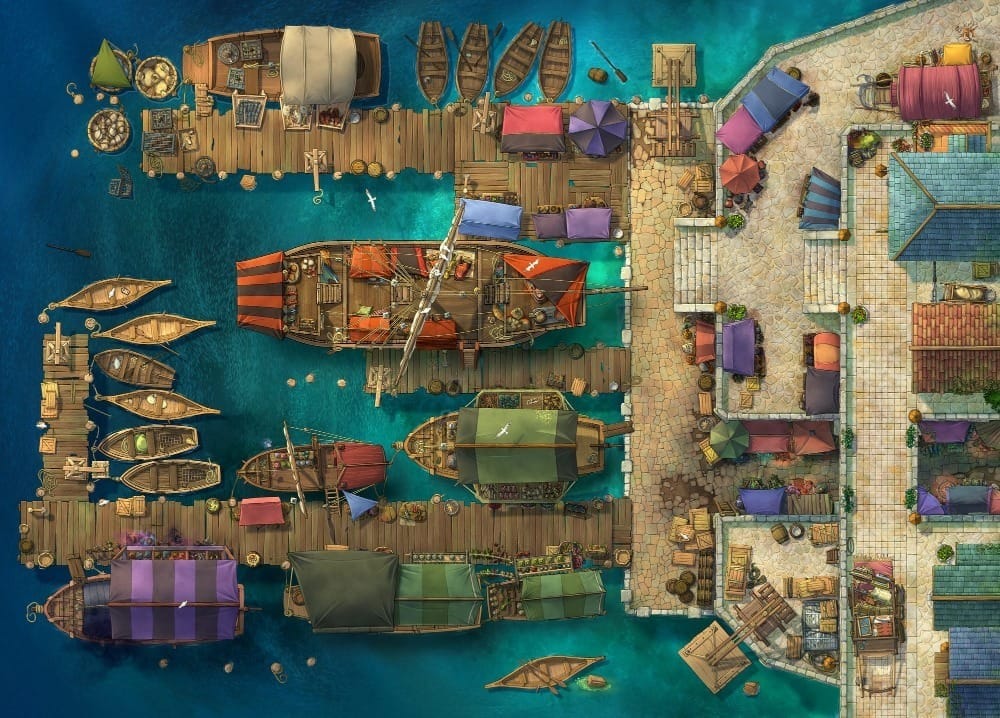
The party reaches Ala Harbor while traveling to Blackrock Cove, brought through a magical portal into the Alaor’s principal port. Home to the Thayan navy, the harbor is packed with sailors, merchants, and “a forest of masts, sails, and rigging”, with dozens of naval and merchant ships passing through its docks.
This Trading Port map captures the harbour’s bustle, with crowded piers, moored ships, market stalls, and plethora of cargo along the waterfront. The lively map gives the party room to explore, gather info, and shop at Ala Harbor before renting a boat and heading out toward the next leg of their adventure.
7. Ocean Travel — Open Ocean Pack
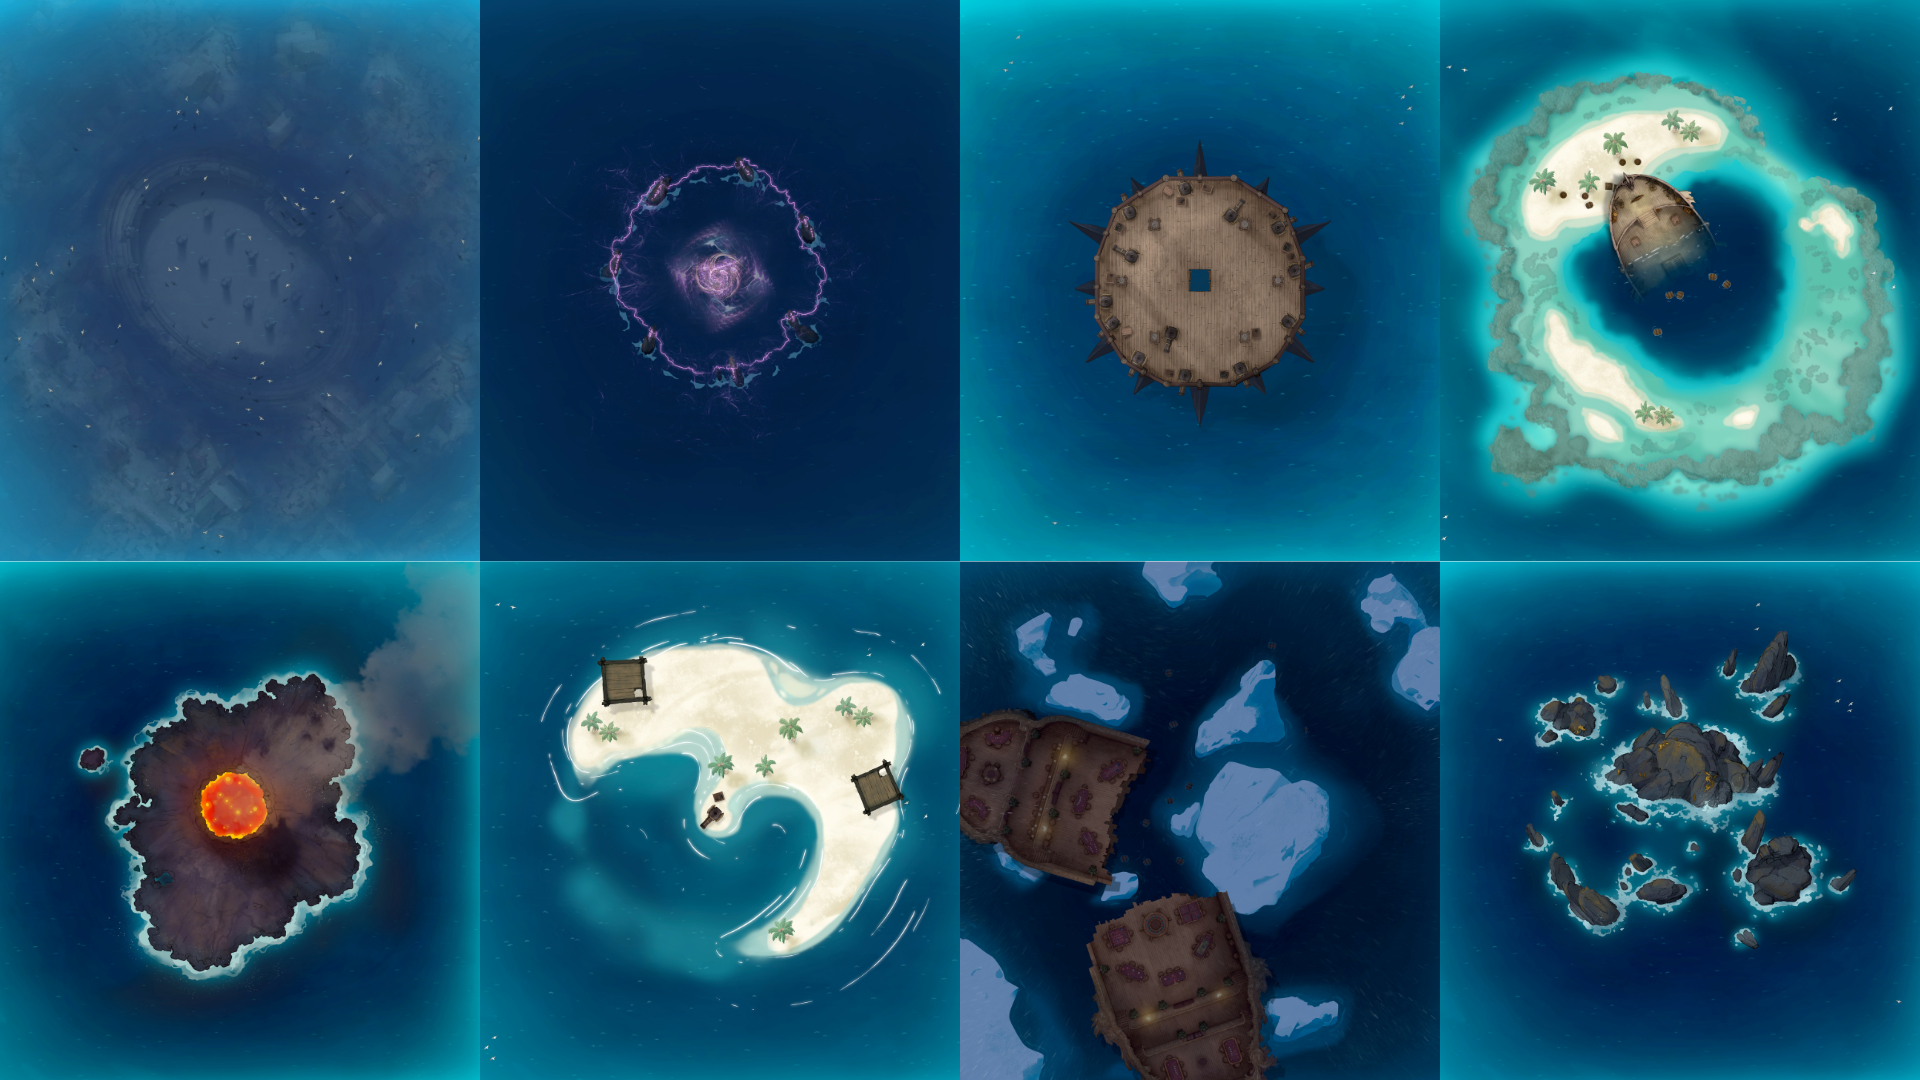
To reach Blackrock Cove, the party has to leave Ala Harbor by boat and cross a stretch of ocean. The book describes Alaor Minor as a rocky island surrounded by sea caves, treacherous reefs, and dangerous sea monsters, giving you plenty of room to turn the journey into an exciting series of encounters rather than skipping straight to the cove.
The Open Ocean pack adds variety to any nautical adventure, with more than 50 modular maps covering rocky islets, storms, wrecks, reefs, and other hazards you can drop in as needed.
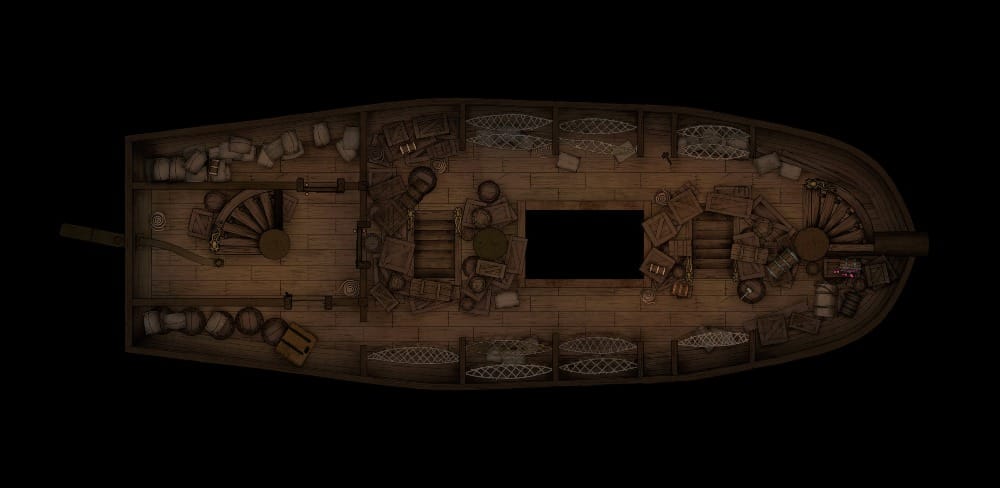
If your party is the chatty type, the undamaged variant of this Haunted Ghost Ship Interior map also works nicely as the party’s rented vessel, giving them three furnished decks for roleplay and planning before they hit the shore.
8. Zultan’s Grove — Jungle Treasure Trove (Cove)
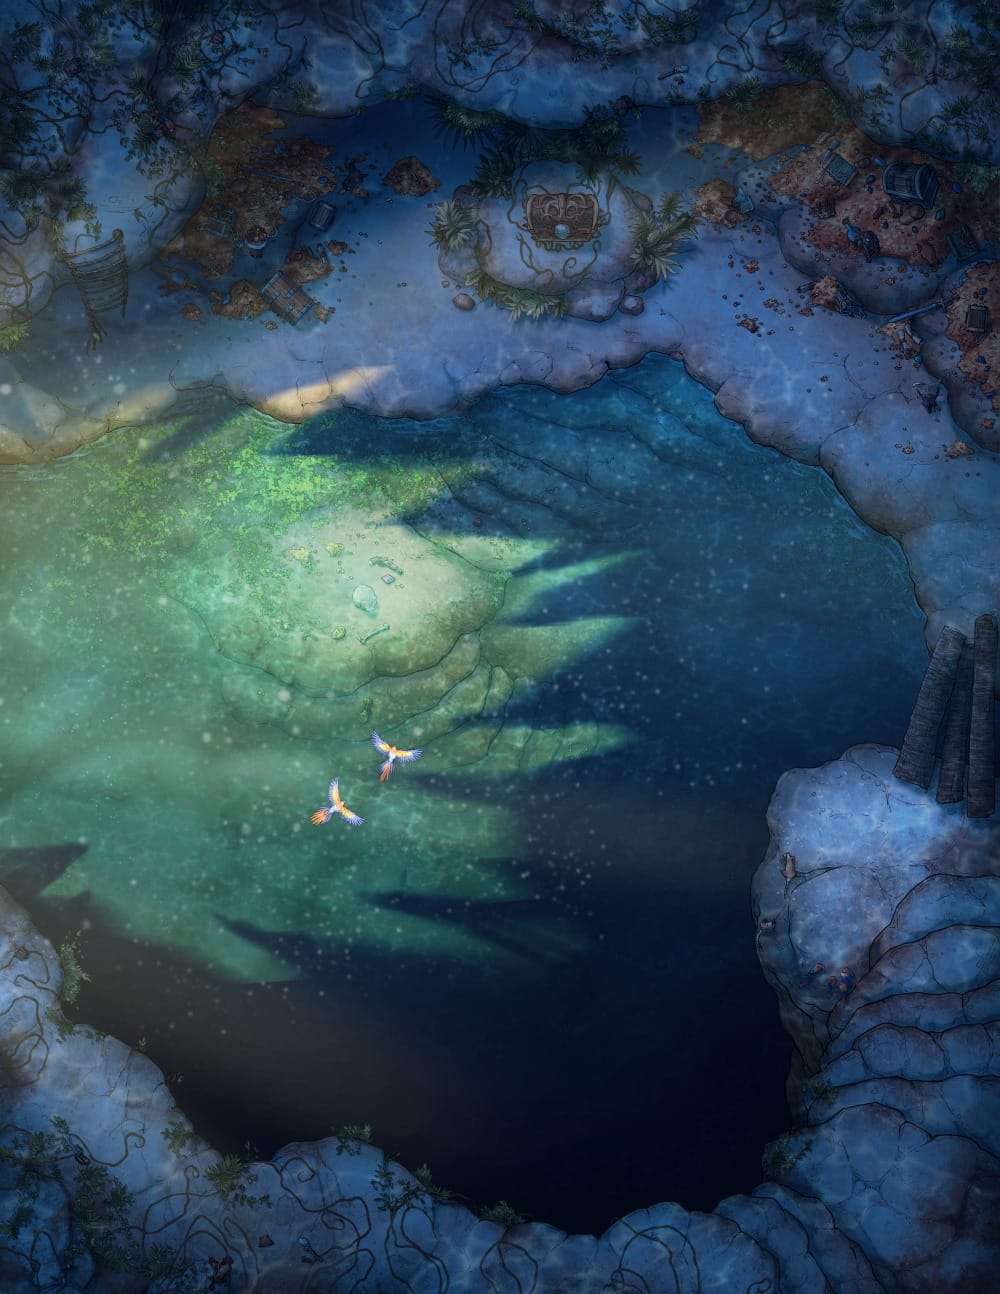
Blackrock Cove already comes with a full annotated map in Deadfall, including Zultan’s hidden sanctum and all the trials leading up to his treasure room. At the very end waits Zultan’s Grove, a serene twilight space where light fall upon an enormous hoard of treasure and the permanent illusion of Zultan himself watches over the prize.
Since the adventure already covers the bulk of the dungeon, this Jungle Treasure Trove is a great fit for dressing up the final treasure reveal. The dark, idyllic grotto filled with heaps of gold gives the treasure chamber a well-earned dramatic payoff once the party finally reaches the end of Zultan’s trials.
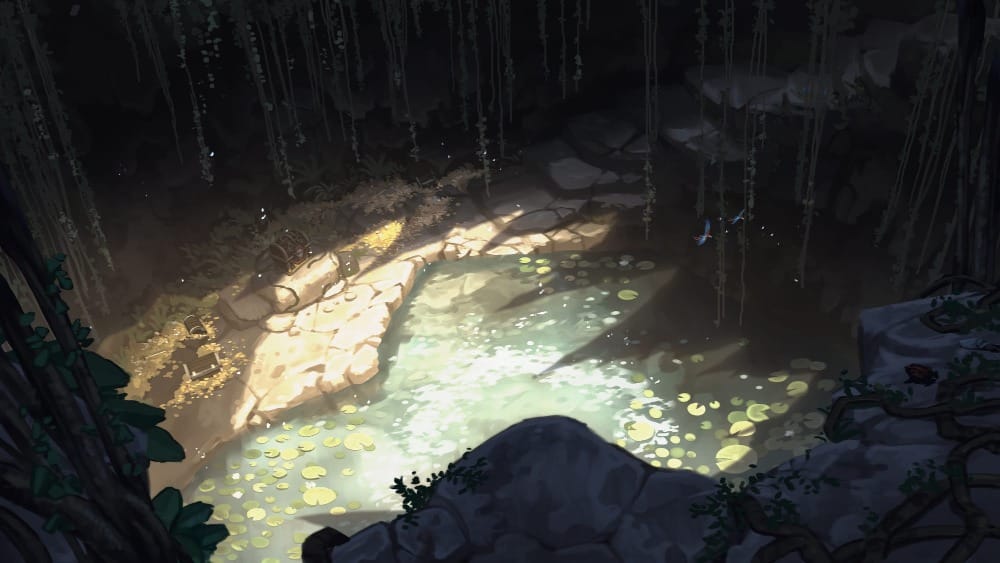
The map also comes with an illustrated scene of the grotto, perfect for revealing the hoard to your battered party.
9. The Citadel — Dwarven Volcano Entrance (Toxic)
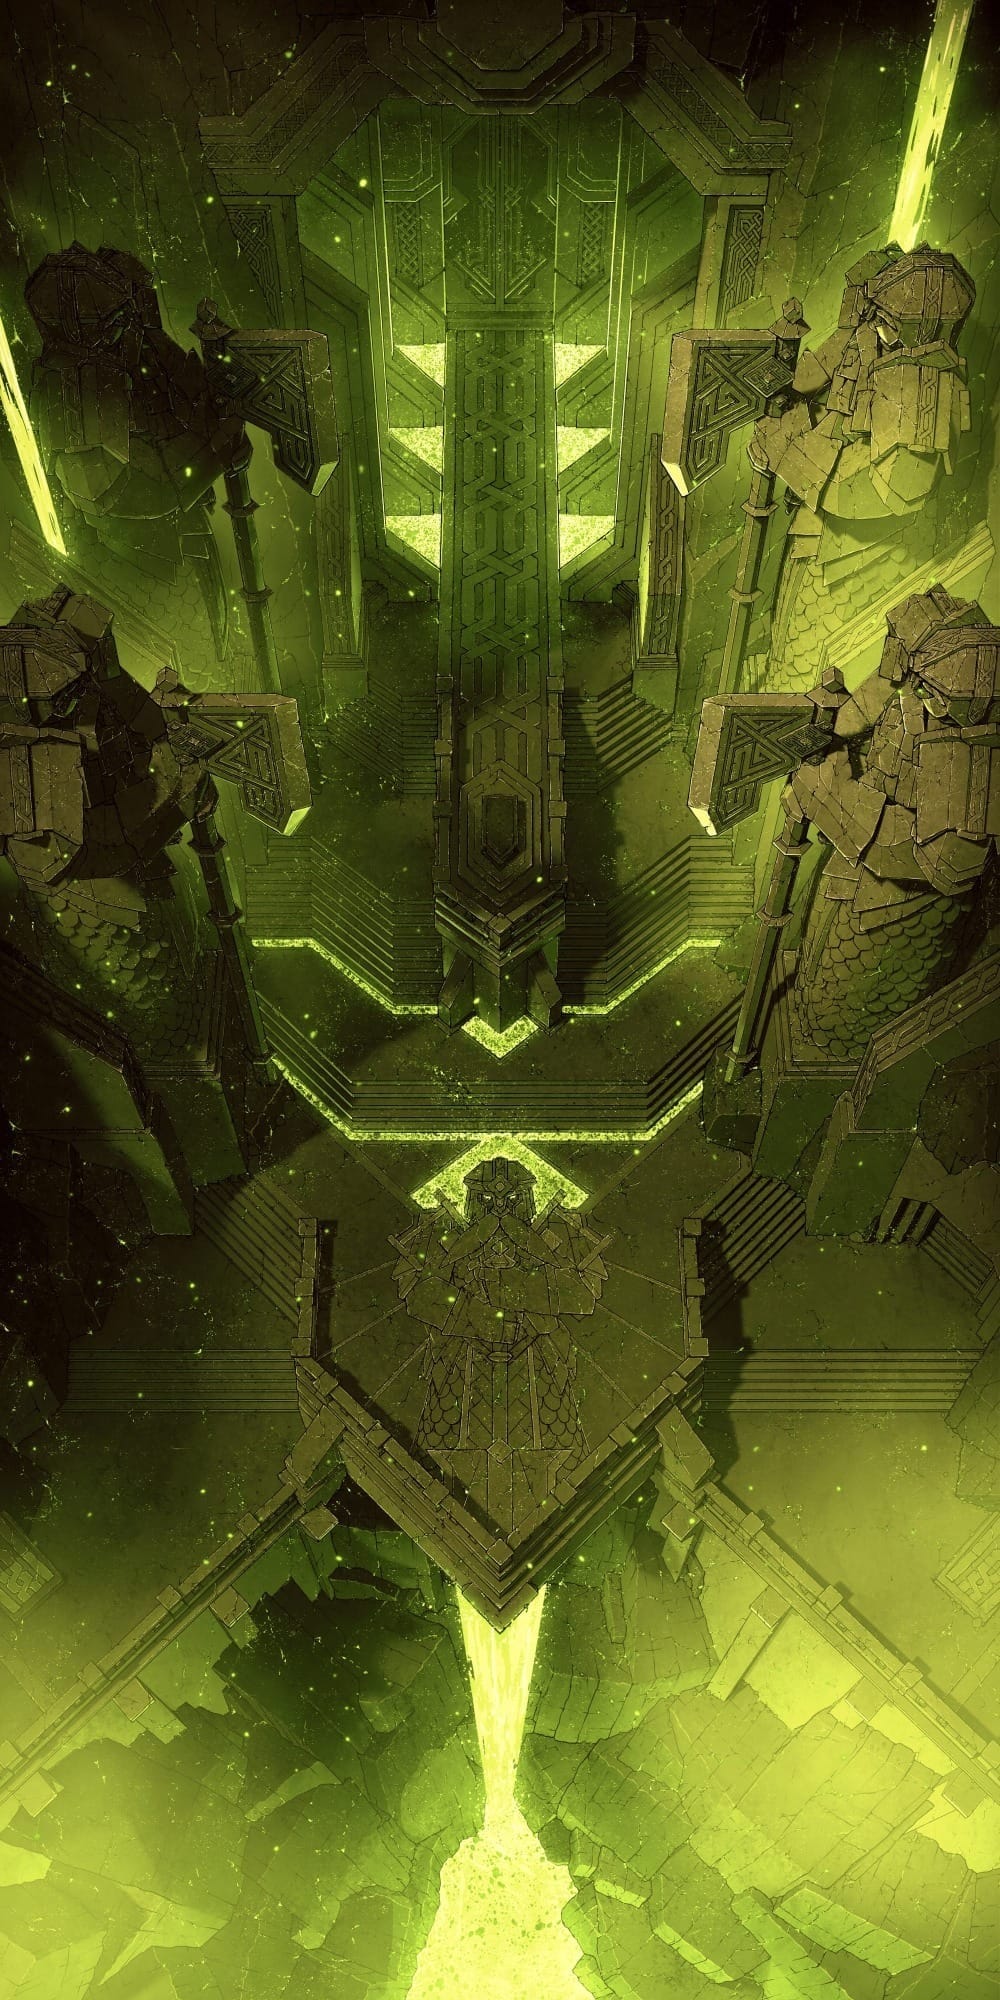
The final stretch of Deadfall takes the party into Thaymount and toward the Citadel, Szass Tam’s sprawling personal fortress. Most of the ancient complex lies underground, built by the sarrukhs thousands of years before modern Thay, and the party eventually descends through its tunnels toward Szass Tam’s necromantic sanctum.
The toxic variant of this Dwarven Volcano Entrance is hard to beat as an imposing approach to the Citadel, giving the party a monumental vista to behold before they head into the final leg of their adventures. Its enormous statues and sickly green glow also tie neatly into the eerie necromantic magic and corrupted green lava found deeper in Szass Tam’s sanctum.
10. Szass Tam’s Sanctum (Ritual Chamber) — Lich Catacomb (Emerald)
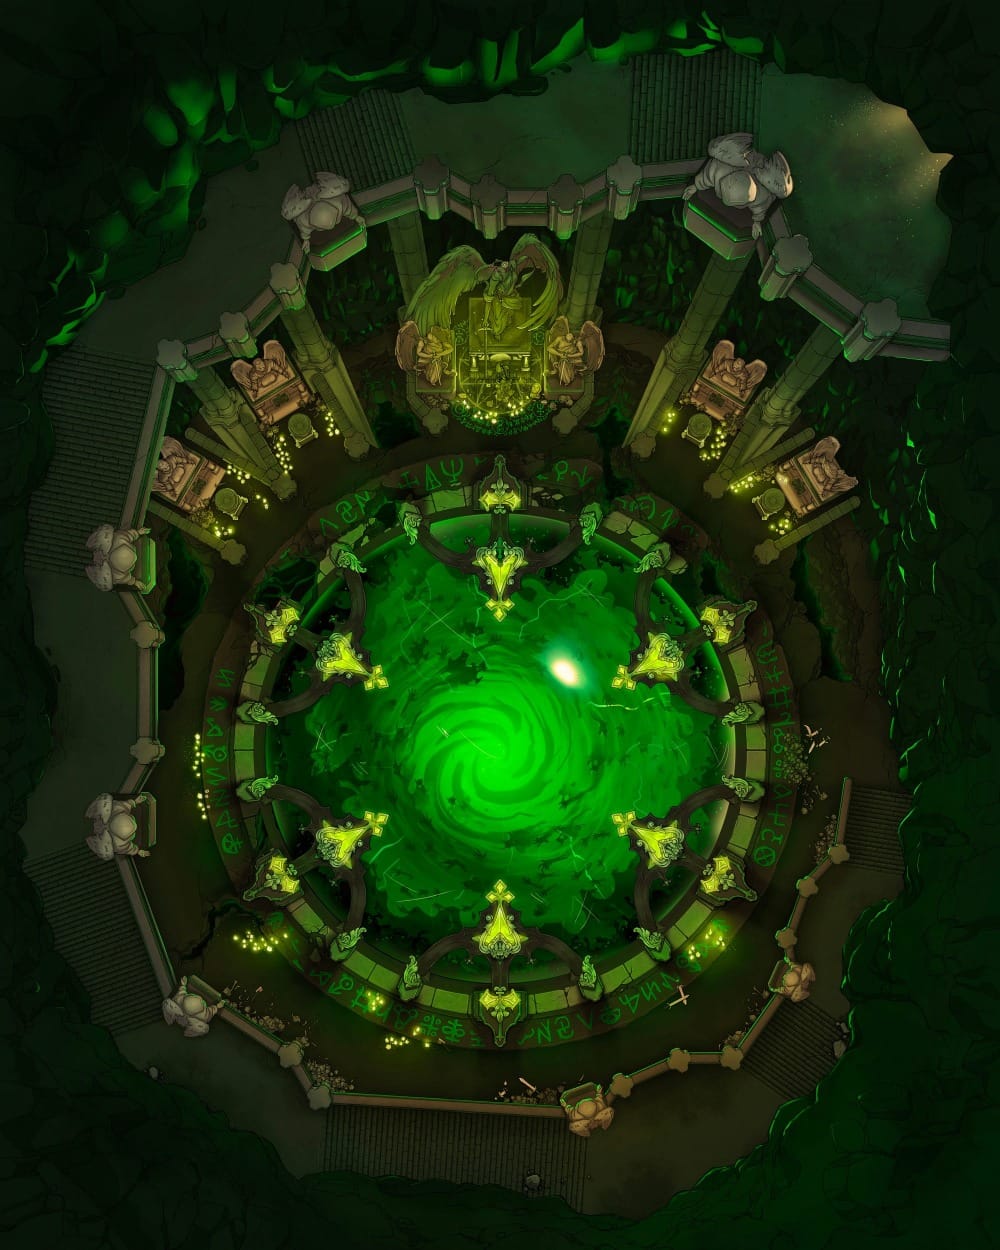
At the very end of Deadfall, the party reaches Szass Tam’s ritual chamber deep beneath the Citadel. The chamber is dominated by a vast circle of glowing green runes, with spectral fiends feeding magical energy into Szass Tam as he maintains the Malefice Mortum ritual overhead.
The emerald variant of this Lich Catacomb is the perfect stage for this final confrontation, with its huge glowing ritual, glowing runes, altars, and ominous statues all giving Szass Tam’s catastrophic necromantic spell the scale and spectacle that it deserves.
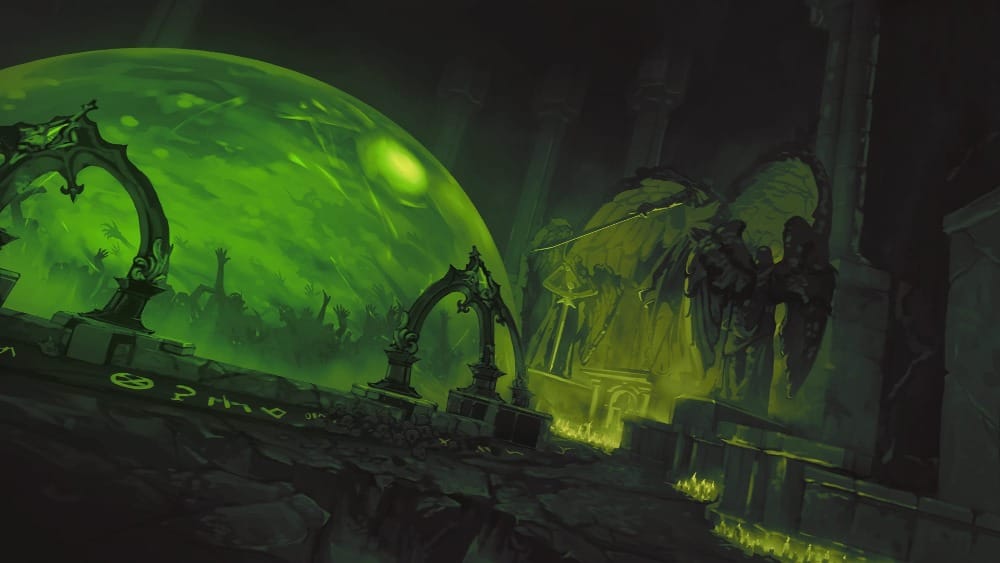
The illustrated scene for this battlemap makes an especially dramatic reveal for the climax of the adventure, giving the campaign one last striking image before the party faces the Zulkir of Necromancy for the final time (at least, for the next hundred years, if they recovered the Spirit-Binding Censer!)
Didn’t find what you were looking for?
These ten maps only scratch the surface of everywhere your party might end up while crossing Thay. With more than 9,000 battlemaps and variants in the Czepeku Fantasy Maps library, you can keep building out everything from Eltabbar’s streets to Thaymount’s dungeons.
Try searching by location, terrain, or encounter type, then check each map pack’s dozens of variants for different weather, lighting, damage, and other ways to match where your version of Deadfall takes your adventurers.
If you want a little help finding the right map for your next session, we’ve also put together a guide to searching and filtering our collection.
👉 How to Find the Czepeku Map You Need
Start Your Adventure With a FREE Asset Pack!
Keep up to date with the latest from Czepeku, sign up to our mailing list now and receive an introductory goodie bag of fantasy and sci-fi maps, scene, and tokens.