


Written by Annie S.
Explorer’s Guide to Wildemount is a comprehensive setting guide published for D&D 5E, building out the war-torn continent of Wildemount in Exandria. It also contains four introductory adventures: one for each of Wildemount’s major regions: Tide of Retribution on the sunny Menagerie Coast, Dangerous Designs in the industrial city of Hupperdook, Frozen Sick in the arctic wastes of Eiselcross, and Unwelcome Spirits in the swamplands of Xhorhas.
Each adventure is built for levels 1 through 3, and designed to introduce players to a corner of the continent they might spend the rest of a campaign in. This guide covers twelve locations found in the adventures—three each—and matches them with a vibrant Czepeku battlemap to help bring them to life at your table.
⚠️ Spoilers Abound! If your party is playing through any of these adventures—stop here, send this to your DM, and come back when you’ve survived.
🌊 Tide of Retribution
1. Palma Flora — Tropical Island Village
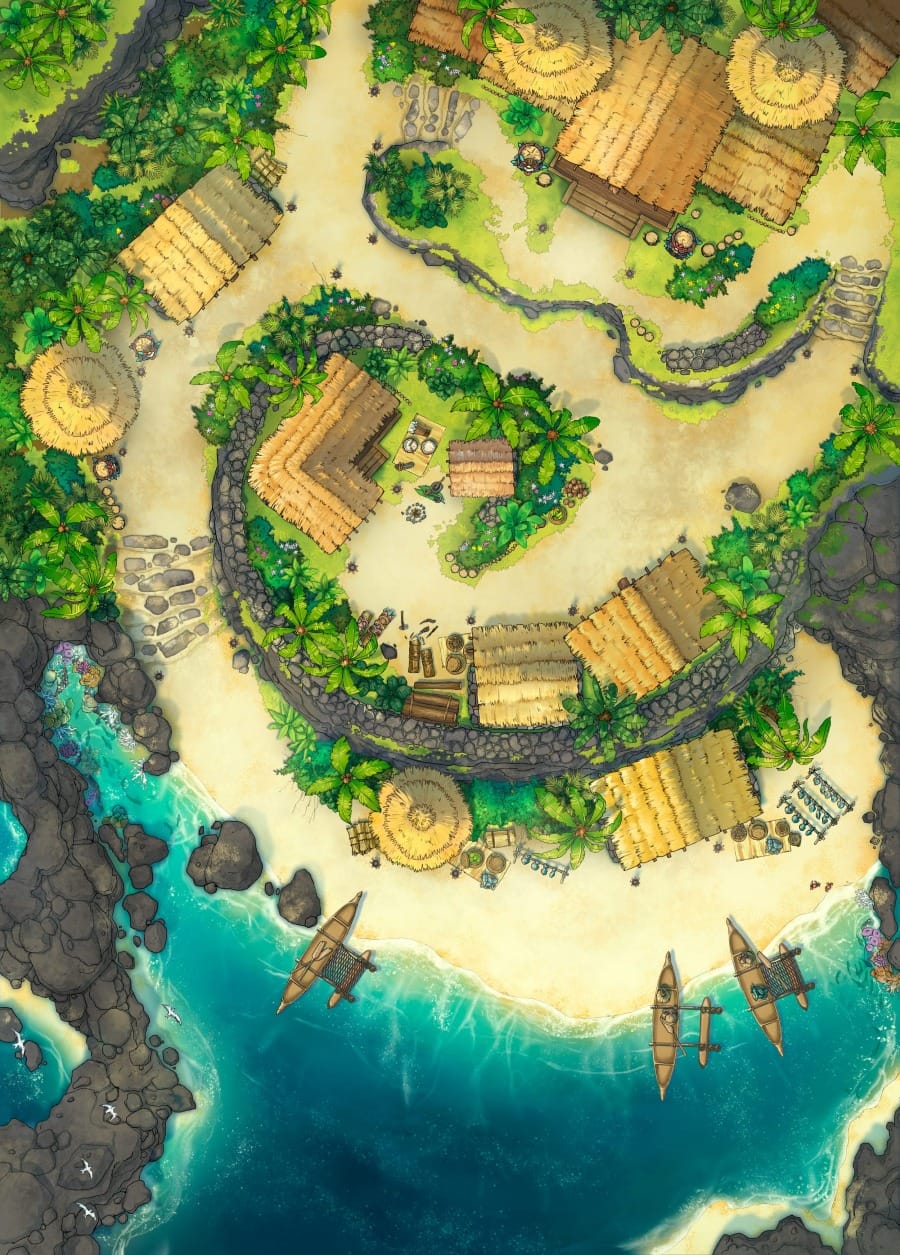
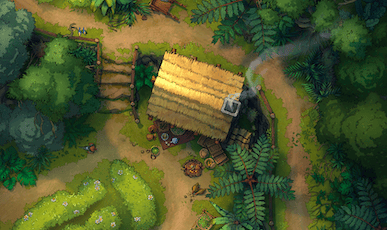
Palma Flora is a warm, sun-kissed village of shark hunters, with the Riptide Inn at its center doing brisk business year-round. The book includes a simple location map, but having a vibrant, lived-in battlemap is worth it for the contrast: by the adventure’s end, this same village is dragged into the sea.
This Tropical Island Village map paints the perfect picture of a peaceful coastal community that the players can get invested in before disaster strikes. The map also comes with flooded and ruined variants that can be useful for the adventure’s final act, once the sahuagin and Uk’otoa’s earthquakes are finished with the place.
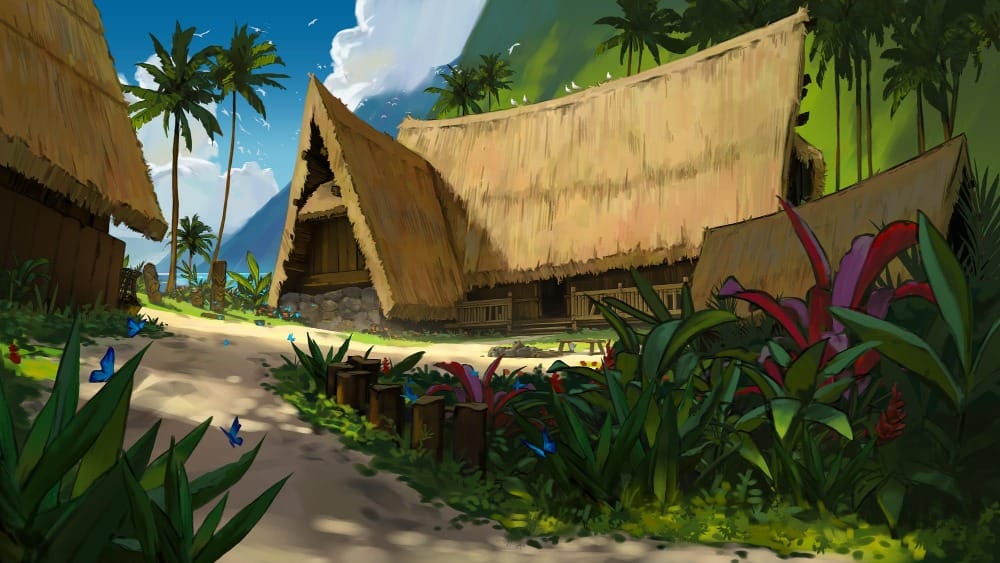
The animated illustrated scene is a great establishing shot for the session’s opening: a glimpse of Palma Flora under the morning sun, right before everything goes wrong.
2. Port of Call — Trading Port
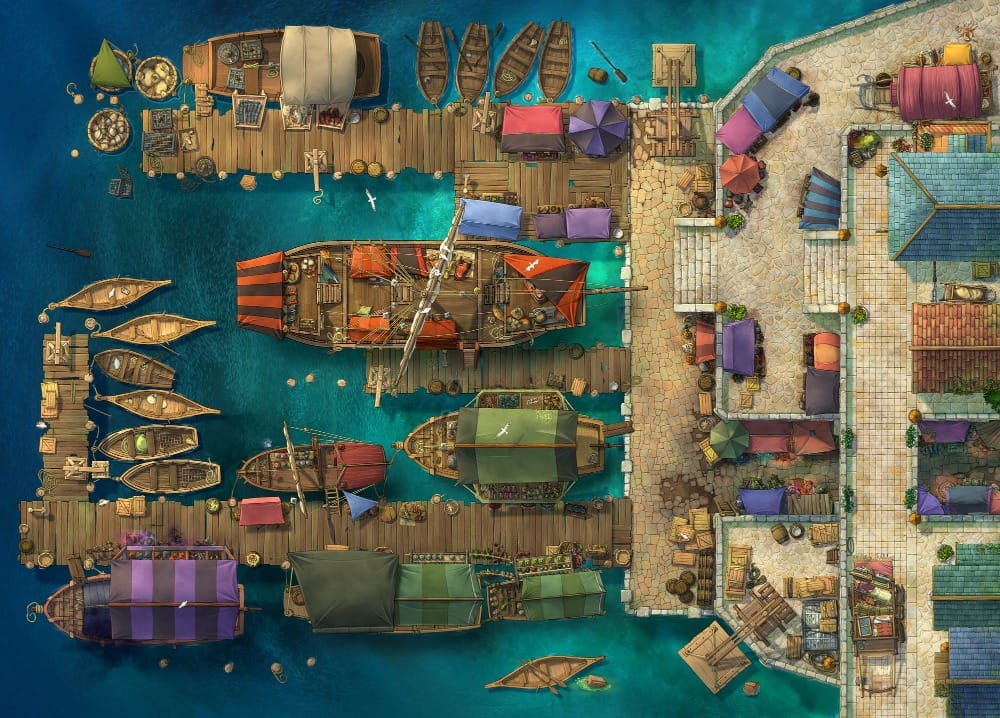
After leaving Palma Flora, the party sails with the pirate captain Three Earrings to one of three nearby ports—the warm, balmy Bisaft Isle; the muddy, overcrowded Brokenbank; or the bustling Port Damali.
This Port Bastion map is a great fit for any of these three stops, with its busy quayside, moored ships, and sprawling stalls. If you’re looking for a different feel for your Port of Call, however, searching for “docks” in the library will turn up plenty of options.
3. Encounter on the Open Sea — Open Ocean Pack
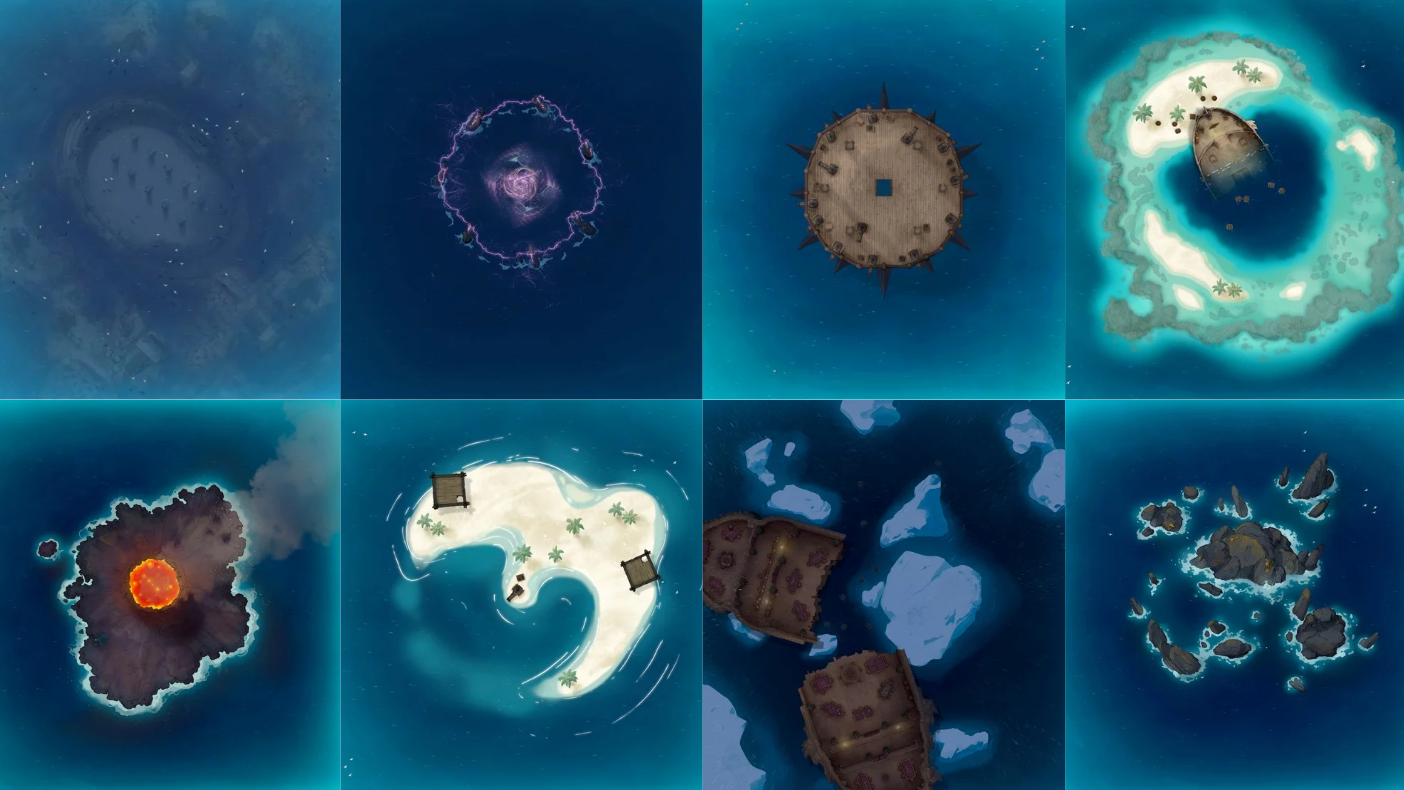
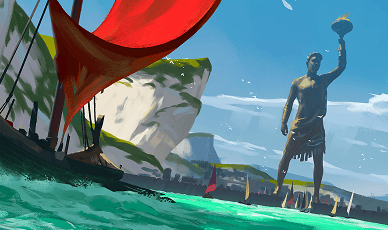
Midway between port and Palma Flora, the book suggests an optional encounter involving a Clovis Concord naval vessel. Of course, any DM can add their own sea encounters here too—pirates, sea monsters, or worse are all fair game on the Lucidian Ocean.
This Open Ocean Pack gives DMs a ton to work with, with over 85 modular maps covering open deep water, islands of every biome, sea stacks, wreck-strewn shallows, and other strange phenomena. Pick whichever fits the chaos your party creates!
⚙️ Dangerous Designs
4. Hupperdook — Alchemy District
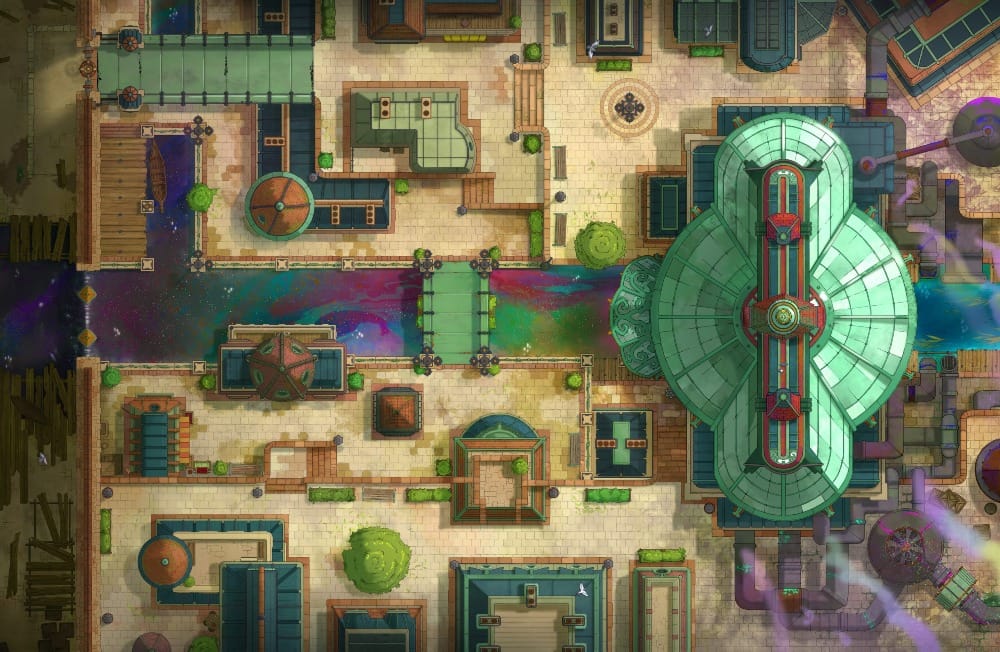
Hypperdook is the Dwendalian Empire’s industrial capital, built up in tiers that wrap around the Silver Falls lake with stone-and-metal towers. The Ironlot district at the city’s base is where the party will spend most of their investigation, chasing leads between Gearhole Prison and the Firemark facility.
This Alchemy District map is a strong pick for a city that earns its reputation as one of the most technologically advanced in Wildemount. The party will crisscross the Ironlot throughout their investigation, and a map this distinctive will put them in the right headspace to investigate the moment they arrive.
5. Peak of Silver Falls — Beetle Tribe Canyon (Waterfall)
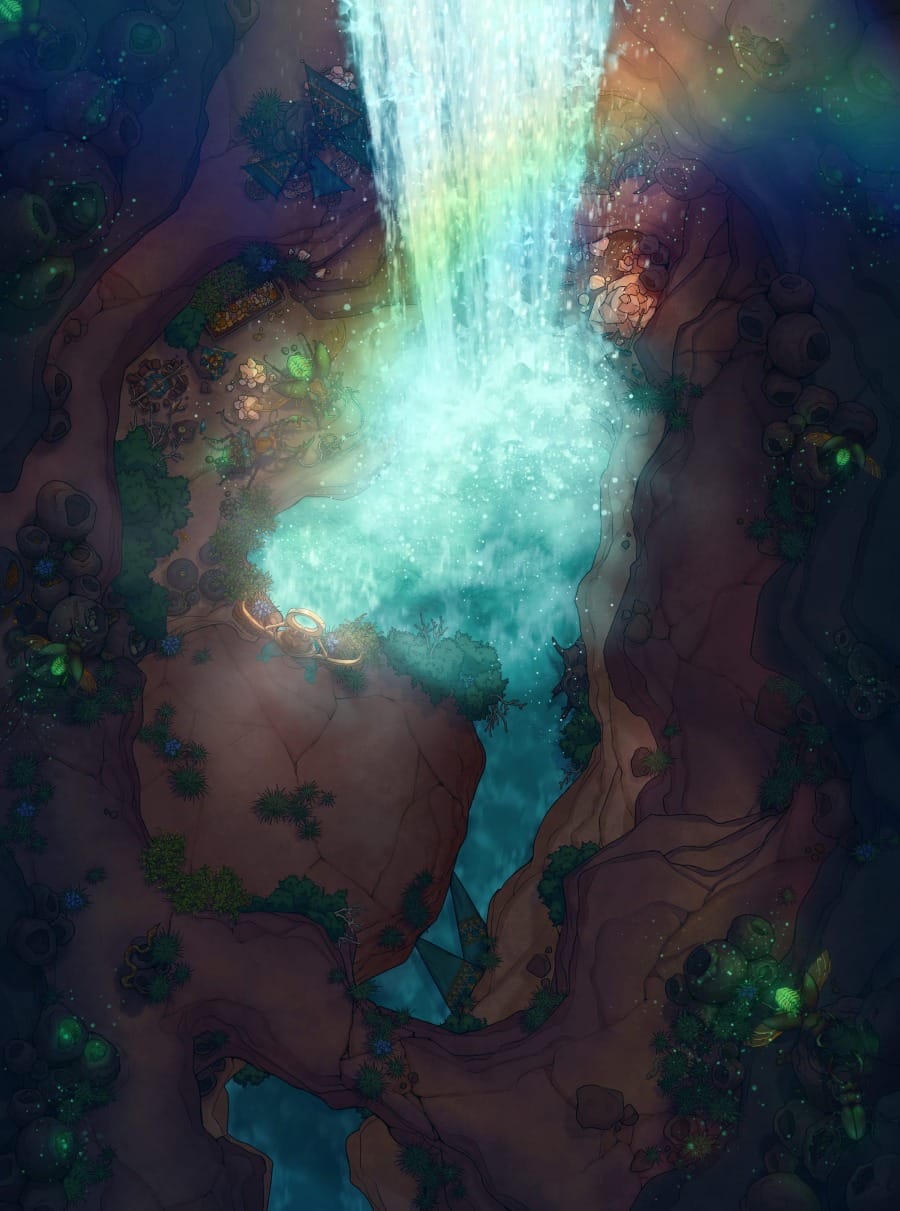
The party’s investigations lead them to the crest of the Silver Falls, where a rush of water cascades towards the city below, and a shadow behind the falling water hints at secrets hidden beyond.
The waterfall variant of this Beetle Tribe Canyon map is a great fit for a location that needs to look both spectacular and suspicious, between its glowing cascade and dark ledge of shadowed rock behind the water.
6. Firemark Facility — Steel Mill
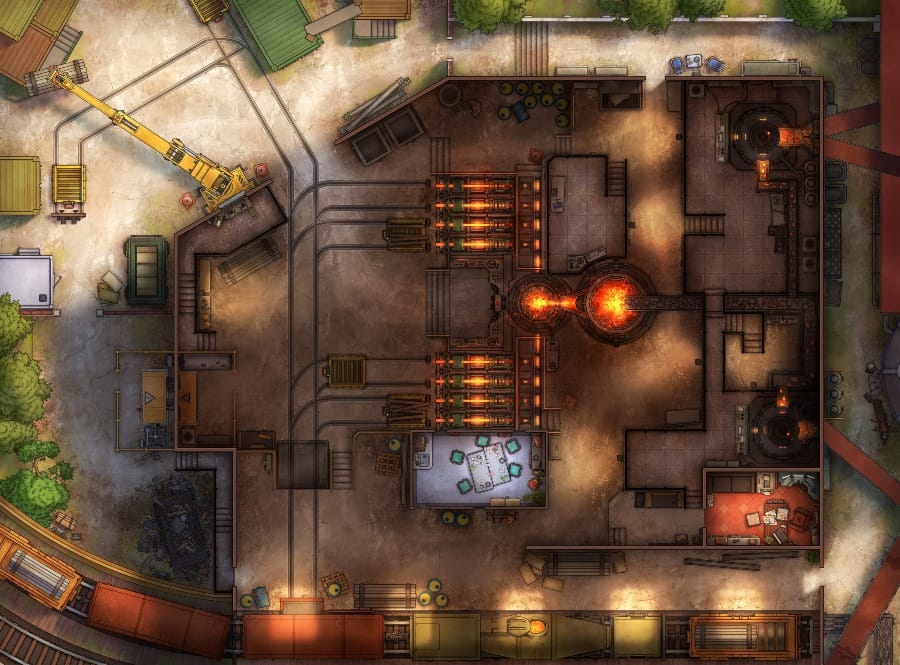
The Firemark Facility is Hupperdook’s sanctioned producer of blasting powder—a brown and red brick structure with a black-iron roof and restricted entry. The party comes here chasing a lead, and finds a guarded operation, a hotheaded manager, and the sense that the ledgers don’t add up.
This Steel Mill map is a strong fit for the Firemark Facility; its industrial atmosphere and blazing red furnaces give the impression of somewhere that produces dangerous things professionally.
❄️ Frozen Sick
7. Palebank Village — Iron Age Hamlet
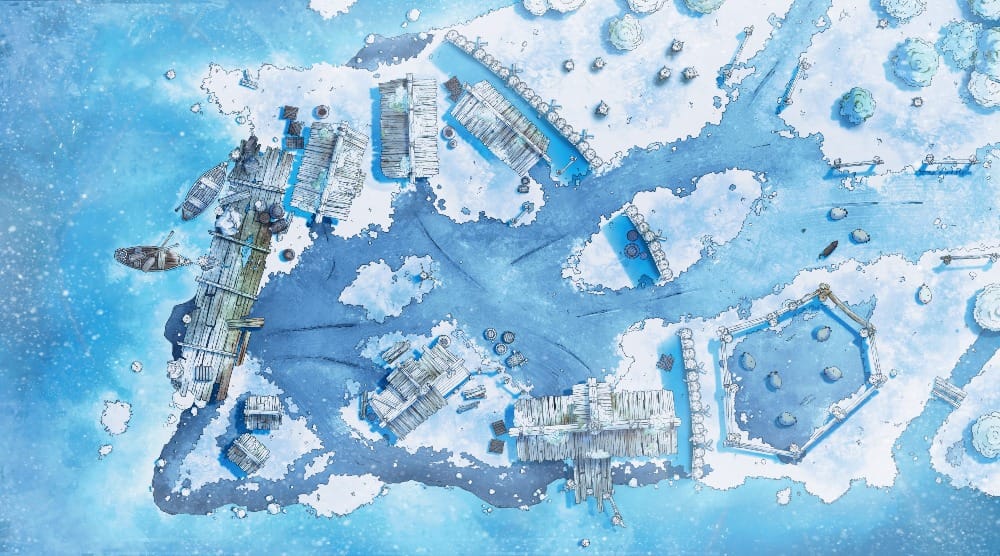
Amidst falling snow and biting wind, the adventure opens in Palebank—a humble and weathered fishing outpost on the edge of the Frigid Depths—where the party watches the funeral of the explorer who started it all.
This Iron Age Hamlet is a perfect map for the village, with snow-blanketed clusters of buildings and open, exposed ground that makes it feel like an isolated community with no obvious route to outside help.
8. Syrinlya Outpost — Viking Market (Winter)
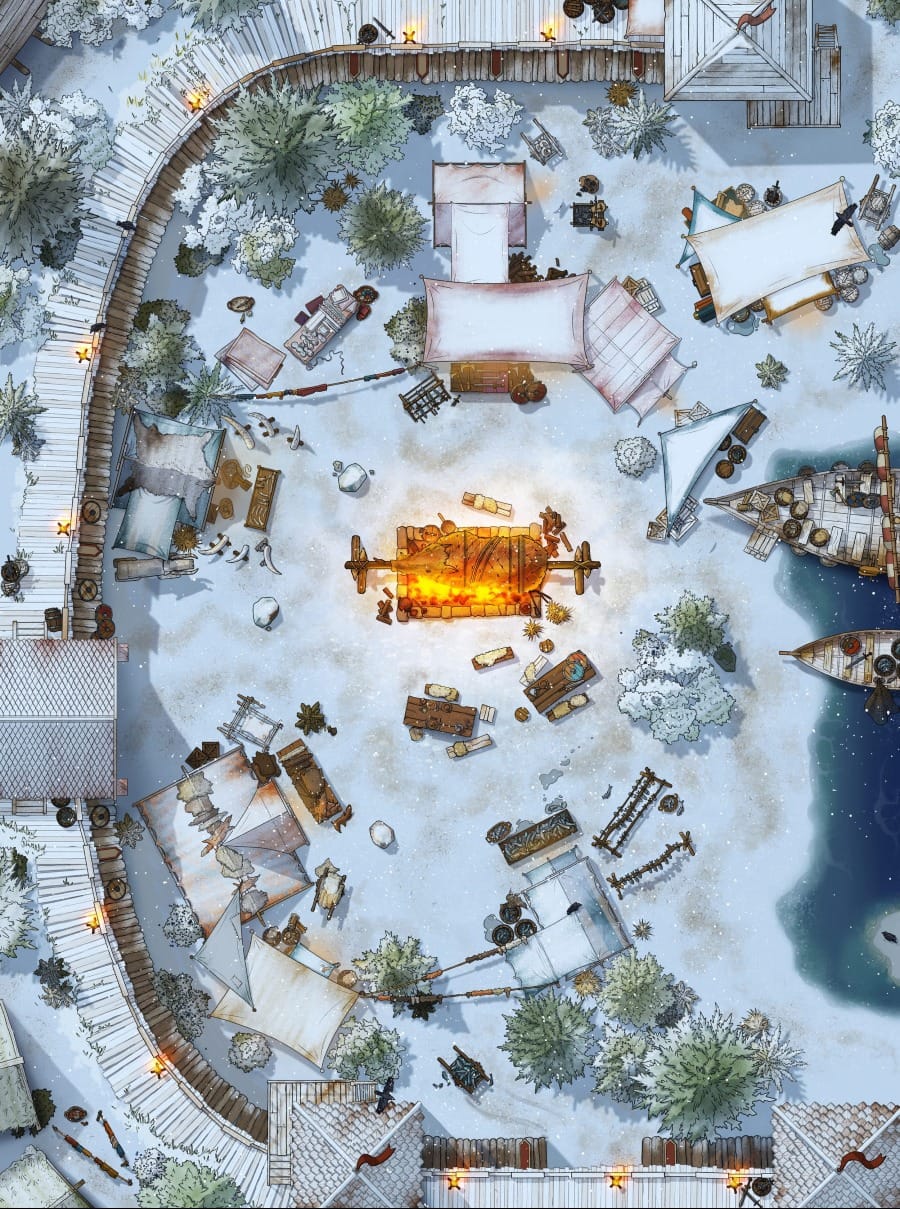
Syrinlya is an Uthodurnian outpost—a camp of experienced arctic explorers who have been living on Foren long enough to know the dangers of these lands. The book describes it as tents and yurts around a campfire whipped by the wind—not comfortable, but the closest thing to civilization the party will see for a while.
The winter variant of this Viking Market captures the scene perfectly, with its arrangement of tents and trading posts surrounded by timber palisades, centered around a roaring bonfire amidst the snow-covered lands.
9. Eiselcross Wilderness — Banshee Moor (Snow)
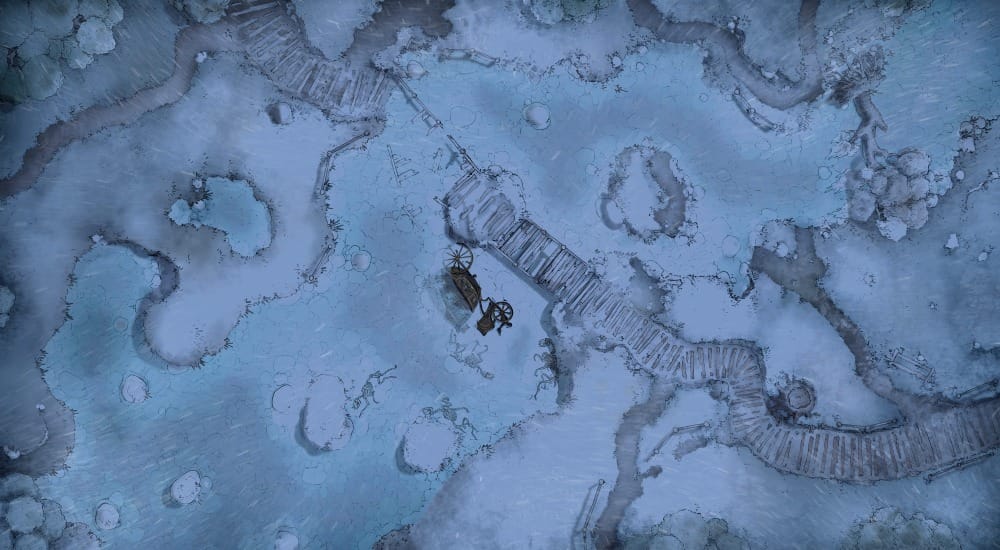
The overland journey from Syrinlya to Salsvault covers two hundred miles of frigid Eiselcross wilderness, with a random encounter table full of ice mephits, yetis, Aeorian hunters, and worse.
This Banshee Moor map communicates all the emptiness and exposure of Eiselcross immediately, with a flat, frozen expanse of almost no cover. For specific encounter environments depending on what you roll, searching the Czepeku library by frozen or snow will point you to the right map for whatever the wilderness throws at your party.
🐢 Unwelcome Spirits
10. Urzin Village — Tutelary Turtle Island
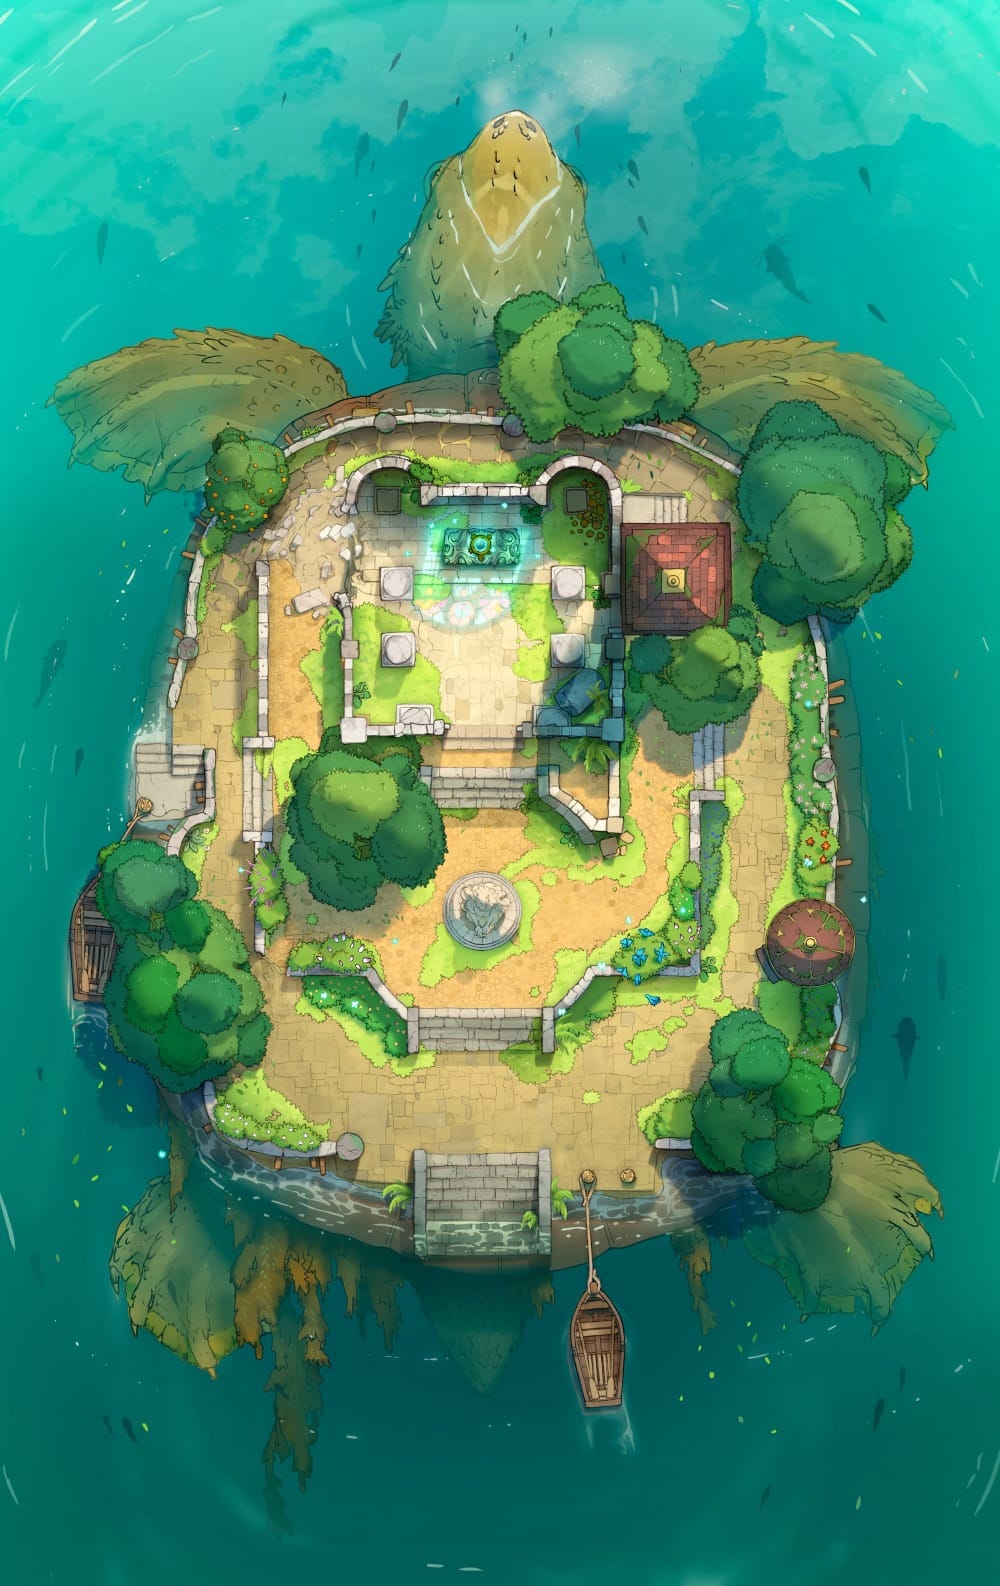
Urzin is one of the most unusual settlements in Wildemount: a goblinoid village built on the backs of horizonback tortoises, slowly ambling through the Brokenveil Marsh. The book sees the party arriving at a fleet of these gargantuan reptiles, and navigating bridges to reach the ramshackle hall of Ogre Lord Buhfal II.
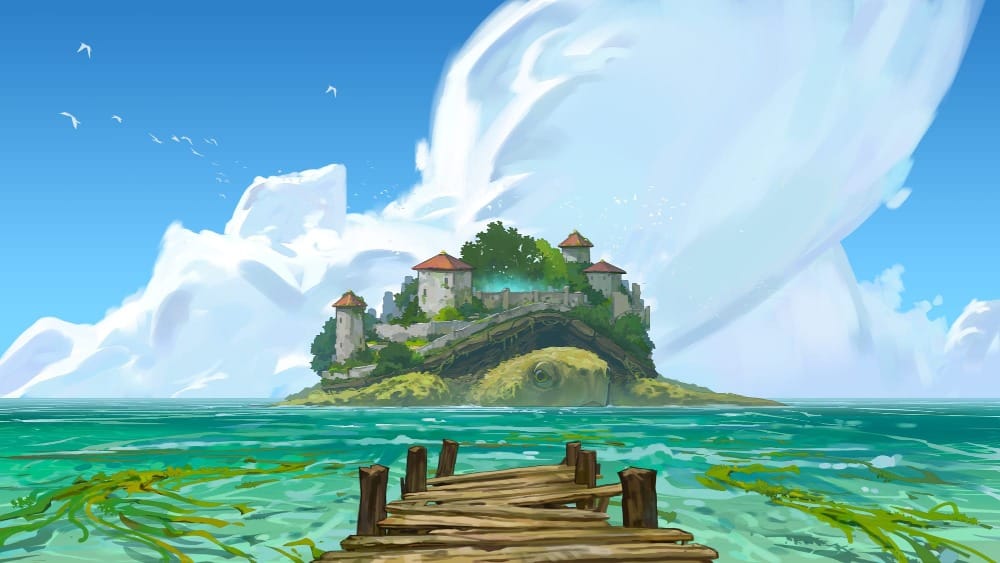
Few maps can do justice to a location so specific as this Tutelary Turtle Island map. The animated illustrated scene—the turtle island as seen from a distance—is a fantastic shot conveying the sheer scale of what the party has arrived at.
11. Brokenveil Marsh / Sunken Boneyard— Swamp Graveyard
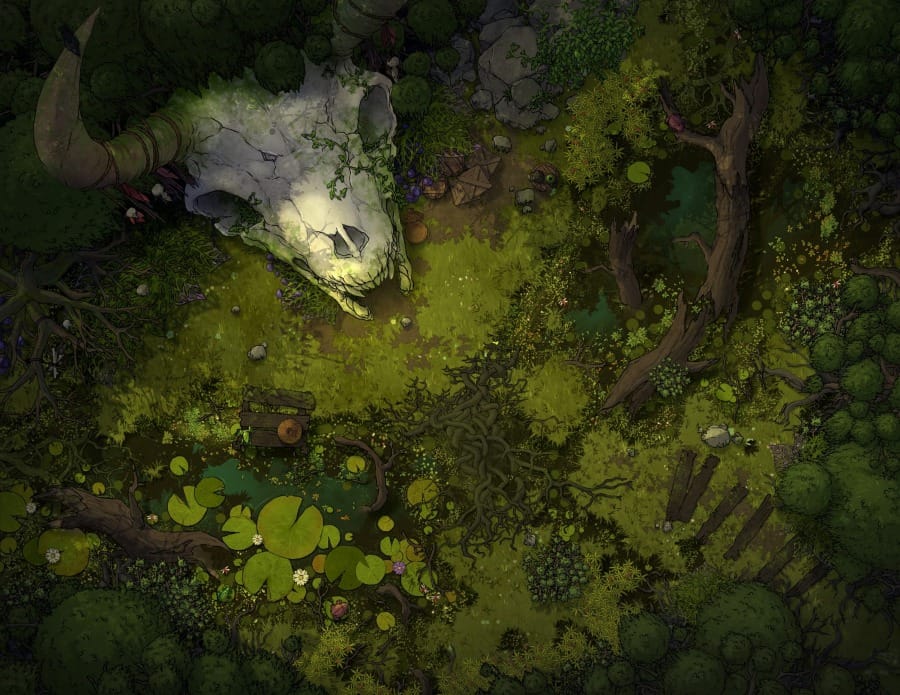
The Brokenveil Marsh encounter table sends the party through up to six named sites on the way to Fort Venture, with the Sunken Boneyard standing out as one of the most ominous: gargantuan skulls and ribcages rising from the marsh, claimed as a holy site by a clan of lizardfolk.
This Swamp Graveyard map sets the eerie scene with minimal effort from the GM, with a massive horned skull dominating the clearing, tangled roots, and encroaching bog vegetation filling in the rest.
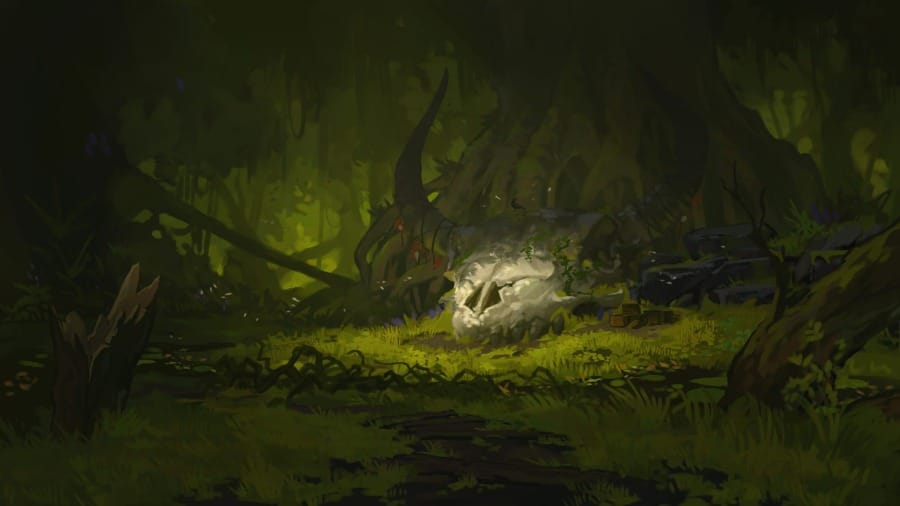
The animated illustrated scene brings the scene eye-level, putting players face to face with the skull before the fighting starts.
12. Fort Venture — Medieval War Tents
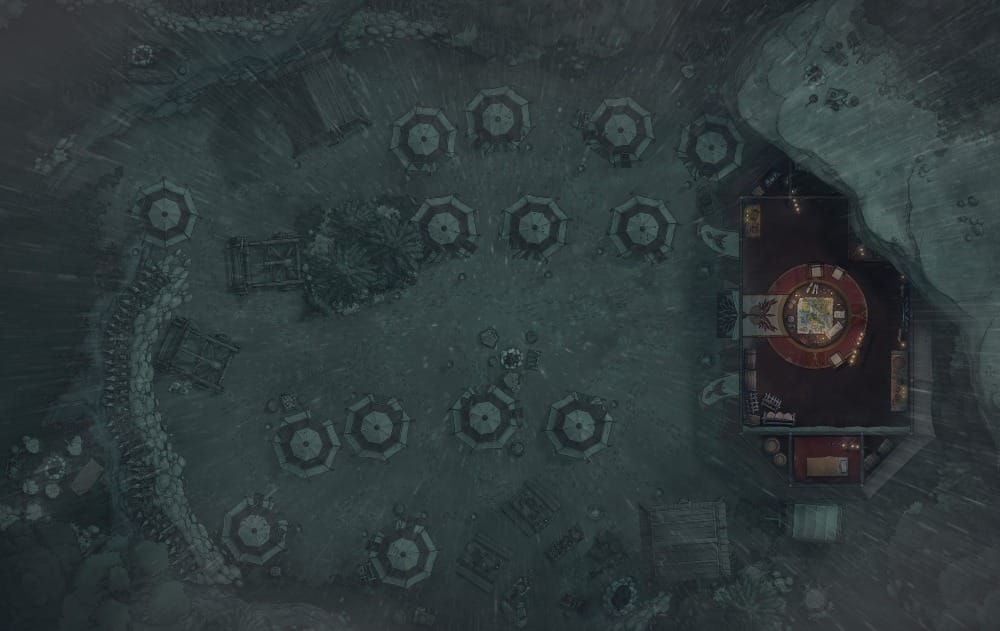
Fort Venture sits among the foothills of the Brokenveil Bluffs—a newly built Dwendalian garrison with timber battlements.
The book gives it a keyed interior map, but this Medieval War Tents map is a great complement for the exterior; with the Rain variant being particularly fitting for communicating the dire situation of Bol’bara’s possession by Trush.
Didn’t find what you were looking for?
Czepeku’s library has over 8,000 hand-drawn battlemaps, covering everything from tropical coasts and arctic wildernesses to industrial cities and haunted swamps.
Browse the full library and use the tag system to find the right map for wherever your Wildemount campaign takes you next, or check out our guide to navigating the library below:
👉 How to Find the Czepeku Map You Need
Start Your Adventure With a FREE Asset Pack!
Keep up to date with the latest from Czepeku, sign up to our mailing list now and receive an introductory goodie bag of fantasy and sci-fi maps, scene, and tokens.