
Written by Annie S.
Reign of the Weredragon is a Daggerheart campaign set in Whelvia, a once-peaceful land now ruled by the tyrant sorceress Forlorne Lykona. After stealing the power of the country’s dragon warden, Forlorne transformed into a weredragon queen, turning the Knights of Whelvia against the people they once protected. The party steps into this fairy-tale rebellion as heroes whose role in Forlorne’s downfall has been written in the stars.
A major part of the frame is the Astromancer’s Night Sky Reading, which reveals clues that can send the party across the country in search of allies, secrets, and powerful keys to victory. The frame gives GMs several named locations, while leaving plenty of physical details for each table to decide—making this a fantastic setting for battlemaps as the party creeps through haunted ruins and follows the stars towards whatever comes next.
1. Nwarlyth — Cathedral of the Eight Exterior (Ritual)
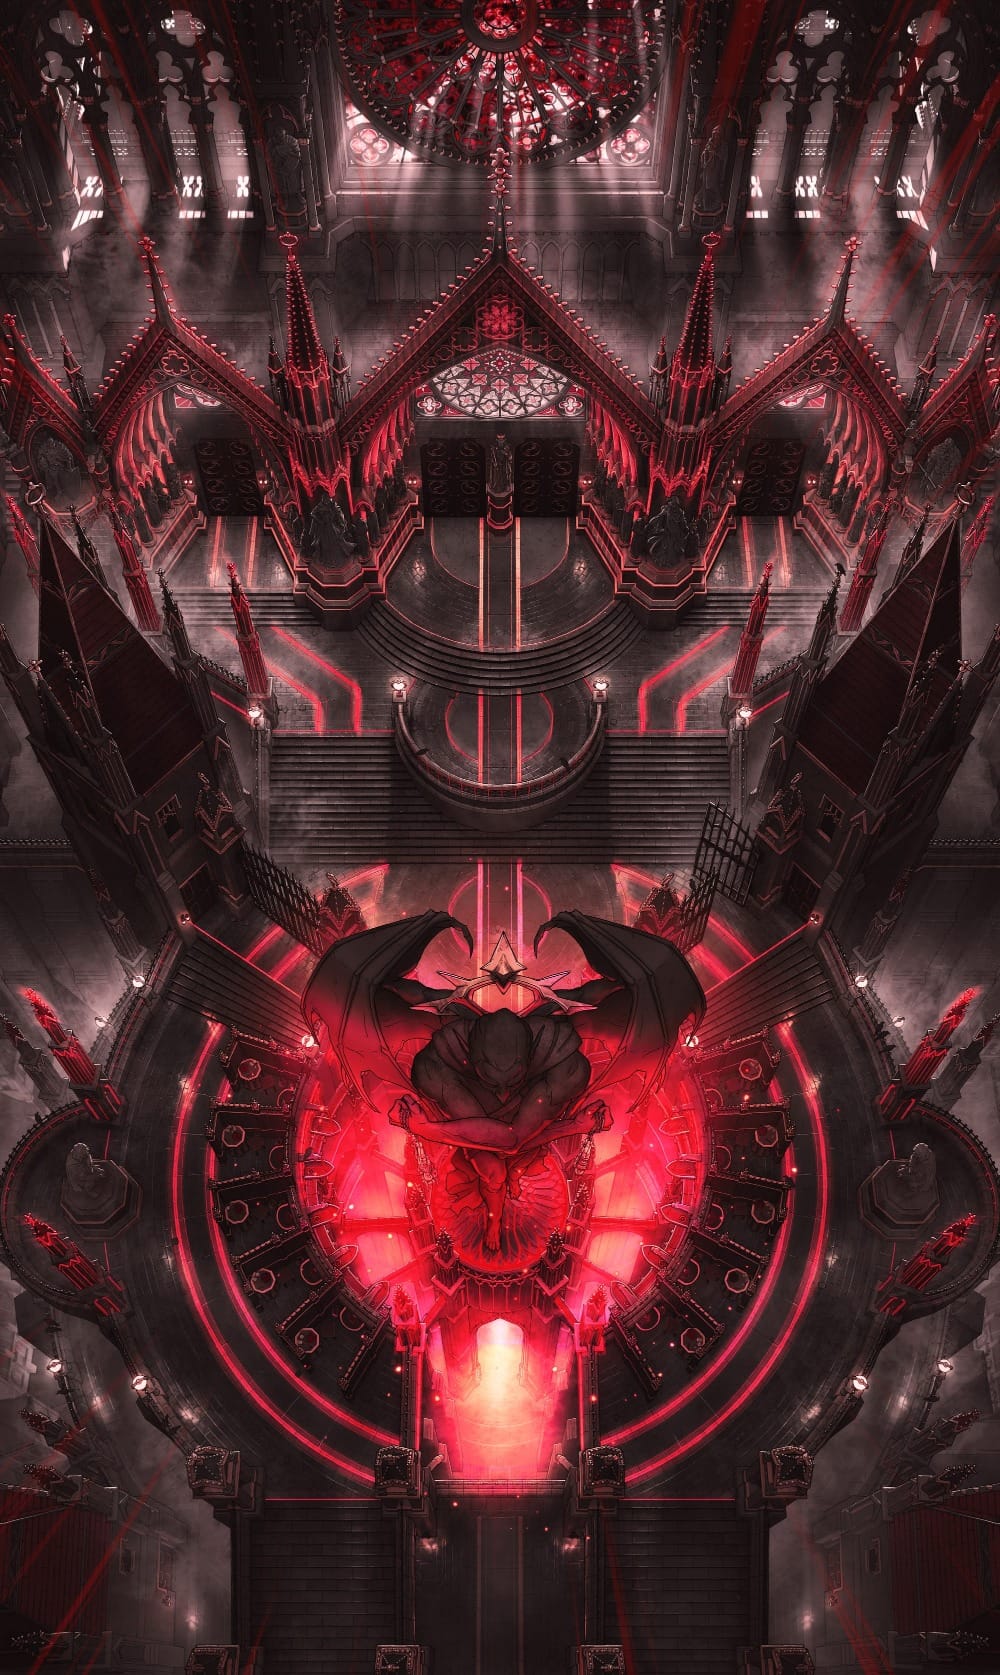
Nwarlyth is Forlorne Lykona’s towering fortress, standing on Whelvia’s tallest mountain. Hidden somewhere inside is the magical tapestry that maintains the wards around the country’s borders, alongside statues of enemies Forlorne has turned to stone.
The ritual variant of this Cathedral of the Eight makes a suitably dramatic home for the mighty weredragon queen. The enormous winged statue and glowing crimson channels lend gravity to Forlorne’s stolen draconic power, while the ominous ritual chambers offer a striking interpretation of a fortress belonging to someone obsessed with gathering enough worship and power to ascend to divinity.
2. Dragonmyrth Mansion — Wizard Prison Series
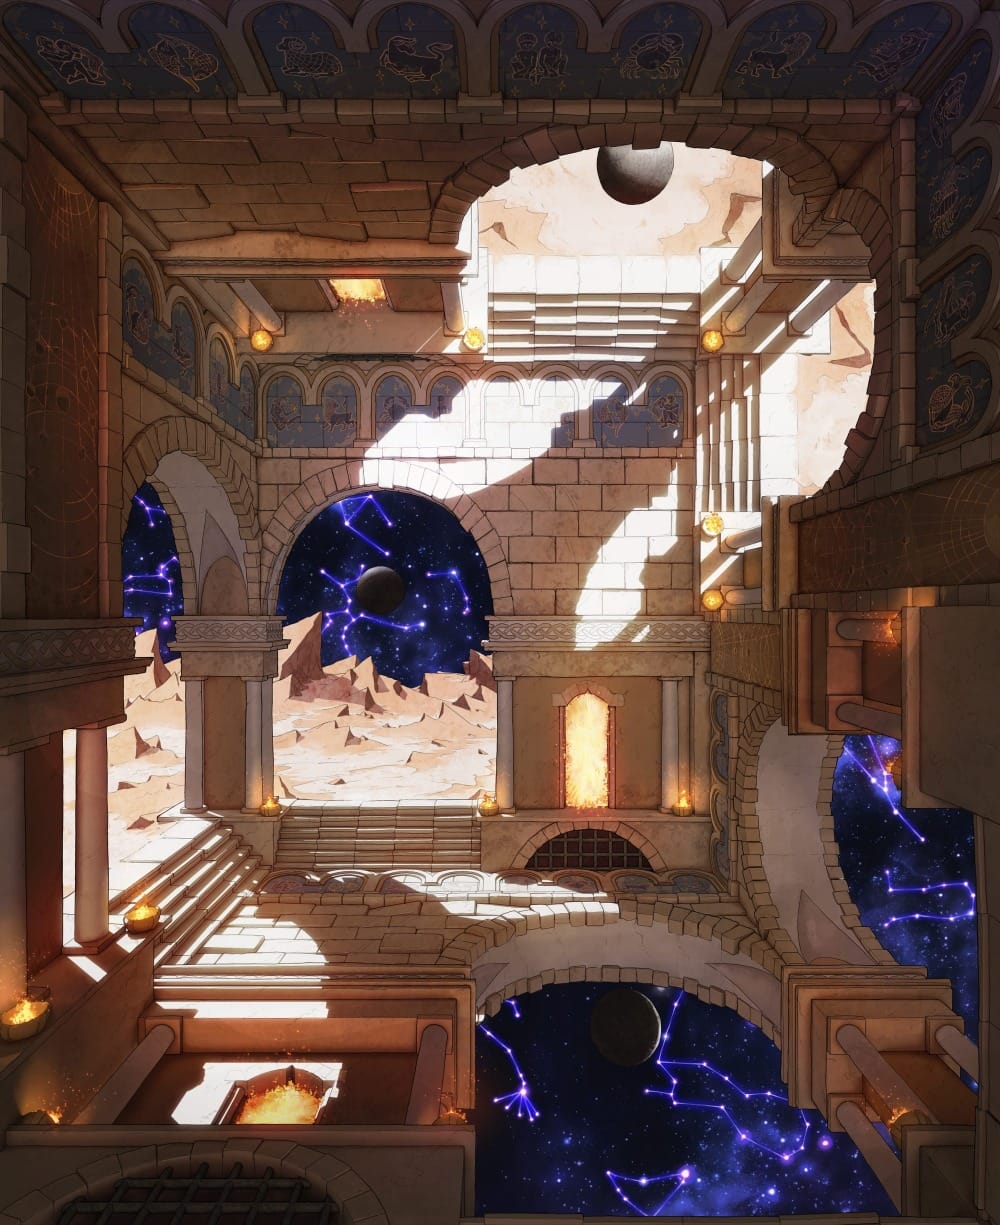
Deep in Froghaven Bog stands Dragonmyrth Mansion, the headquarters of what remains of Forlorne’s old stargazing cult. Rumors say the mansion’s interior has warped into its own pocket dimension, filled with endless hallways, upside-down rooms, and violent cultists.
The Wizard Prison Series seems almost tailor-made for this location, where impossible rooms, upside-down architecture, and openings into star-filled voids make Dragonmyrth feel like a place where reality has begun to unravel. The astral imagery is a fun bonus for a frame where constellations and fate play such an important role.
3. Vexstone Abbey — Calefactory (Haunted)
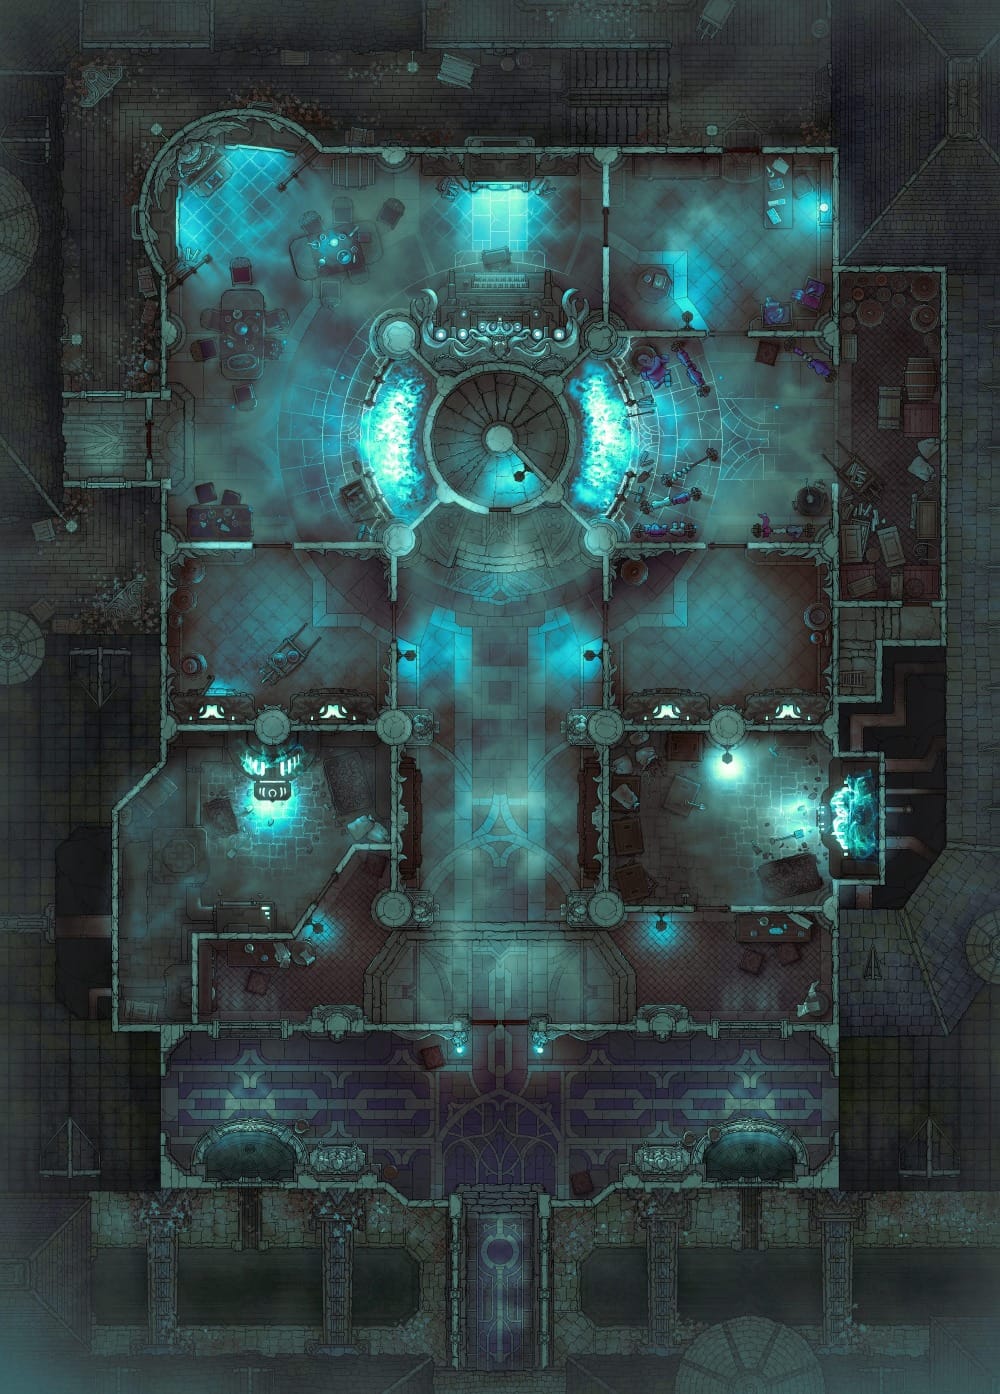
Vexstone Abbey was devastated by the ritual that transformed Forlorne into the weredragon queen, leaving the people who died there trapped as ghosts among its ruins. These spirits now possess objects throughout the abbey, turning everything from furniture to clutter into threats.
The haunted version of this Calefactory map is a fantastic fit to show the eerie aftermath of Forlorne’s terrible transformation. Spectral blue flames and ghostly mist drift through otherwise ordinary quarters, giving you plenty of innocuous furniture for the abbey’s ghosts to animate when the party starts getting a little too comfortable.
4. Heaven’s Eye — Mountaintop Observatory
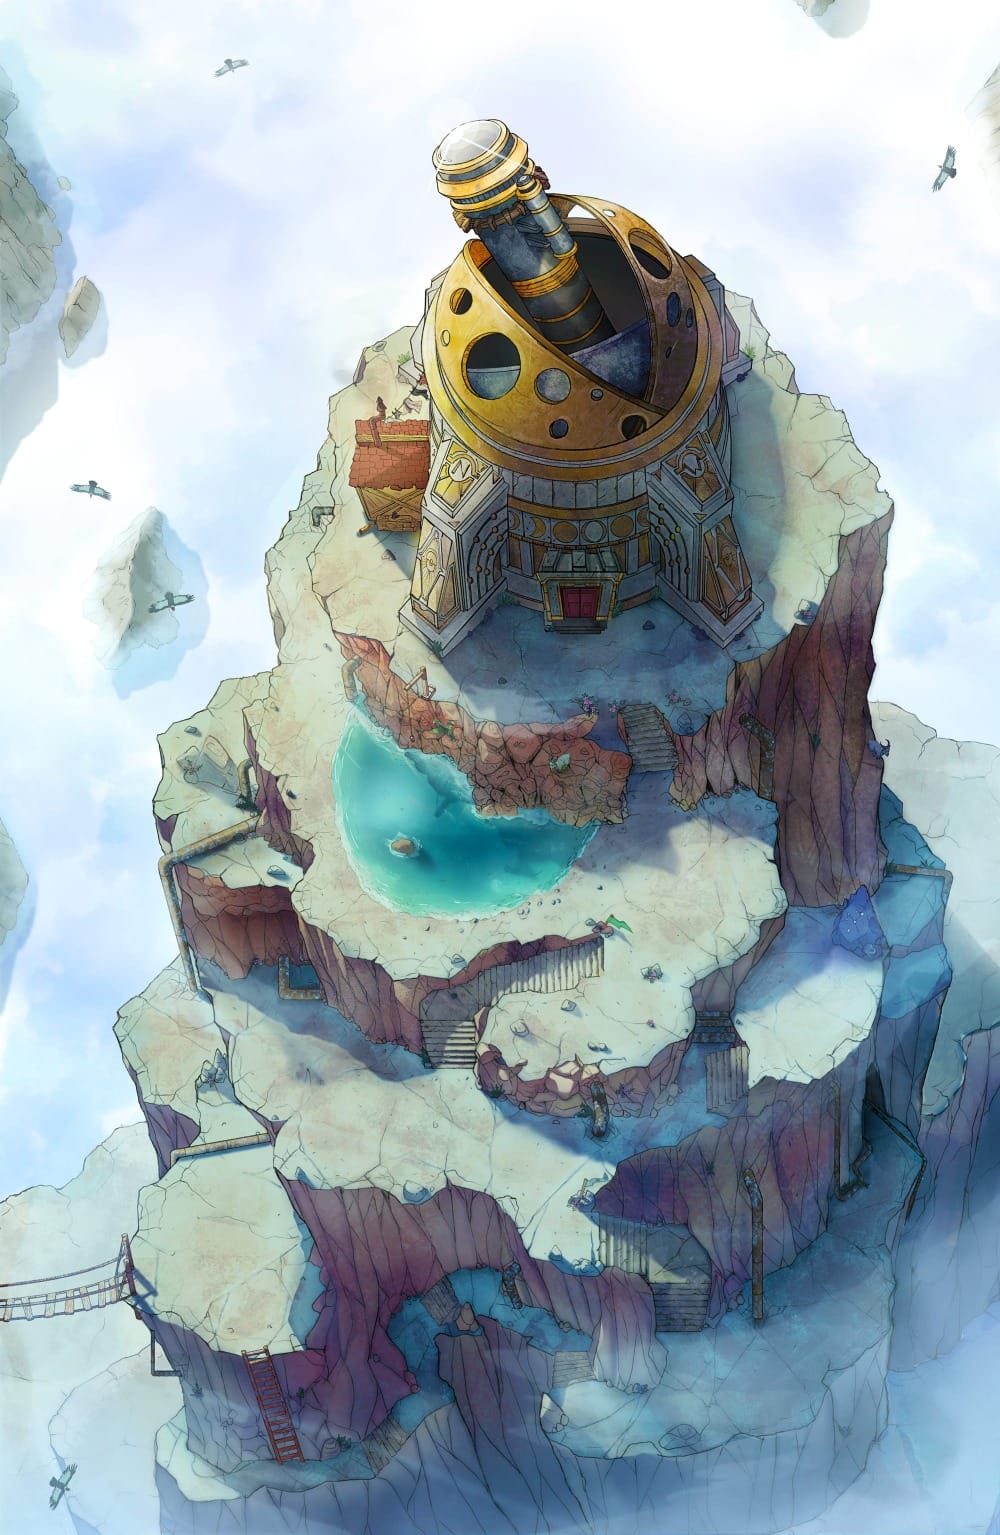
Heaven’s Eye is a magically hidden observatory and the home of the Astromancer, a mysterious celestial being who can read the stars for clues about how the heroes might bring down Forlorne. Her Night Sky Reading can point the party towards important allies, secrets, and the location of their eventual showdown with the weredragon queen herself.
This Mountaintop Observatory makes for a spectacular take on the mysterious observatory. Perched high above the clouds with an enormous telescope aimed into the vast sky, the map gives Heaven’s Eye the grandeur you’d expect from one of the most important stops on the party’s journey.
The map also comes with an animated illustrated scene that makes the location look even more dramatic, showing Heaven’s Eye silhouetted against the clouds from far below.
5. Witch’s End — Young Adventurer’s Hideout (Dark Presence)
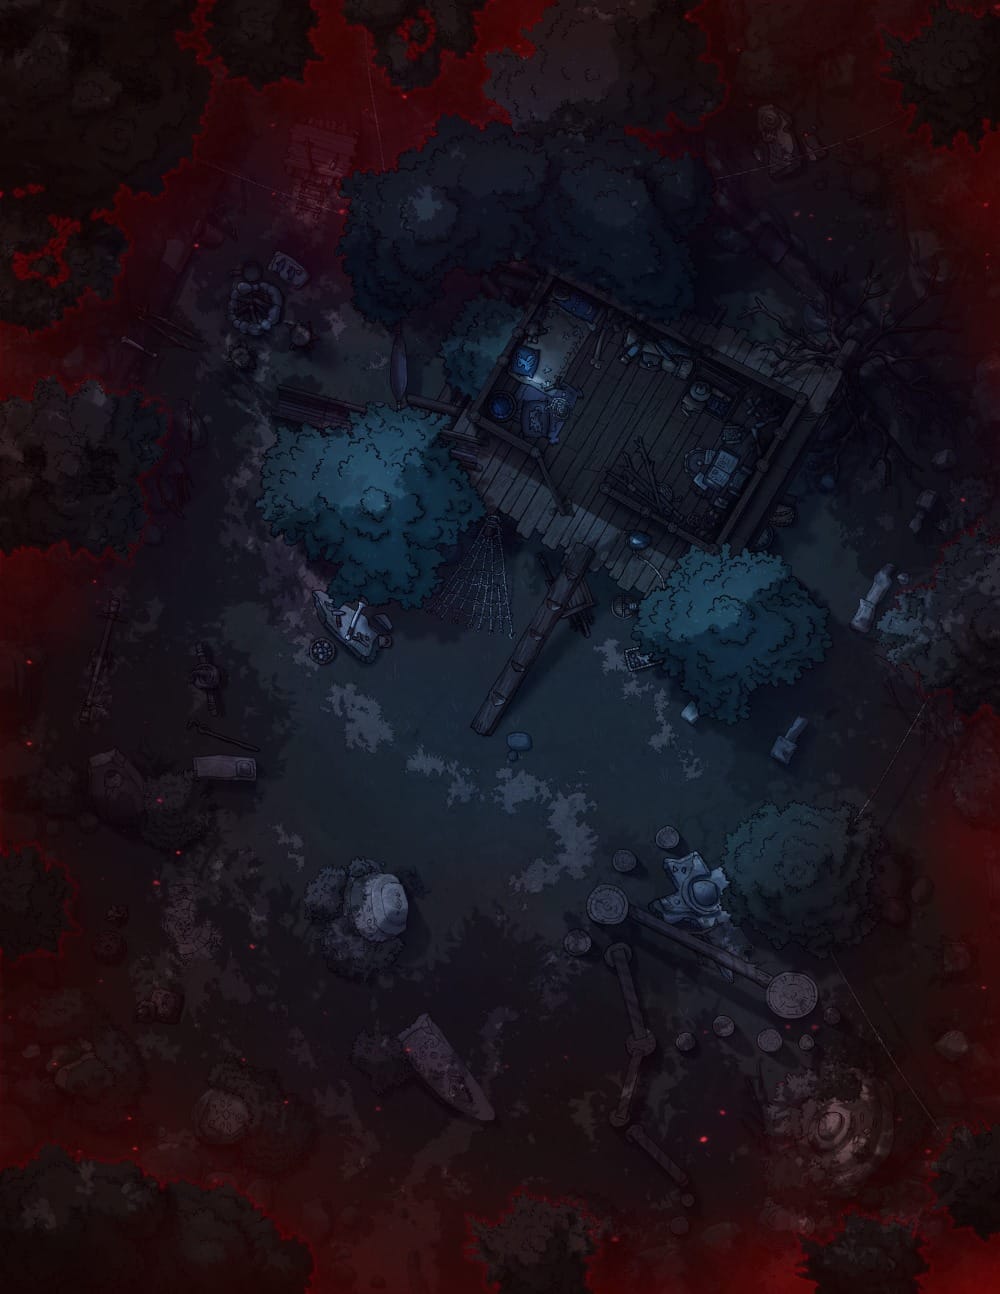
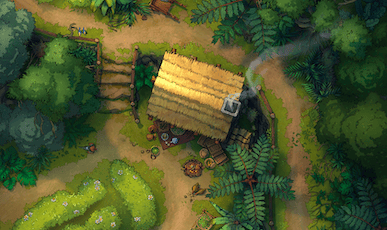
Witch’s End is a gloomy grove containing the charred remains of Forlorne’s childhood cottage. According to some stories, it was here that a young Forlorne summoned a shadow beast to take away her cruel mother, only for the struggle to end with the cottage in flames and the death of her twin sister, Harrowyrr—whose charred remains haunt the grove to this day.
The Dark Presence variant of this Young Adventurer’s Hideout makes for an eerie aftermath of the tragic incident, with the lonely woodland clearing and creeping red mist giving Witch’s End a suitably sinister atmosphere.
Alternatively, the burning variant of this Mellow Marshland Mill or the blood ritual version of the Hidden Witch’s Hut can push the location in different directions, depending on how you want to depict the night that changed Forlorne’s life forever.
6. Knights of Whelvia Encampment — Medieval War Tents
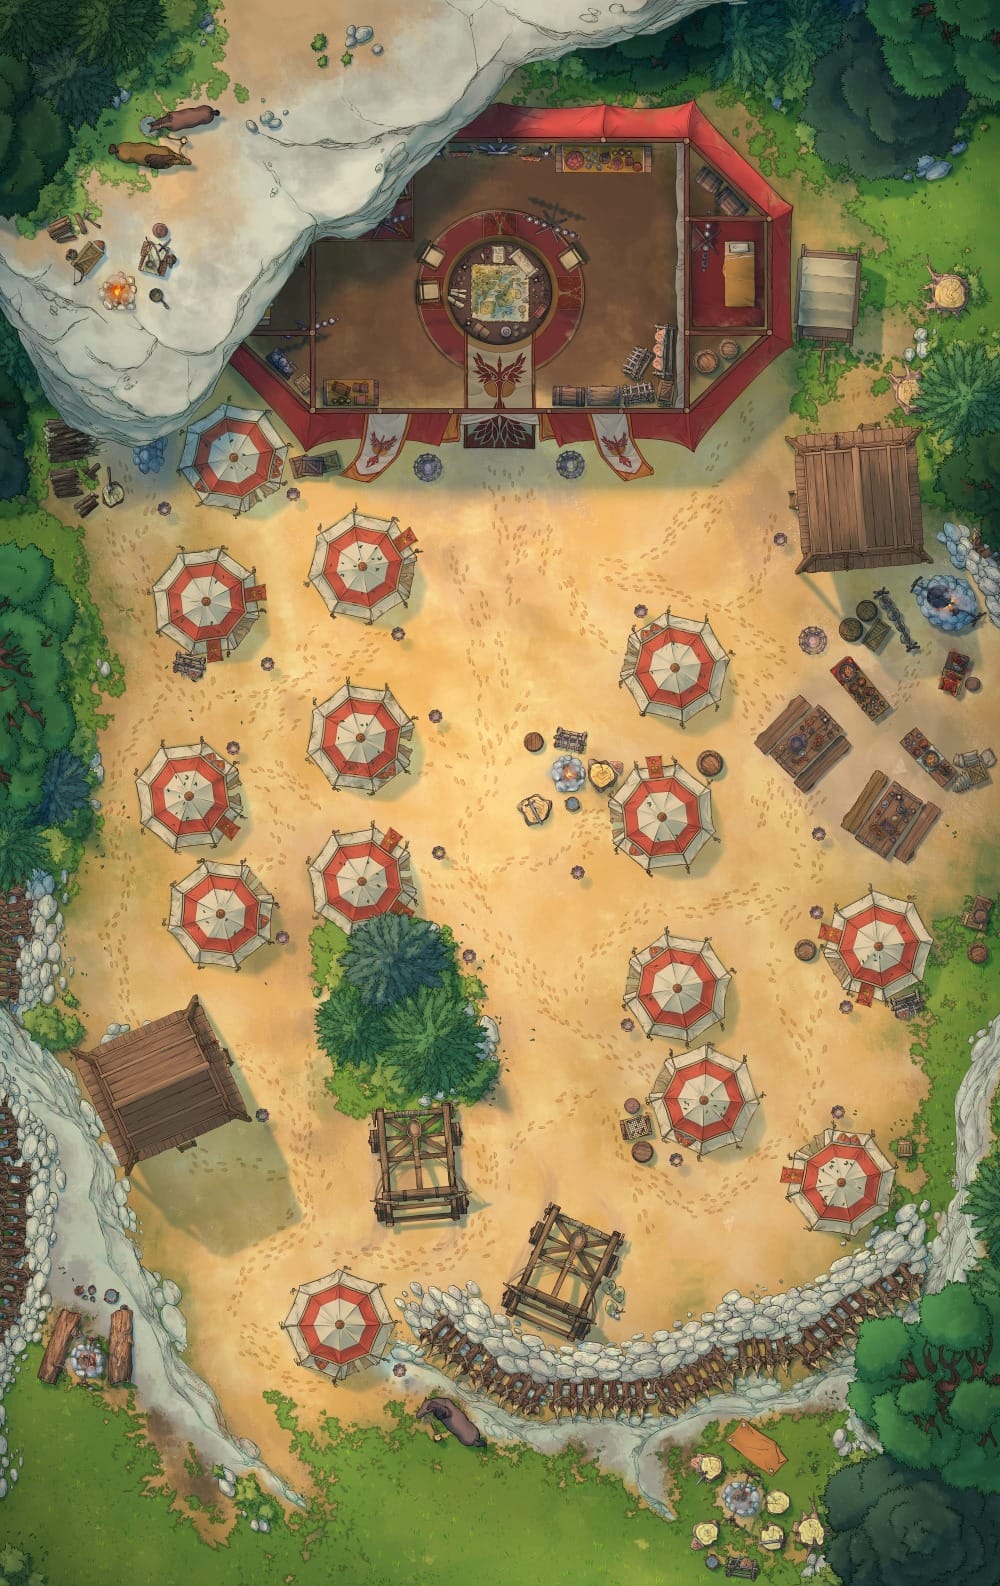
The Knights of Whelvia protected the realm, but under Forlorne’s rule, they have become one of the most dangerous enforcers of her regime. Knights now patrol the roads and hunt down those suspected of opposing the queen, their presence an ever-present threat across the countryside.
This Medieval War Tents map fits well as one of their strongholds along the road, with rows of tents, barricades, and siege weapons giving the party plenty to navigate if they want to spy on the knights or slip past a checkpoint.
7. Stillwater Lake — Dead Angel Reef (Giant King Day)
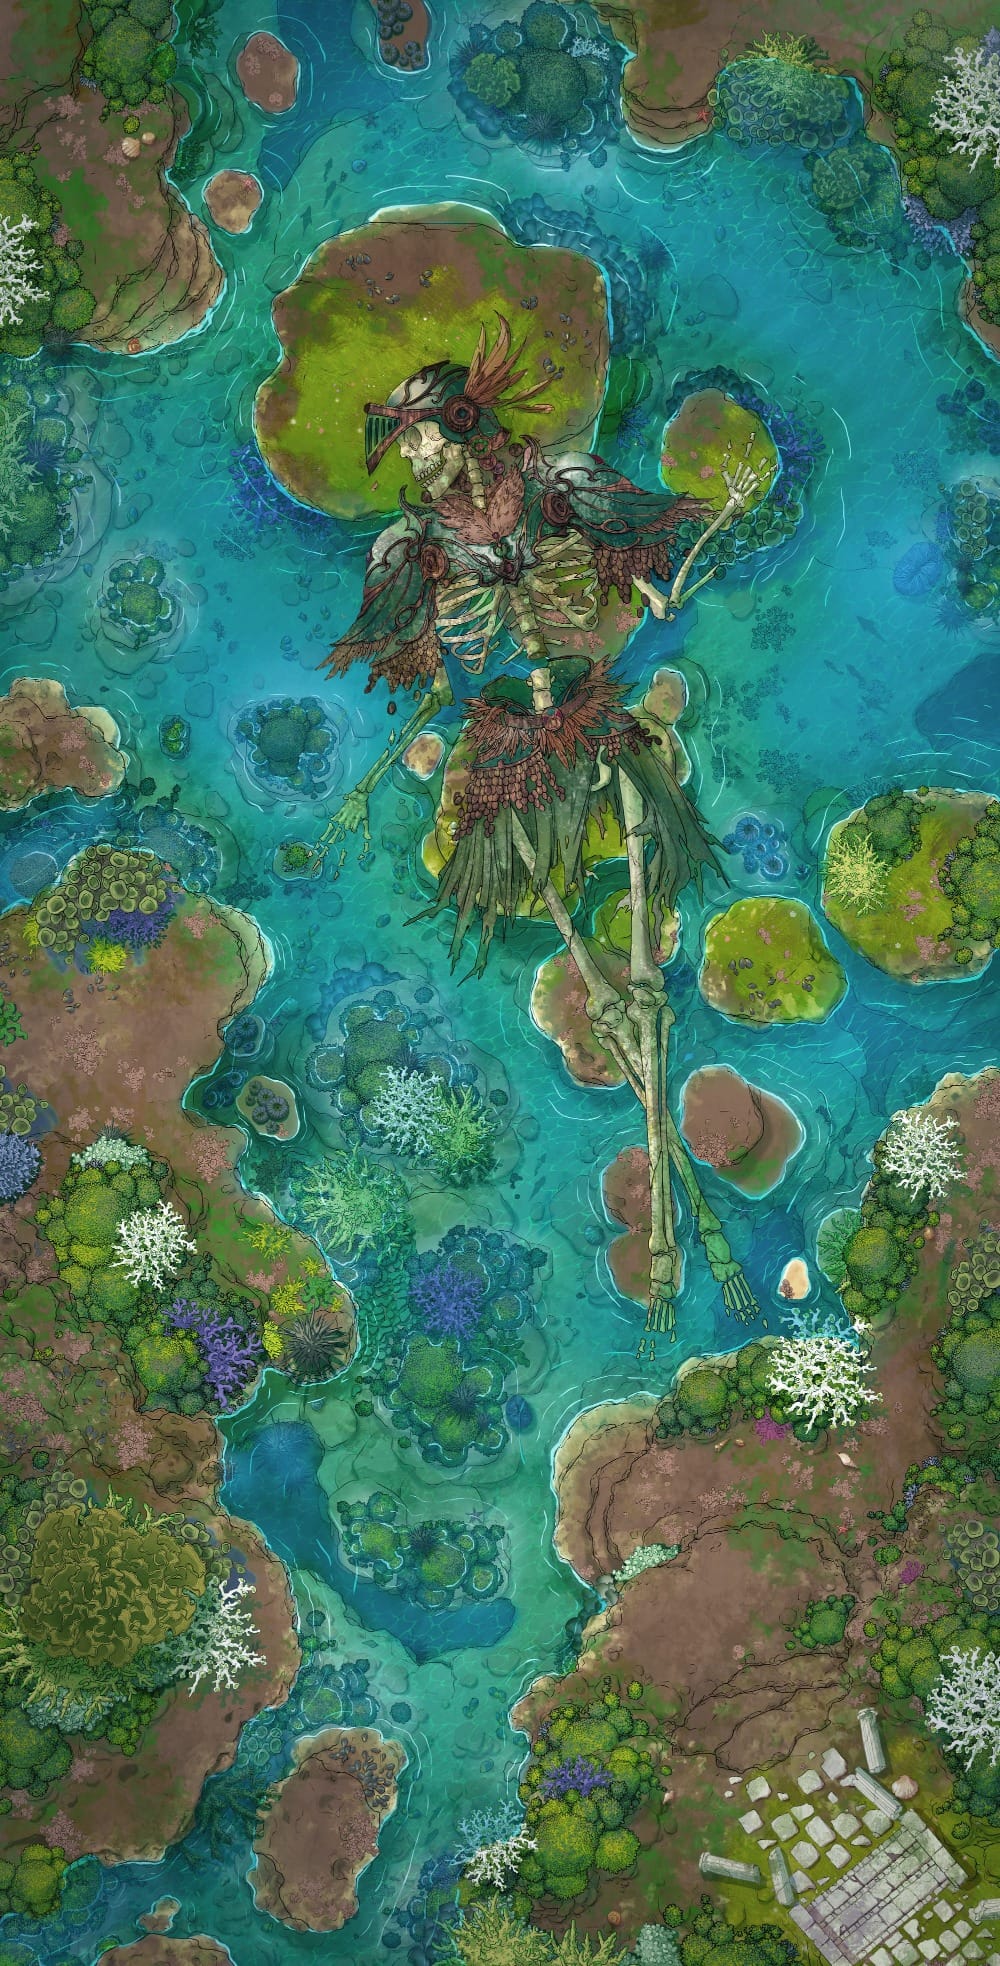
Stillwater Lake is one of the locations that can be revealed through the Astromancer’s Night Sky Reading, with the powerful Firestaff hidden within one of the standing stones there. Beyond that, the frame leaves the lake’s appearance largely open for your table to define.
This Dead Angel Reef makes the most of that open-ended description. The colossal remains resting in the turquoise water give the place a sense of ancient mystery, turning what could otherwise be a quiet lakeside stop into a landmark the party is unlikely to forget.
8. Petrified Battleground — Medusa’s Wake
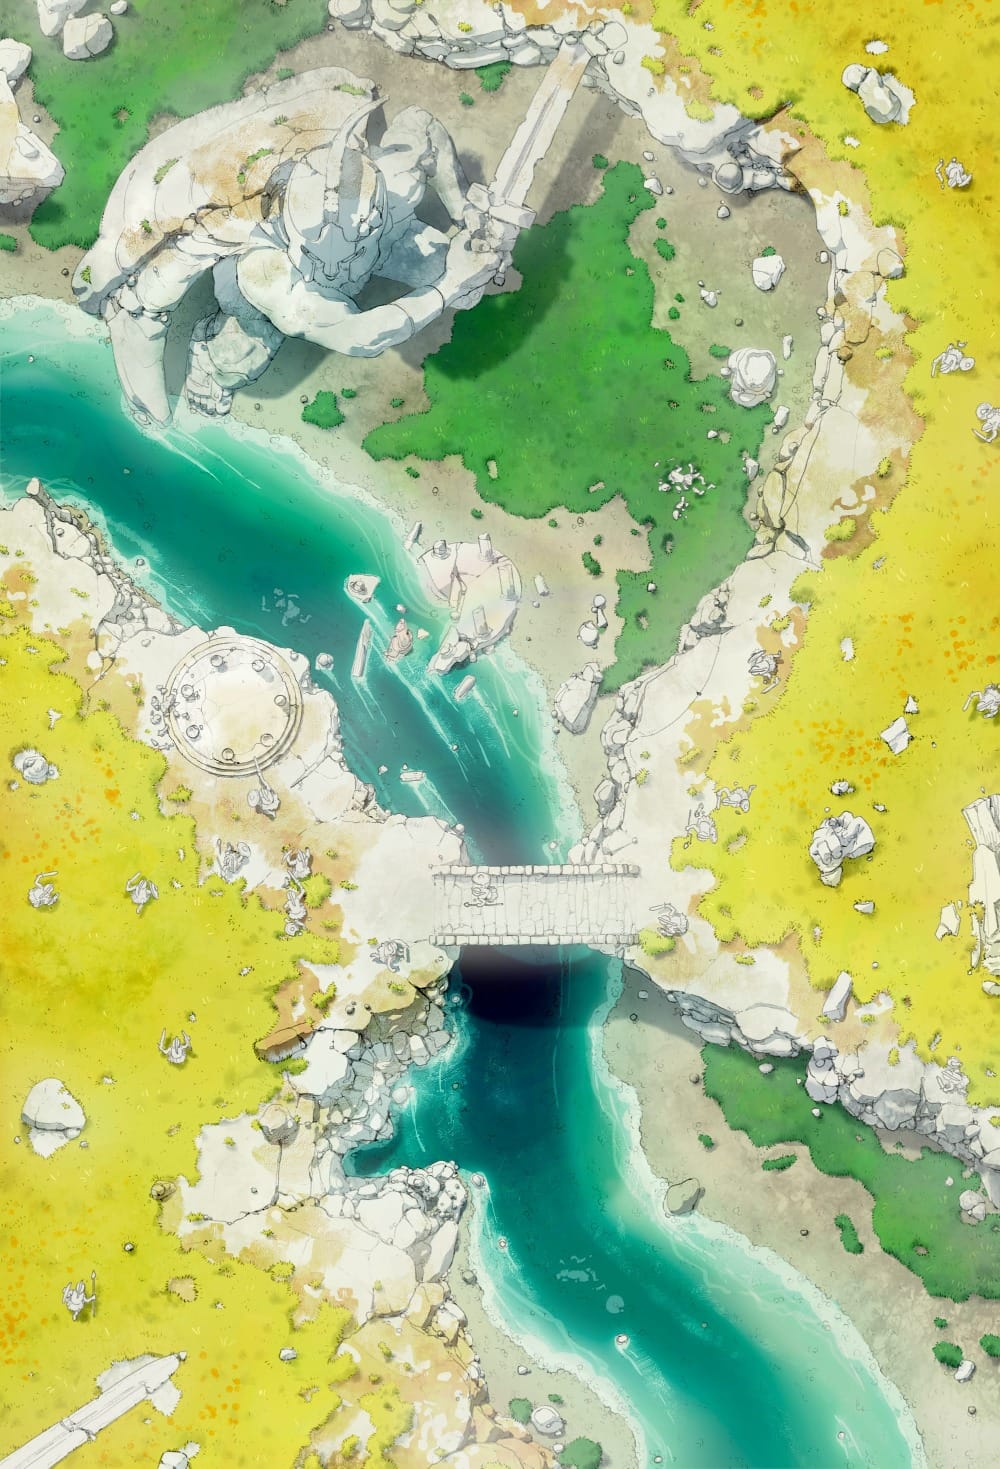
Forlorne has a cruel habit of petrifying those who oppose her, leaving some of her enemies frozen in stone as grisly monuments to her reign. With her rule having sparked conflict across Whelvia, those petrified victims can also serve as eerie remnants of battles fought against the weredragon queen.
This Medusa’s Wake map gives those old conflicts a haunting physical presence, with shattered stones scattered across the gorge and petrified warriors giving the party a grim reminder of what is at stake if they fail in their journey.
This map comes with an animated illustrated scene that provides a closer look at the battlefield, with the petrified remains looming over the rocky gorge.
9. Underground Rebel Refuge — Secret Cave Hideout
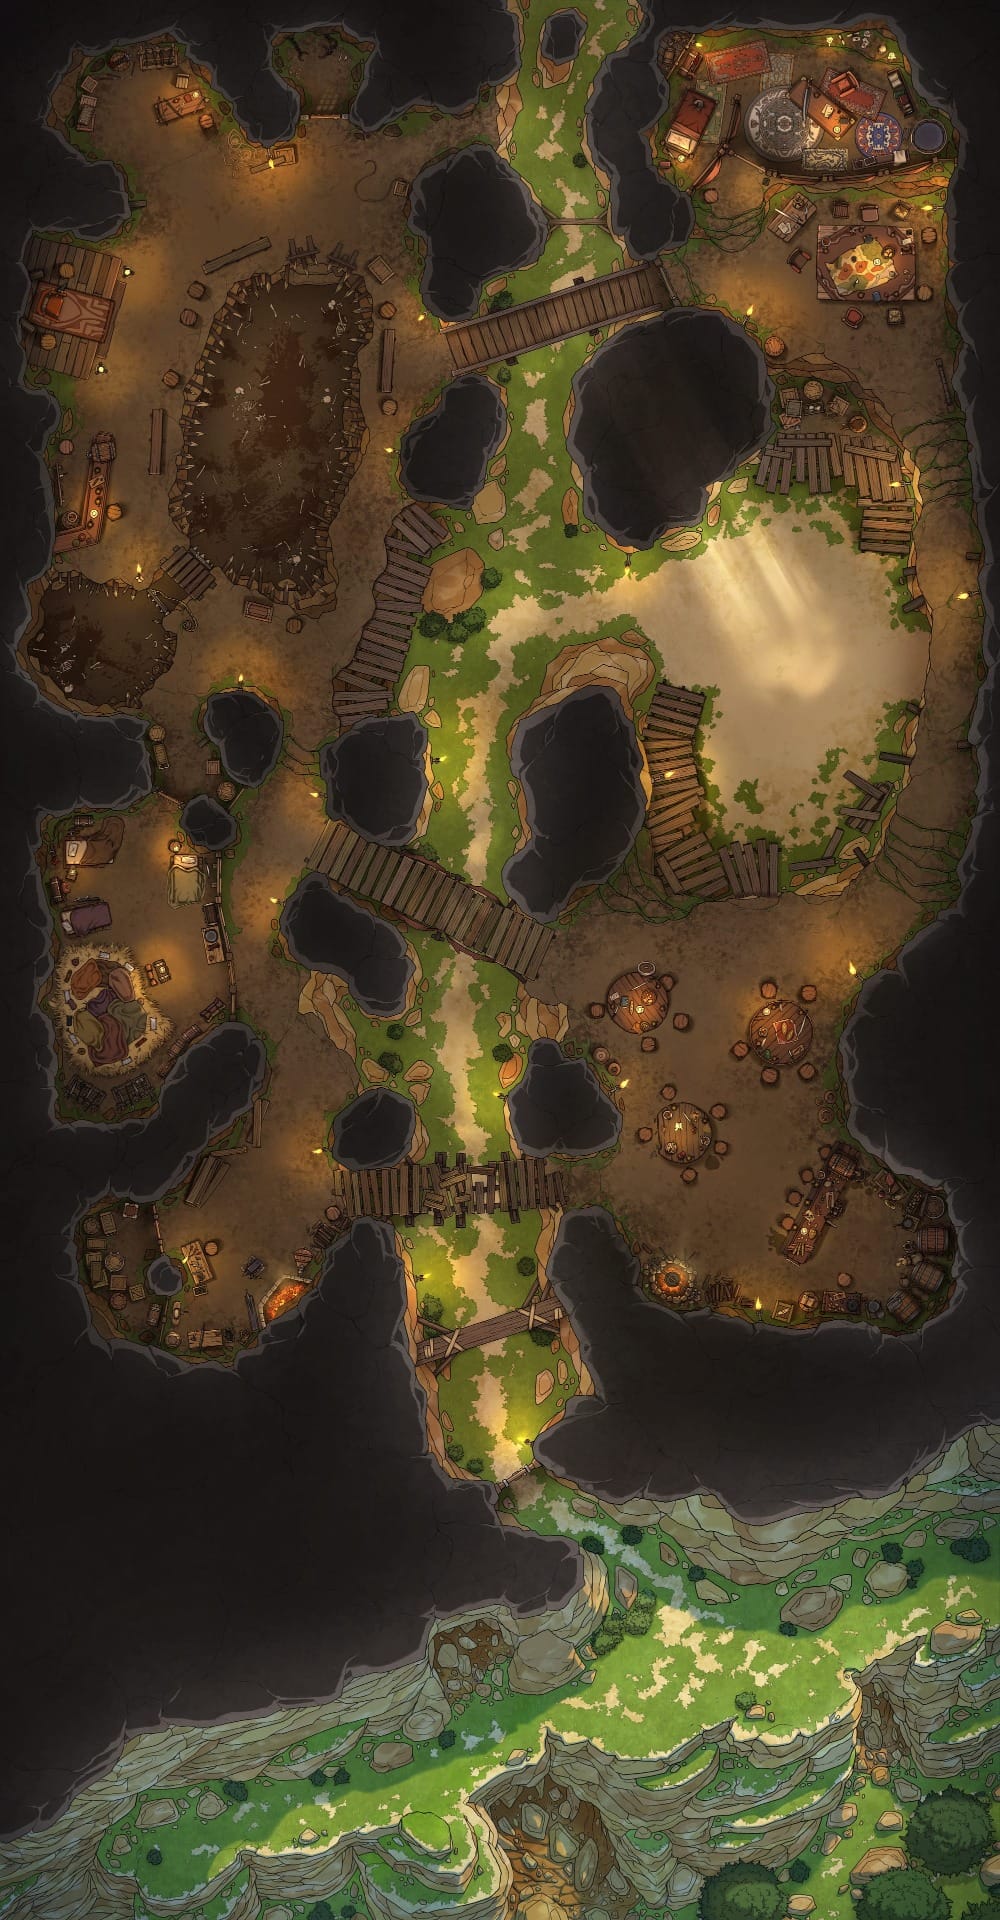
Beneath Whelvia’s forests and mountains lie hidden Underborne enclaves, many unknown even to Forlorne and her spies. These subterranean communities can offer sanctuary to the weredragon’s enemies, with tunnel networks providing safer passage than the roads above and magical portals helping conceal their entrances.
This Secret Cave Hideout map is a great fit for one of these hidden communities, especially if your Underborne have chosen to shelter rebels and other people fleeing Forlorne’s tyrannical rule.
10. Vexxen’s Prison (Knightstead) — Velkoth’s Lair
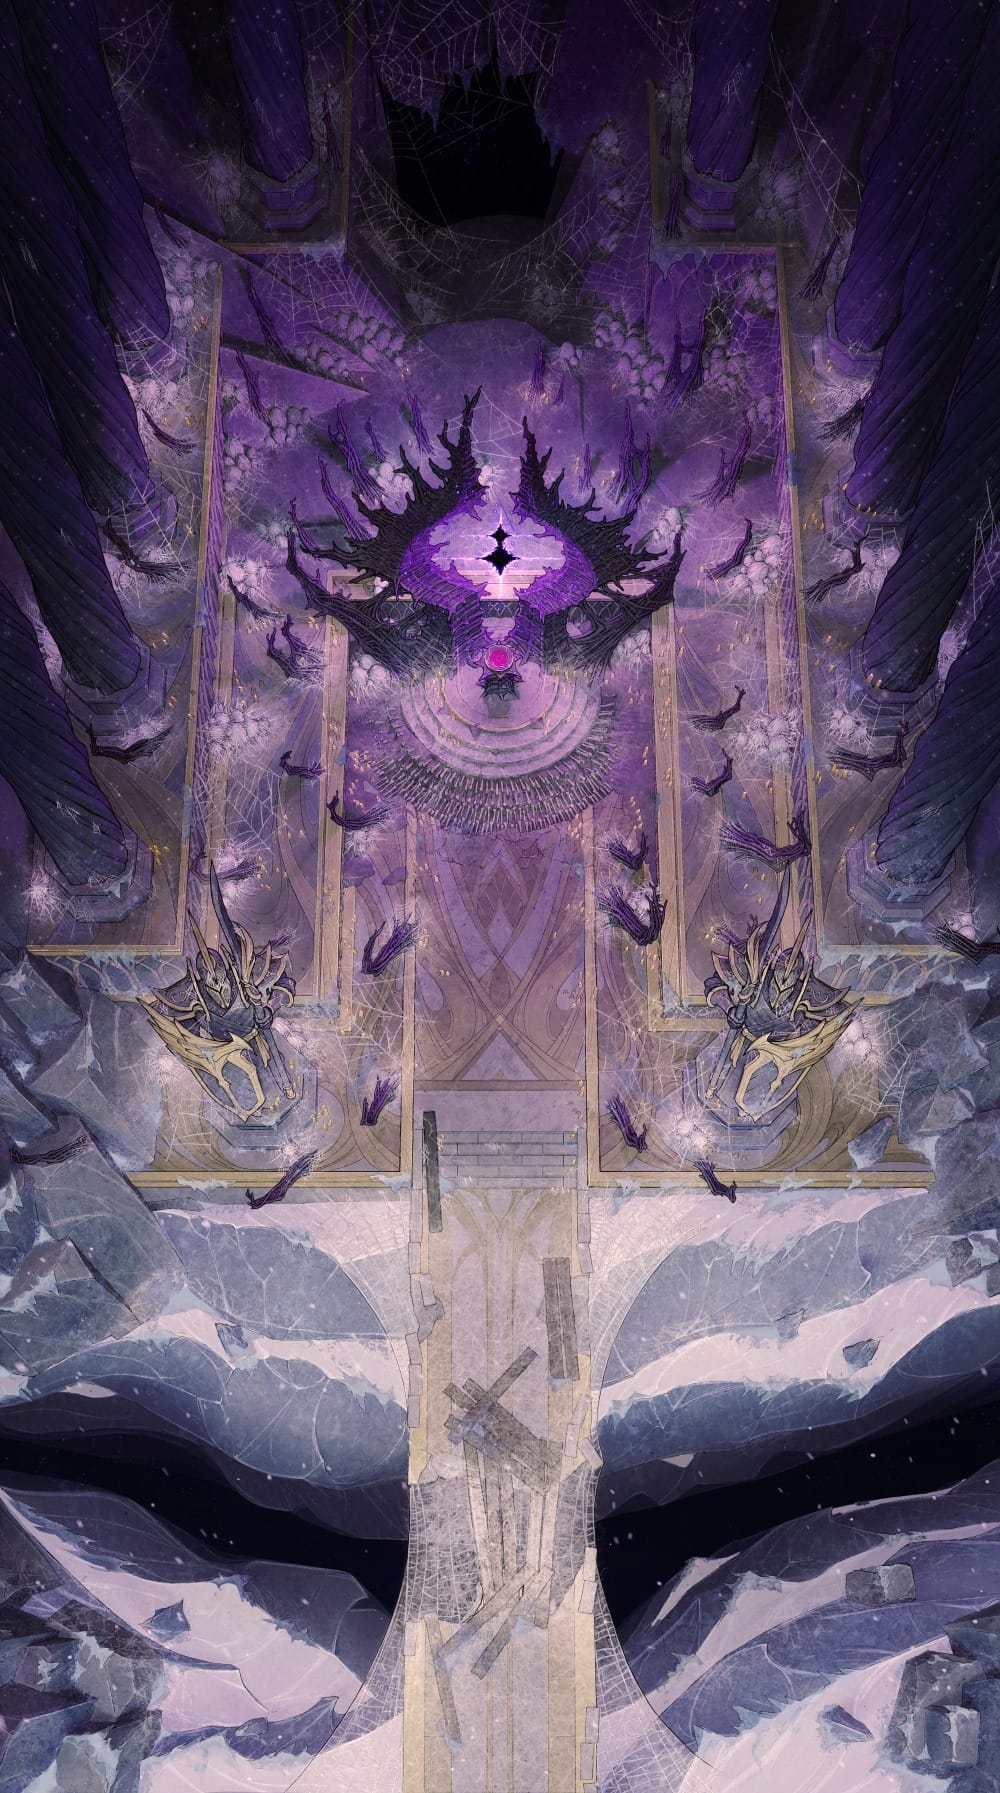
Hidden at Knightstead is an ancient obelisk imprisoning Vexxen, a demon whose power is described as “not of this world”. If the Astromancer’s reading points the heroes towards Vexxen as a potential ally, they’ll need to convince Lady Lavender, a retired Knight of Whelvia seeking to redeem her fallen order, to release them first.
The book leaves the prison largely to the table’s imagination, which gives this Velkoth’s Lair map plenty of room to get strange. Jagged purple crystals, thick webs, and the enormous eye-like rift give Vexxen’s prison the otherworldly feel it deserves, giving the party an ominous place to weigh up whether unleashing this particular ally is worth the risk.
This map comes with an animated illustrated scene that brings the party right up to the strange prison itself, with countless details from cocooned eggs to old bones making the approach feel aptly unsettling.
Didn’t find what you were looking for?
Whelvia has plenty more room to explore beyond these ten locations, especially with the Night Sky reading sending different parties down different paths.
With 9,000+ Czepeku fantasy battlemaps and variants to choose from, try searching by location type, terrain, or encounter, then browse each map pack’s available weather and biome variants to find the right fit for your version of Whelvia.
👉 How to Find the Czepeku Map You Need
Start Your Adventure With a FREE Asset Pack!
Keep up to date with the latest from Czepeku, sign up to our mailing list now and receive an introductory goodie bag of fantasy and sci-fi maps, scene, and tokens.