


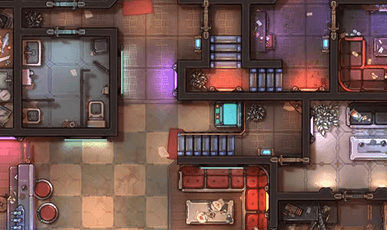


Roll20 allows the upload of UVTT files to the virtual tabletop. Any walls, doors, windows, and lights built into a Czepeku map's UVTT files get set up in your game automatically, with each element fully editable and placed on the correct layer within the VTT.
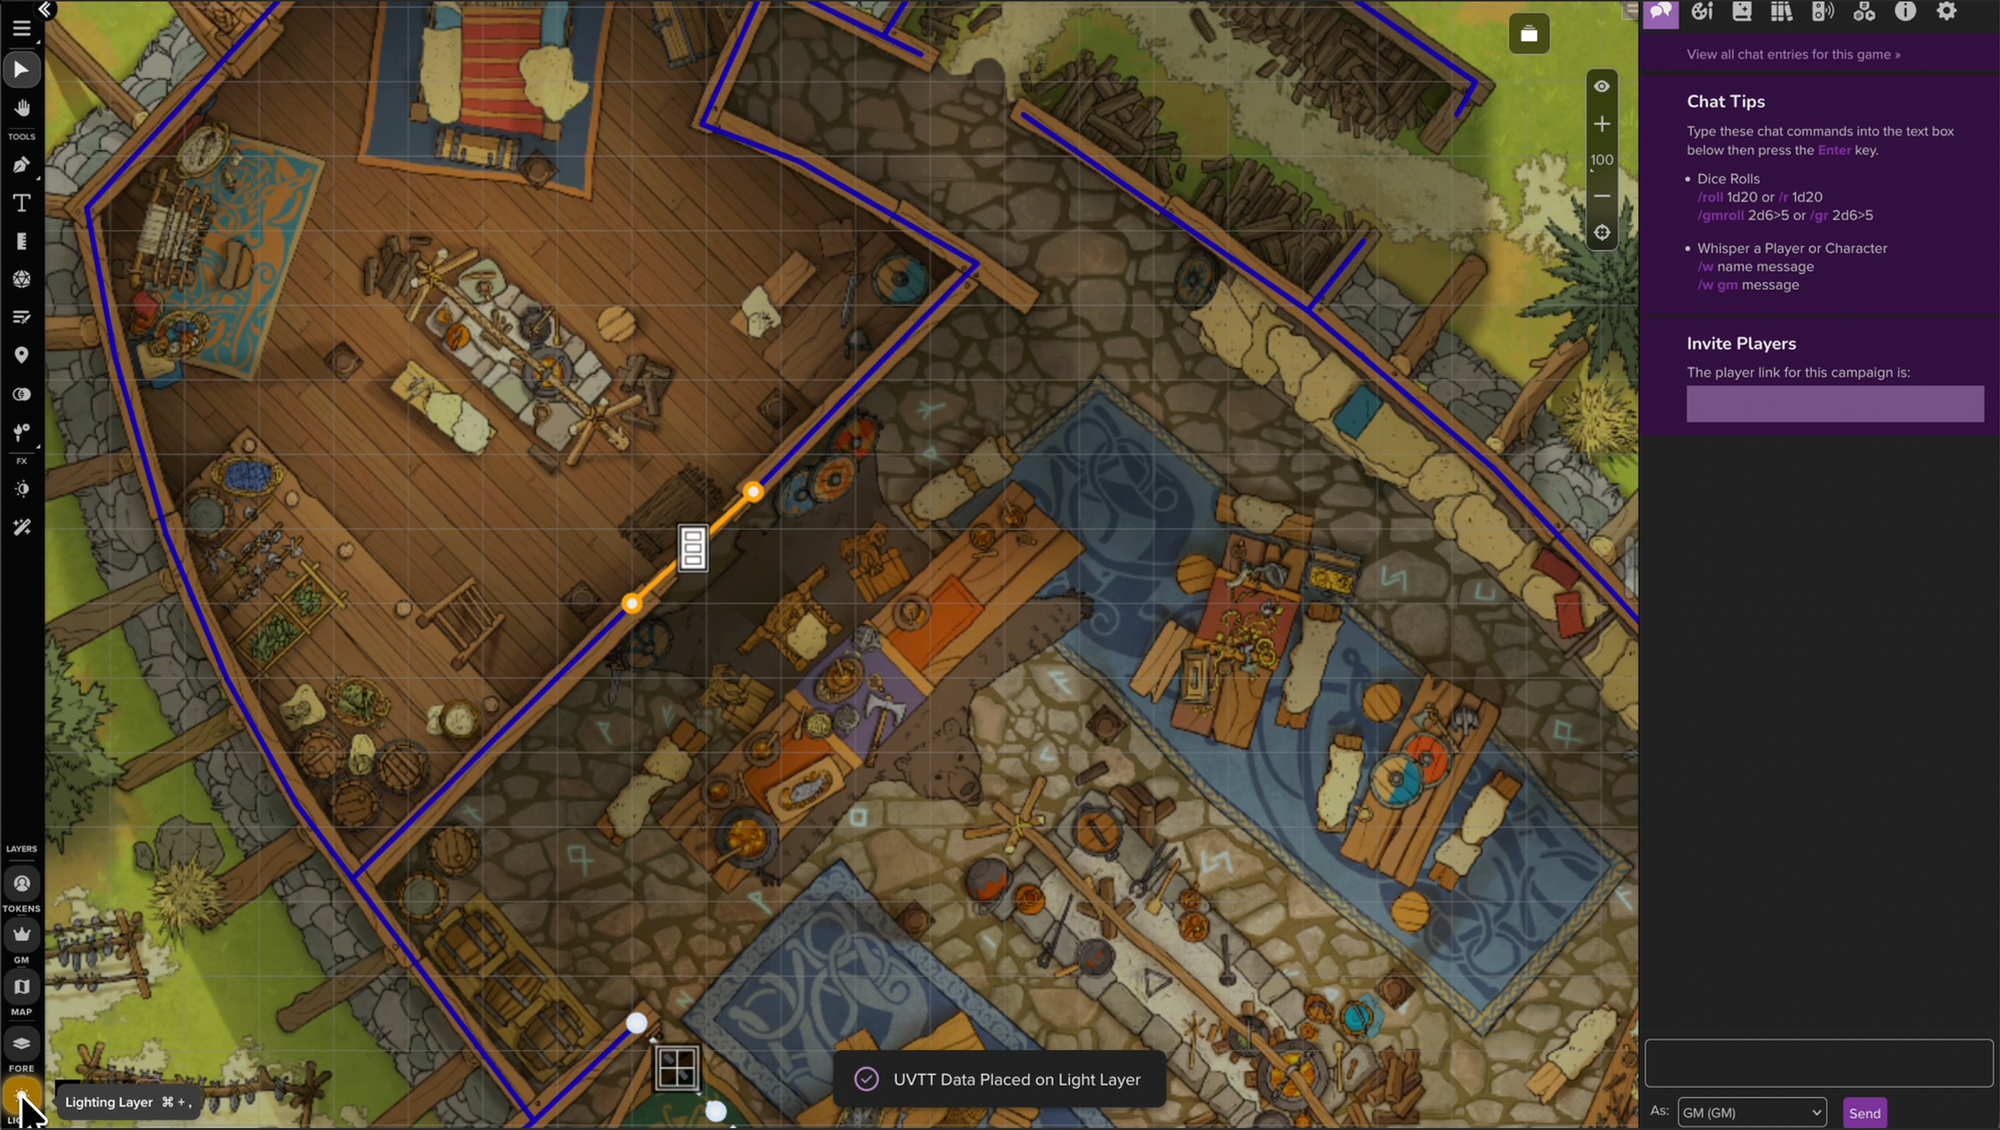
A Roll20 subscription is required to view and edit Dynamic Lighting. If you aren’t a Plus, Pro, or Elite subscriber, uploading a UVTT file still places the image on the background and places the Dynamic Lighting lines, lights, and portals… but you will only be able to view the static map in-game.
If you decide to upgrade your account in the future, everything will be set up and ready to use. Plus subscribers previously excluded from any use of UVTT files can now enjoy the format and its benefits, along with built-in feature support.
Note: Roll20 Pro and Elite subscribers also have access to a community-built UniversalVTTImporter Mod Script (see instructions further down).
What is a UVTT file?
A UVTT (Universal Virtual Tabletop) file packages a map's image together with its wall, lighting, and grid data in one file.
Every Czepeku map come with a UVTT file, available to download with a Premium subscription.
Uploading a UVTT Map Into Roll20
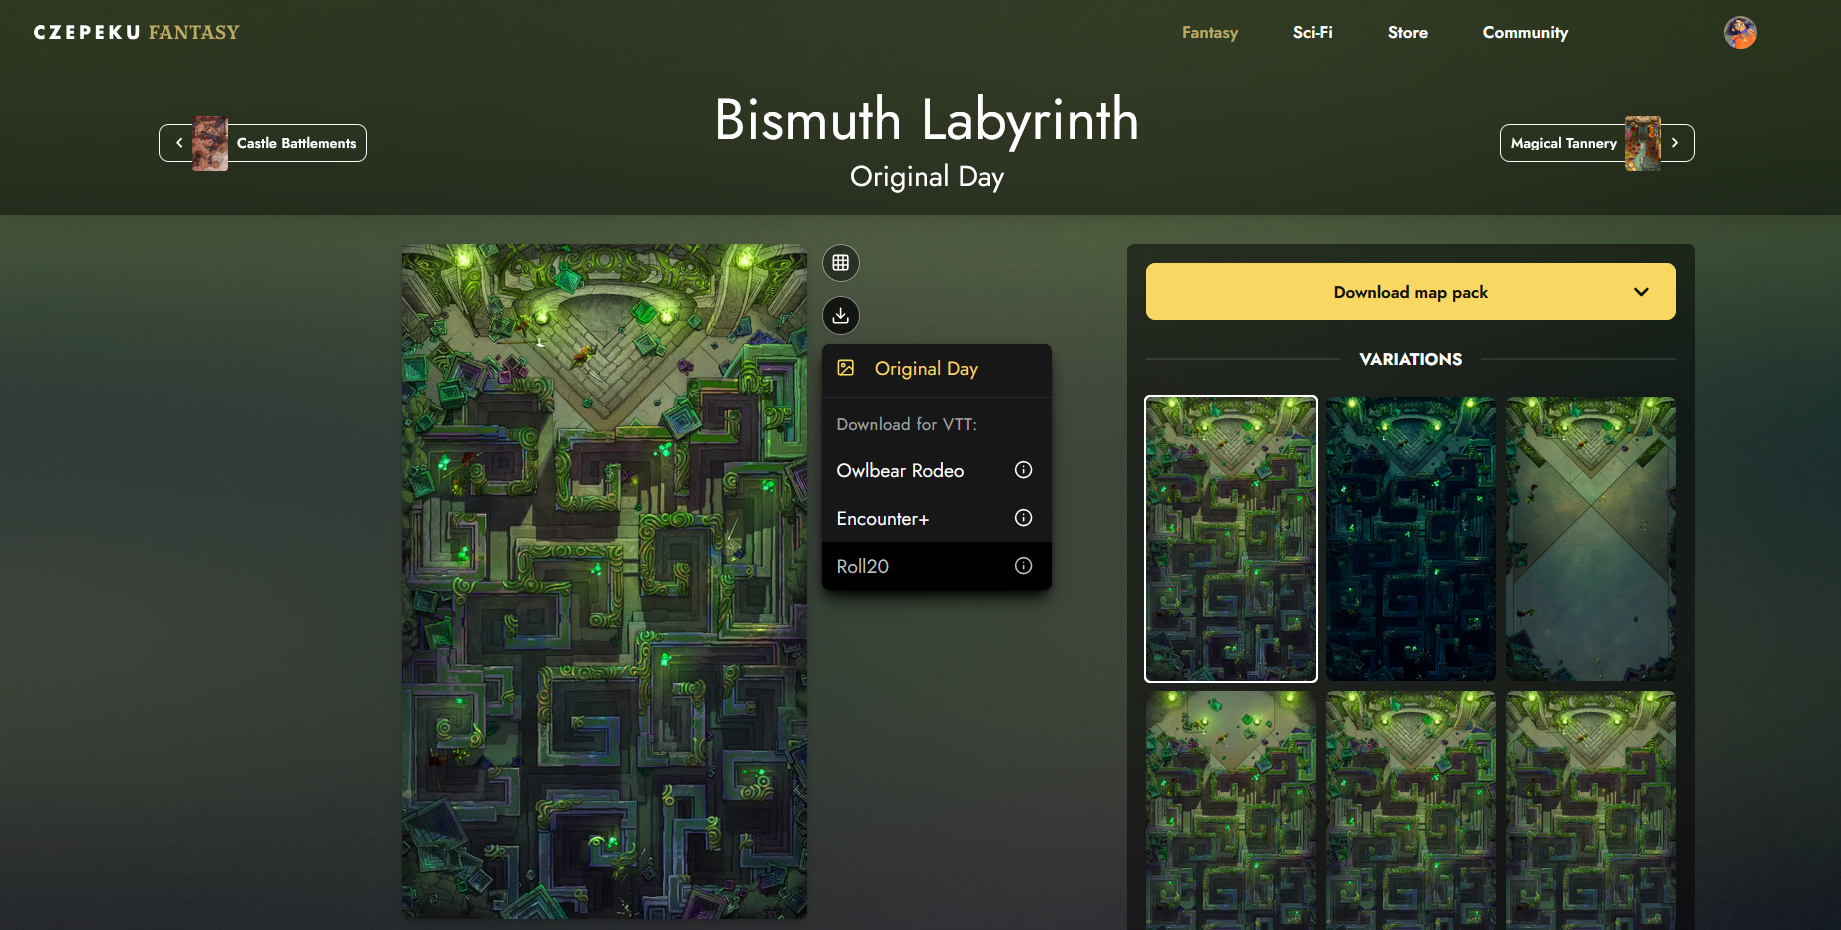
- On the map's gallery page, find the variation you want to use.
- Click the download icon and select the Universal VTT (UVTT) option. This downloads a single .uvtt file, ready to use.
- In Roll20, open your game and go to the Page Menu.
- Click Create Page, then select Upload Background.
- Drag and drop your .uvtt file, or browse to select it.
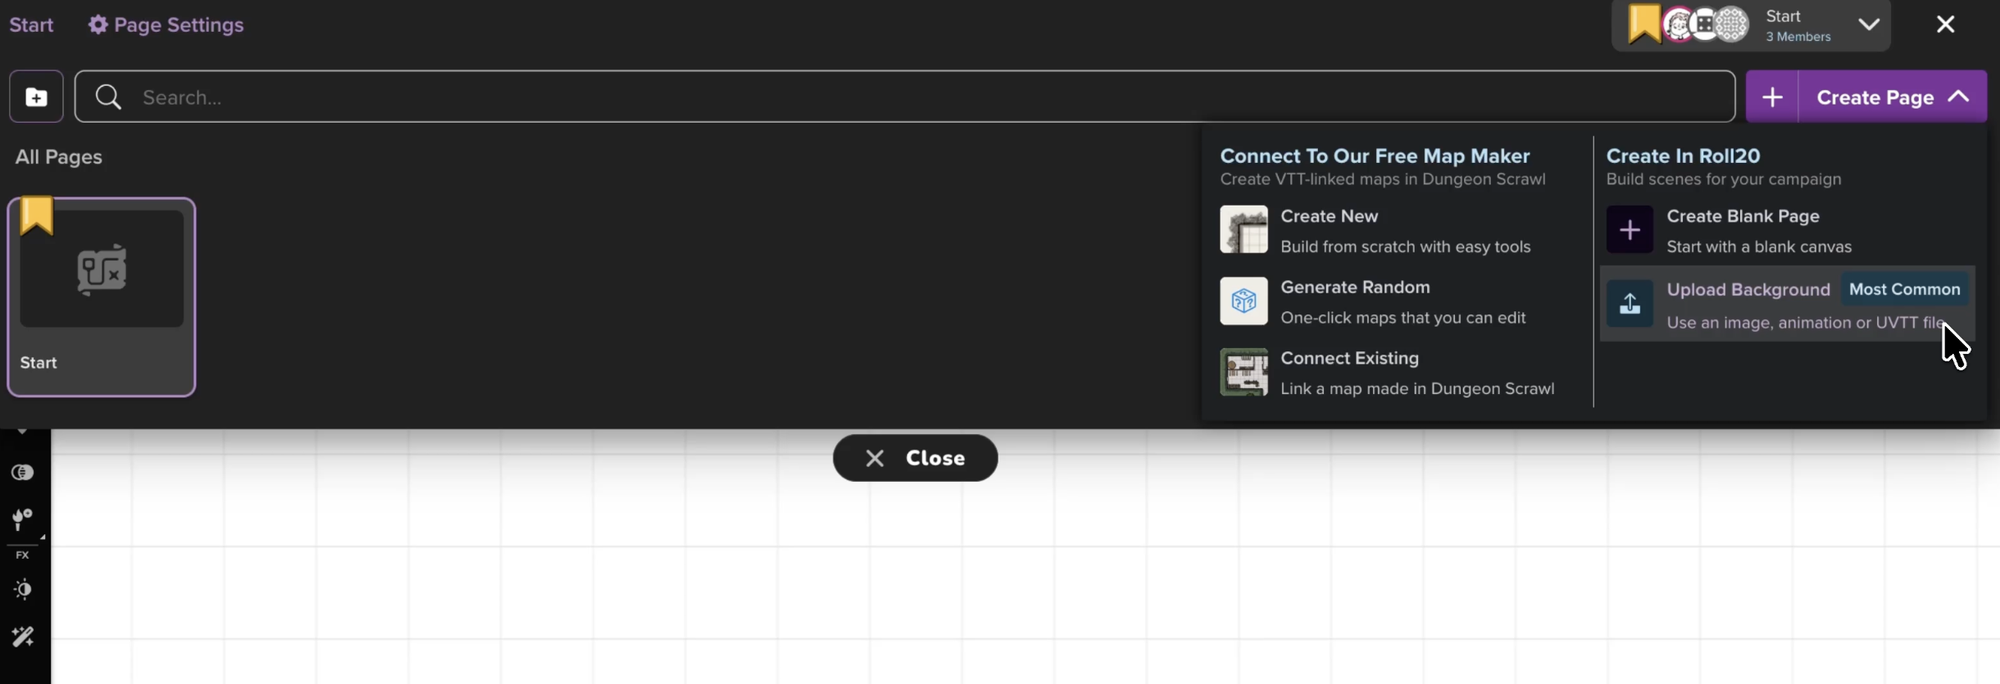
Roll20 reads the file and creates a new page with the map image placed on the Map layer, and the walls, doors, windows, and lights placed on the Dynamic Lighting layer.
Tip: You can make any updates to your walls, doors, windows, and lighting after upload directly on the Tabletop’s Light Layer. For additional details, check out Roll20's Help Center.
[Alternative] Using the UniversalVTTImporter Mod Script
Roll20's community-built UniversalVTTImporter Mod Script is also available for Pro and Elite subscribers who want to use its additional configuration options. This process is more involved than the steps above.
Step 1: Get Your Files
You'll need two things: the map's image file and its UVTT file.
- On the map's gallery page, find the variation you want to use.
- Download the map image (standard PNG/JPG download).
- Download the Universal VTT (UVTT) file separately.
Step 2: Sanitize Your UVTT File
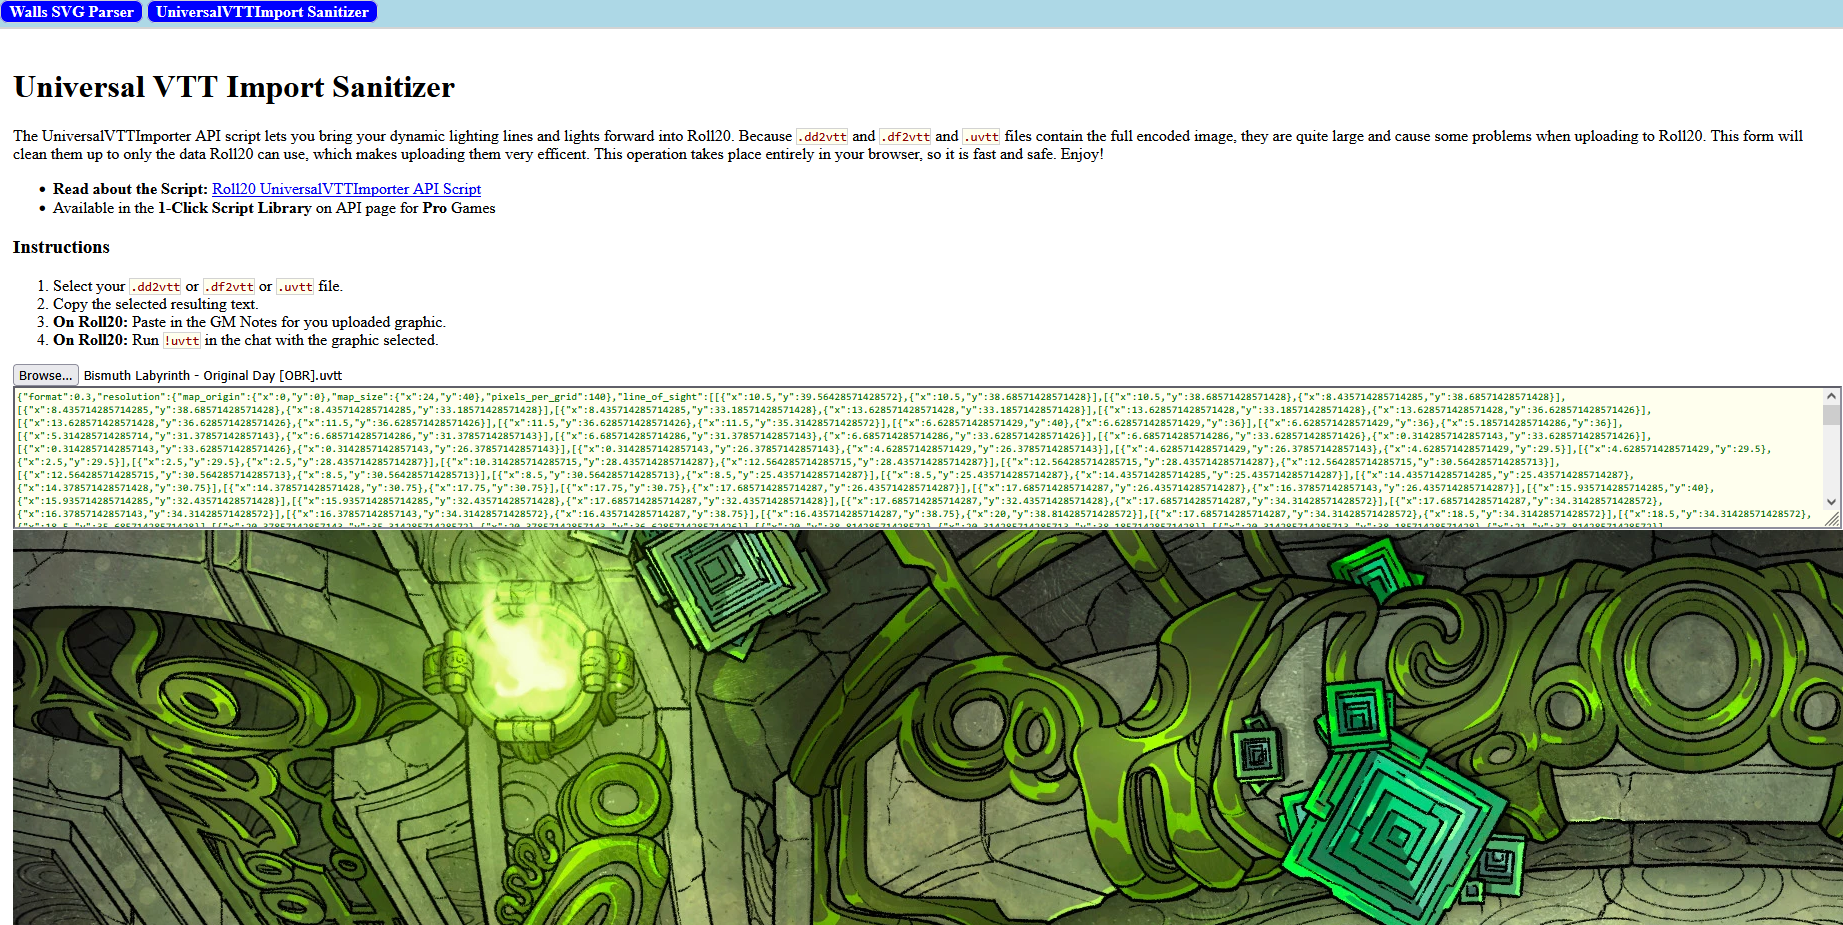
The Mod Script can't read a raw UVTT file directly, so you'll need to strip out the image data and keep just the wall and lighting information as text.
- Go to the Universal VTT Import Sanitizer.
- Click Choose File and select your UVTT file.
- Copy the resulting text and keep it somewhere handy.
Step 3: Install the UniversalVTTImporter Script
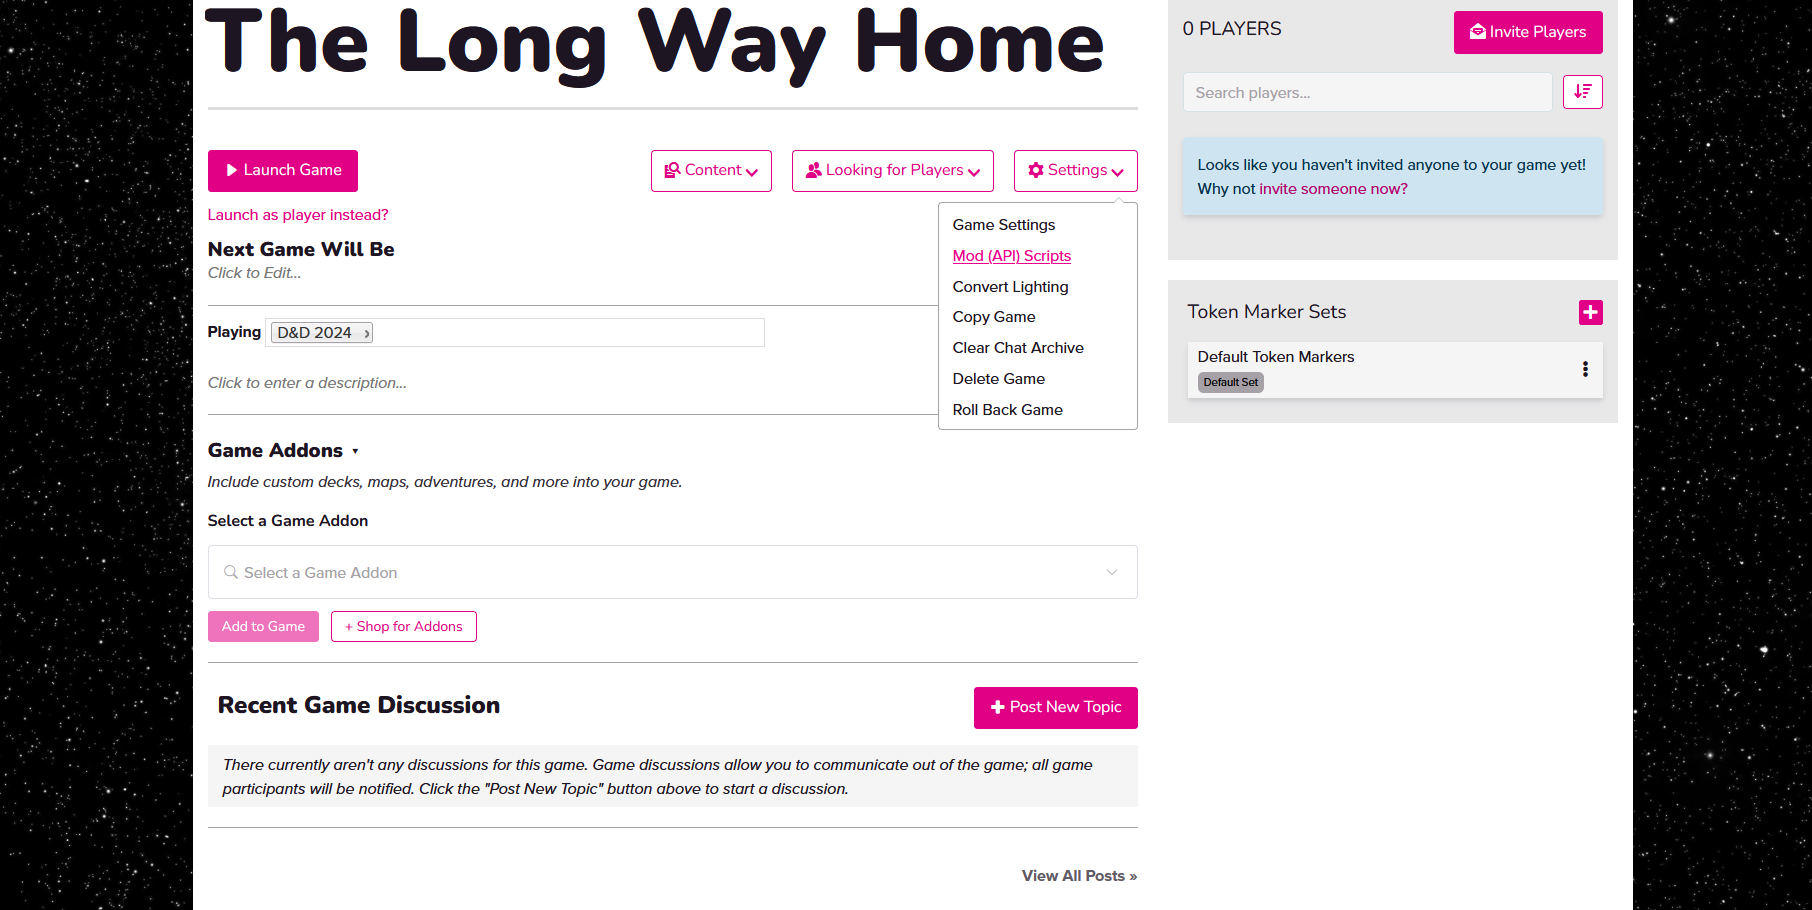
- From your Roll20 dashboard, open your game.
- Under Settings, select "Mod (API) Scripts." (Available to Pro and Elite subscribers.)
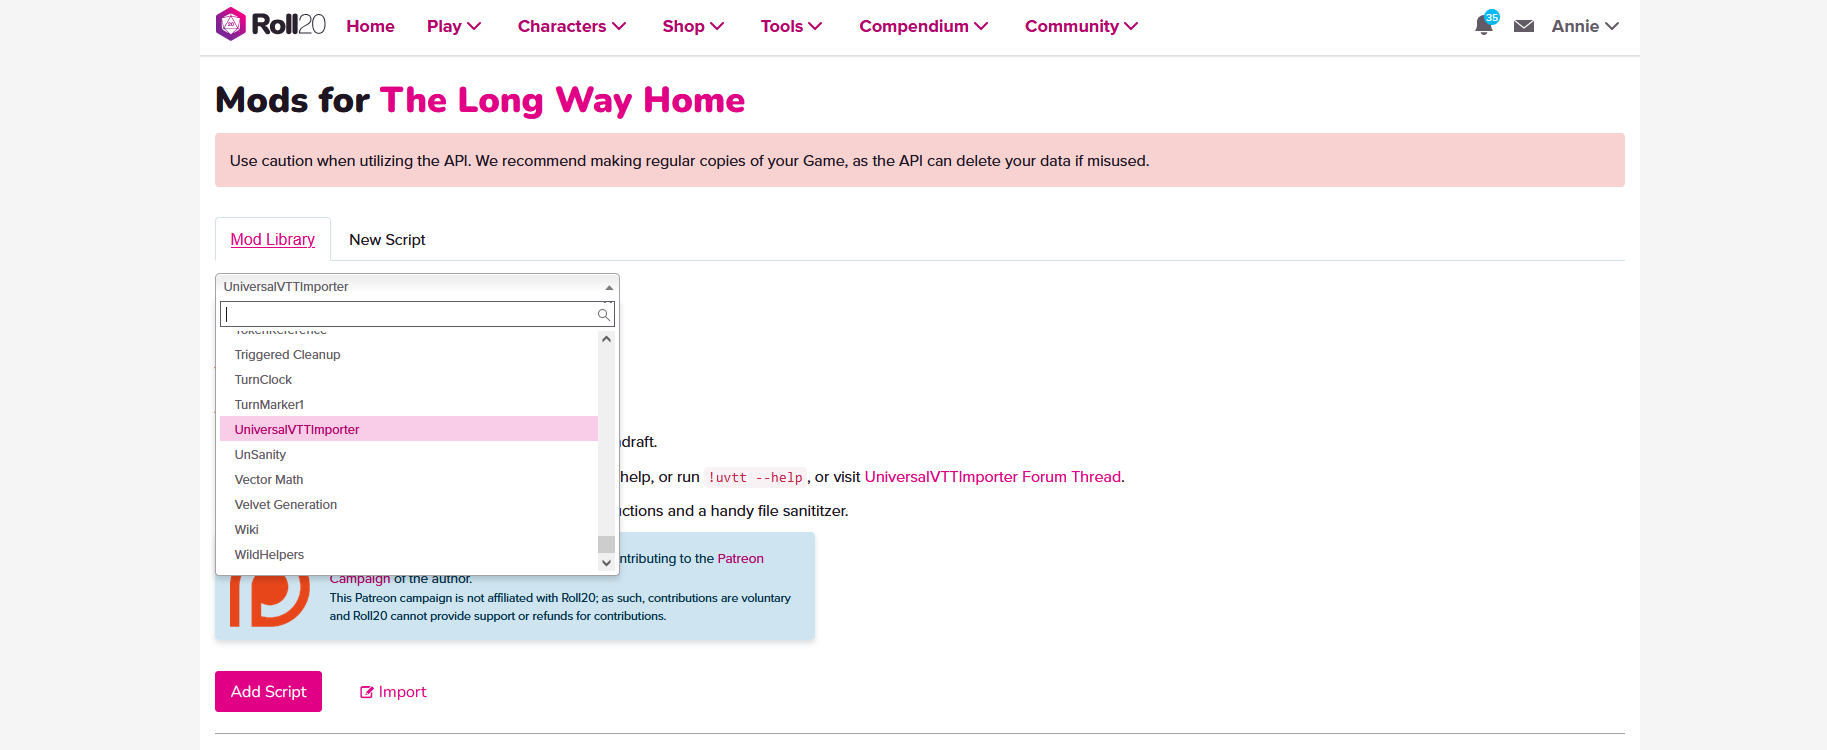
- Open the Mod Library, search for UniversalVTTImporter, select it, and click Add Script.
- Launch your game.
Step 4: Upload the Image File
- In your game, drop your map image onto the page.
- Scale it to fit.
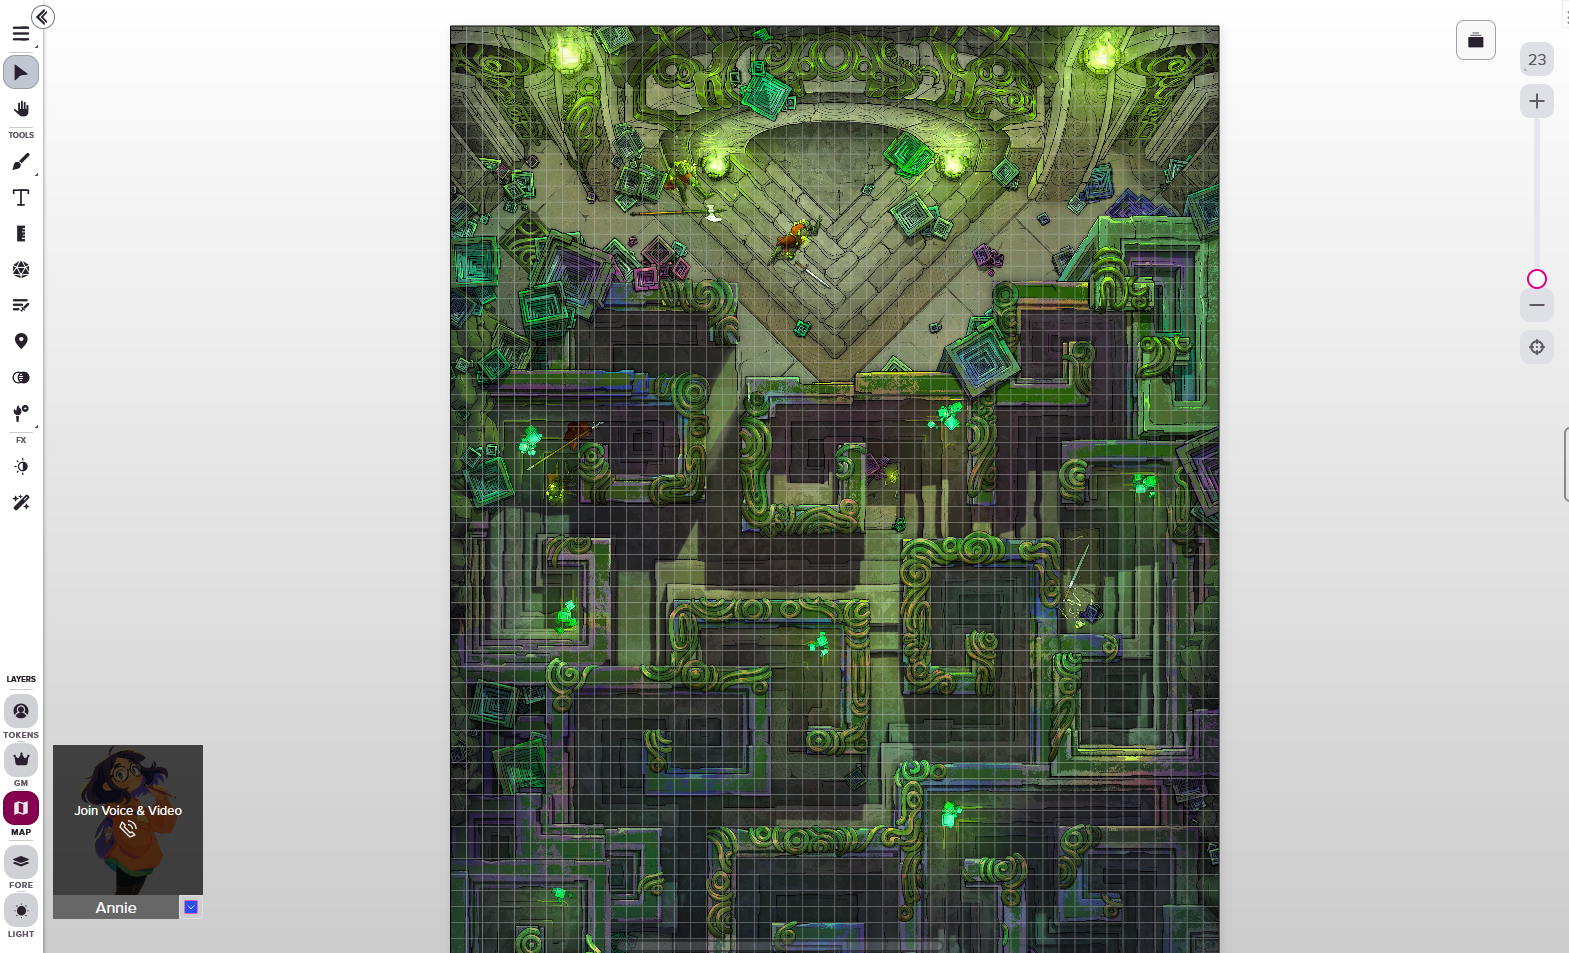
Step 5: Upload the Sanitized Map Information
- Double-click the map image to open its properties.
- Go to the GM Notes tab.
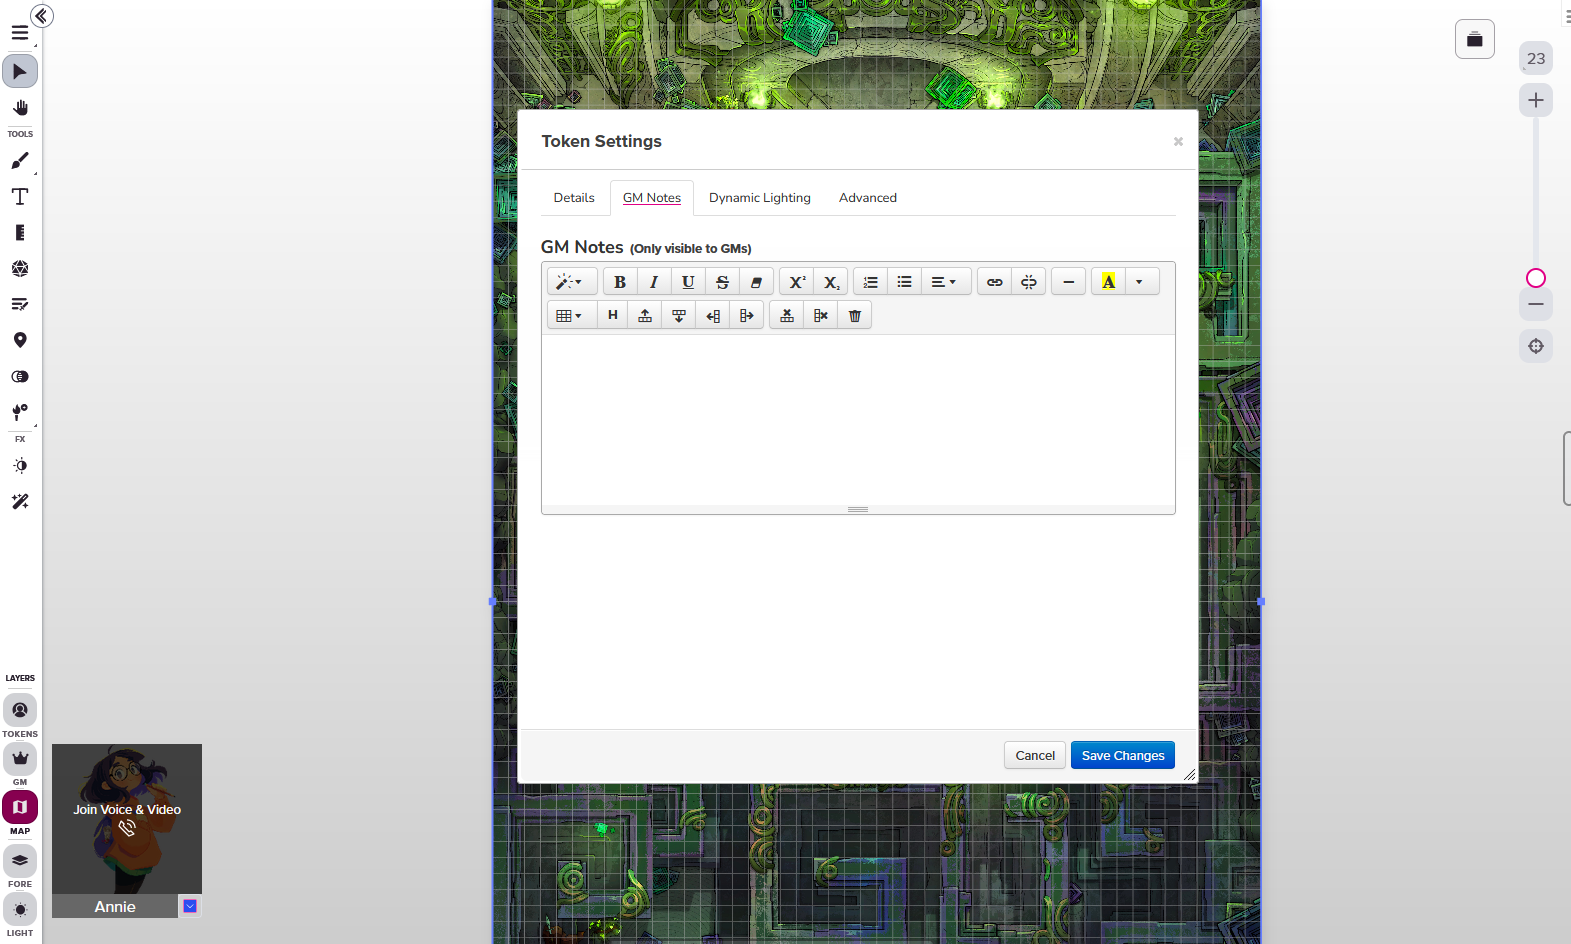
- Paste the text you copied in Step 2.
- Click Save Changes.
Step 6: Confirm and Enable Token Vision
- Select your map image on the page.
- Type !uvtt into the Roll20 chat and press Enter.
You should see a confirmation message, and your map's walls and lighting will be active. Don't forget to enable token vision in each character's token settings.
And that’s it! Your map is ready to go. Happy adventuring!
Something Didn’t Work?
Head to the #VTT-discussion channel on our Discord. Our community is always happy to help with any questions. You can also reach us directly at support@czepeku.com!